
Not much done this weekend with it being Easter, still I have managed to find time today to get some bits and pieces sorted.
I drained the acid out yesterday and washed out the residue with fresh water, I think I may have been a bit premature in filling with acid as what this remover does is to loosen the rust and then you brush it off. I have ordered the cleaning brush for getting inside the block but unfortunately it has not arrived yet, I am going to wait for it before I refit the heads to make sure as much scale as possible is removed.
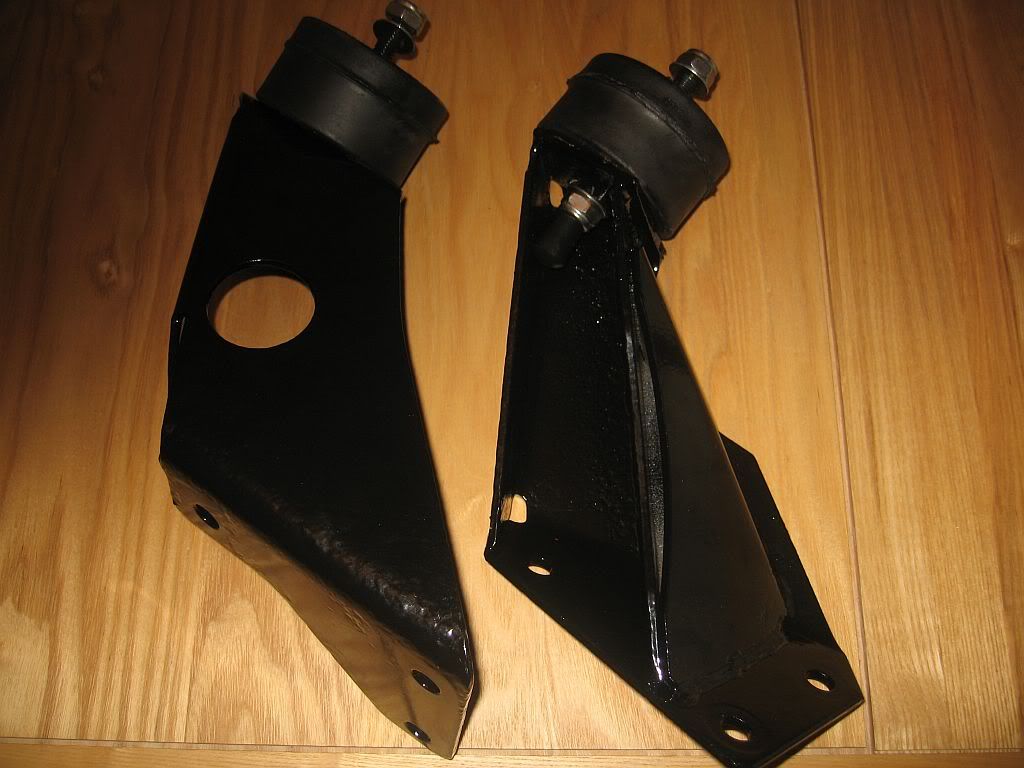
I had a look at the engine mounts that I picked up from the powder coater's and attached the new rubber resilient mounts, originally they were stuck on with rust and had to be hammered off so a coat of copper slip before fitting will future proof the removal of them.
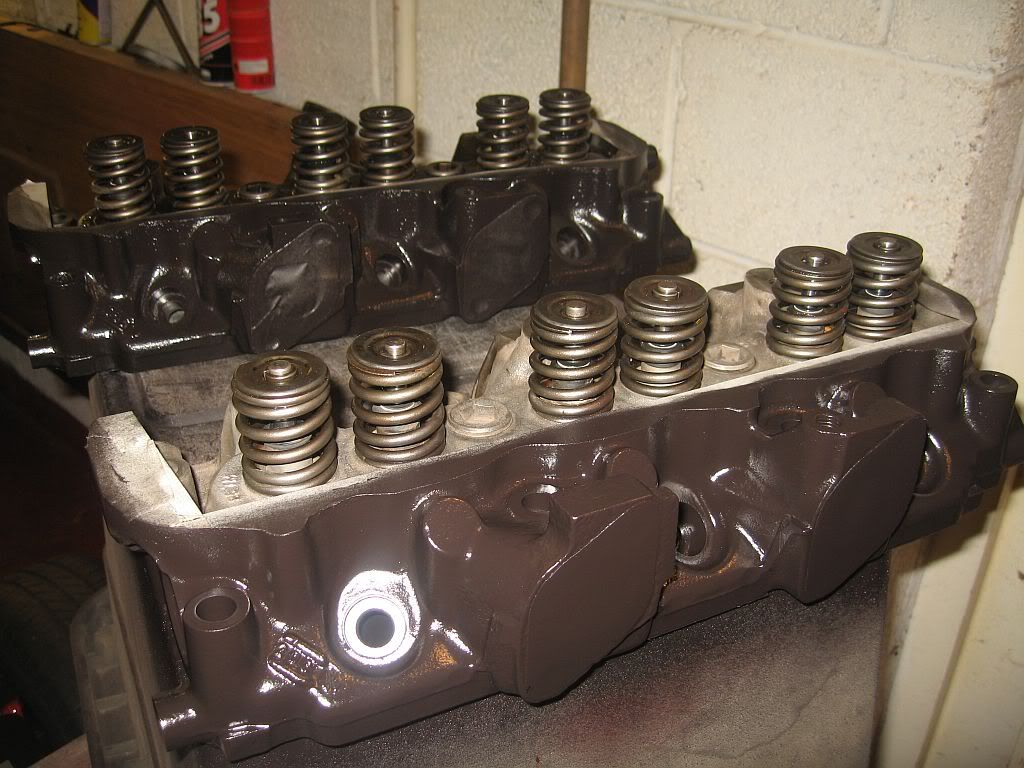
The heads needed painting before fitting and as I have 3 tins of black VHT paint I decided to keep the theme of black on red going, with the VHT paint no primmer is required (so it say's on the tin) so I have masked up the faces and given them 4 coats and they look great.
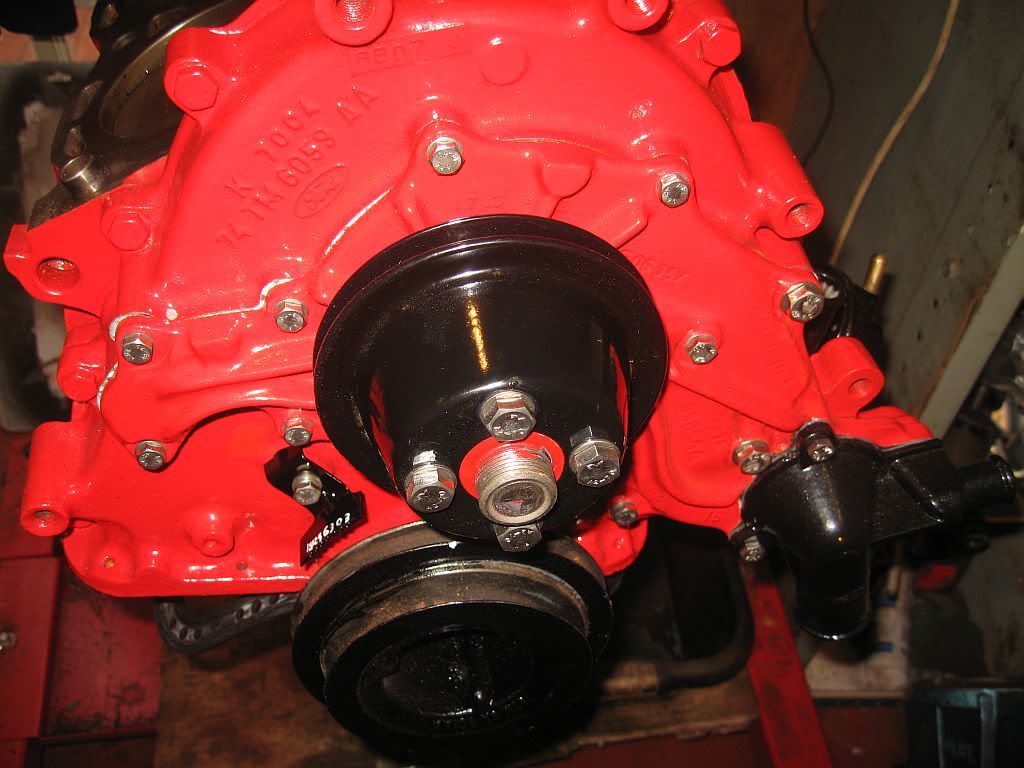
I have also fitted what I can to the engine that won't get in the way when I fit the heads, these include the new thermostat and housing's, timing plate and the pump pulley. I have used the new Payen gaskets but belt and braces I have also used Hylomar sealant on the housing sides.
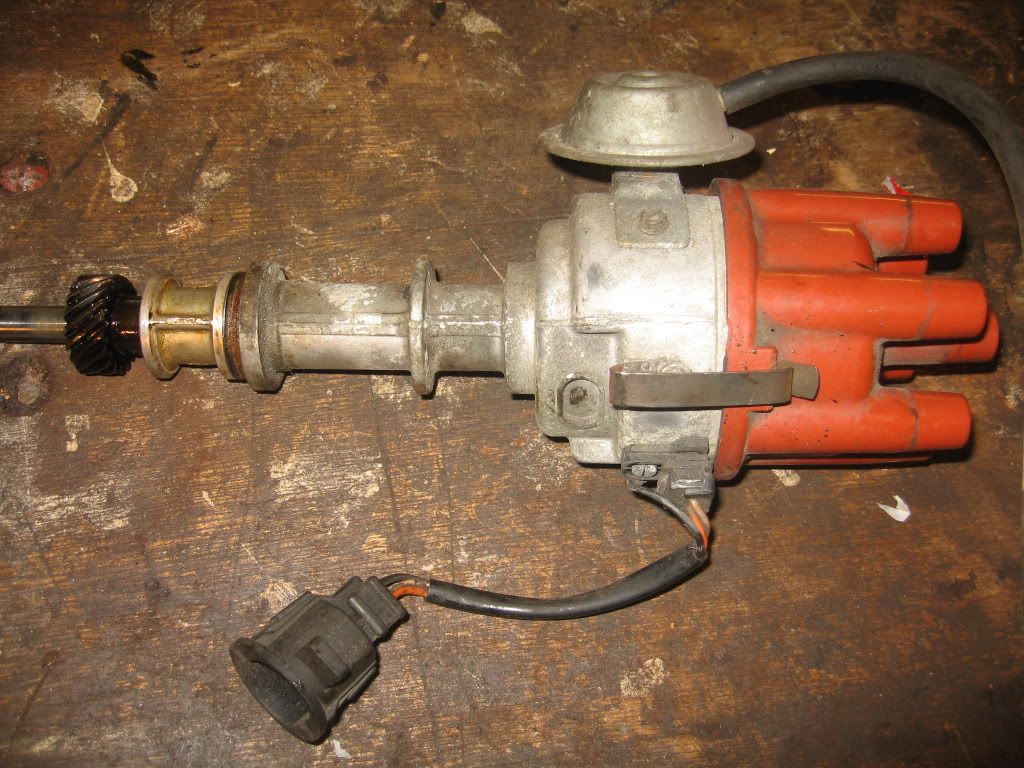
I am not fitting the sump until the distributor is fitted as the distributor also drives the oil pump and I want to make sure that the pump turns, I have test fitted the distributor and turned the engine by hand with the pump cover off and it turned nicely. Still, I'm not going to take any chances so the sump will be last on.
Next was a little practice; if you have read when I first removed the engine you will know that I had to remove the distributor without being able to turn the piston of #1 unit to TDC and marking the position on the distributor, also I was not to sure of how to refit it in the correct position. I have done quite a bit of research since then and also had an email from Terry B and it really is quite simple, there are even videos on youtube of how its done I decided to give it a try before fitting the heads so I can see the piston moving in the correct firing order to the distributor and I marked each one in turn and engraved it on the cap. I am going to buy a new cap and rotor but can transfer the marks.
Basically it does not matter where on the distributor #1 is, this is random depending on where it is when fitted just as long as you start with #1 piston at TDC firing and not on the exhaust stroke, you find this by the notch on the timing wheel being inline with the degrees on the timing plate so if #1 is at the top of its stroke and the notch is not lined up then it is on its exhaust stroke, just turn and it will come back to its firing stroke.
To find this with the heads on you can stuff a piece of tissue into #1 spark plug hole and turn the engine by hand, when it blows out and the timing marks line up then you know you are at #1 TDC.
I had originally marked the order on the cap with what I thought was a permanent ink marker when the HT leads were attached but when I looked only 1 and 6 were left on, but #1 was left so I turned the rotor to that position then slid the distributor down its hole. The gearing is side driven from the cams so will not go straight on, you need to hold it down and turn the engine and the gearing meshes and it slots into position.
Doing this also slots into the oil pump so this was when I turned the engine and watched the pump turn.
Once the distributor is in position with #1 at TDC then it is a simple matter of turning the engine and watching the pistons come to their firing order 1-4-2-5-3-6, so after marking #1 hand turn and when #4 comes to TDC you take off the cap to check that the distributor has turned 1 notch and mark the #4 in that point and so on until all done if that makes any sense.
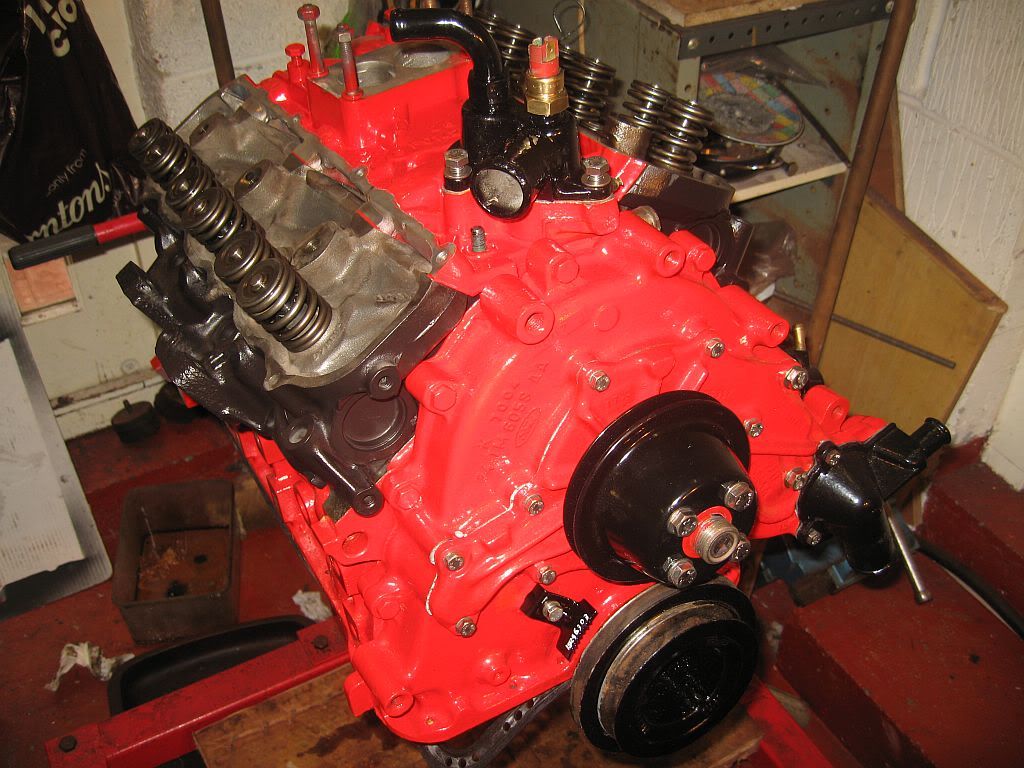
Not much else I could get done today so I thought I would see what the whole thing will look like so I positioned the heads and air manifold.
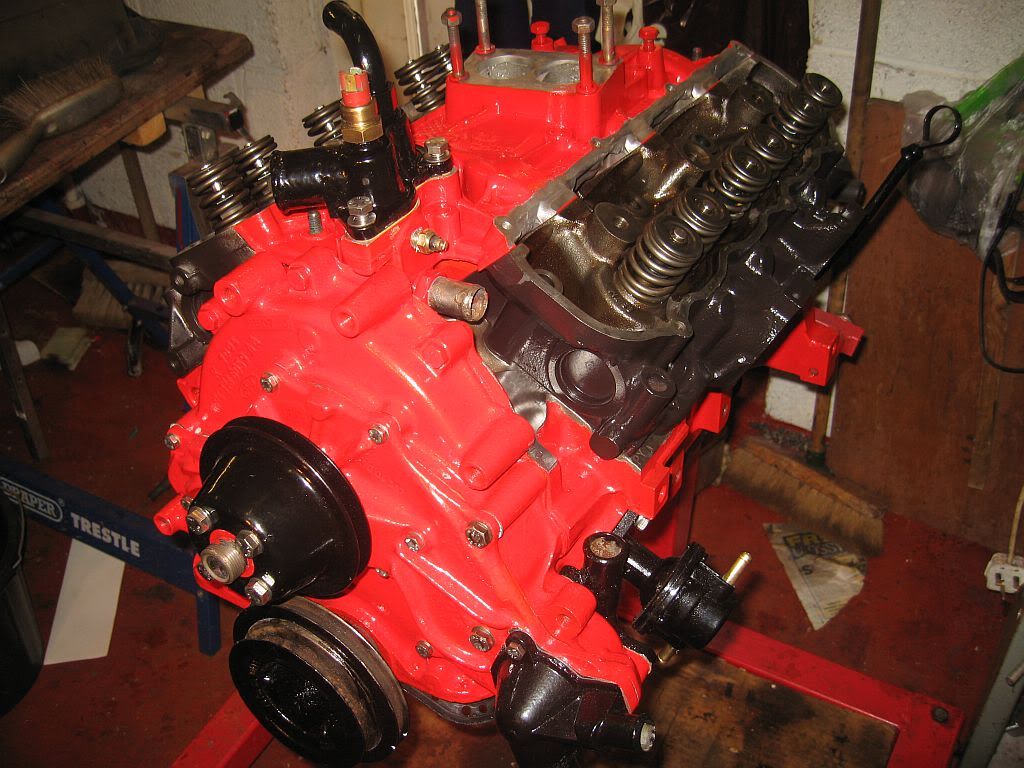
It was after fitting the heads that I realised there are areas around the heads that need painting so I have masked these off and primed and sprayed and will finish of tomorrow.
I also need a find a matching touch up enamel paint, Humbrol signal red will probably match as I have knocked bits of paint off in a few places and being a bit anal I'll see them all the time and it will drive me mad.
Still plenty to do on the engine and then I will start on the engine bay.
See ya
Paul
No comments:
Post a Comment