
Home again and back to work.
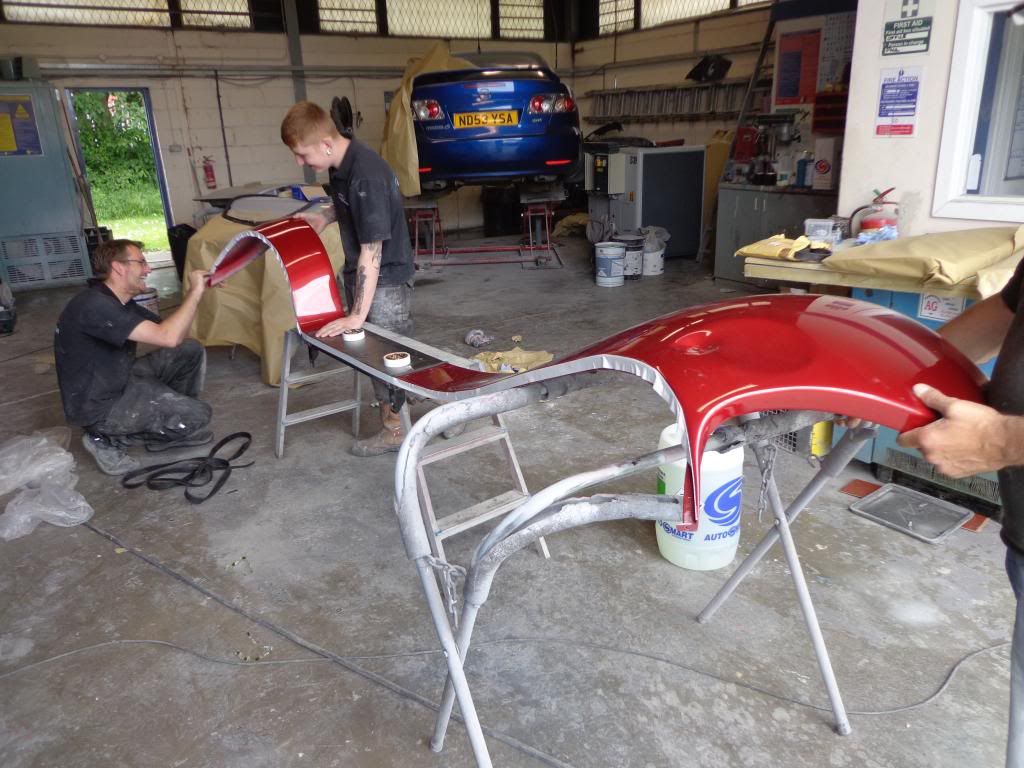
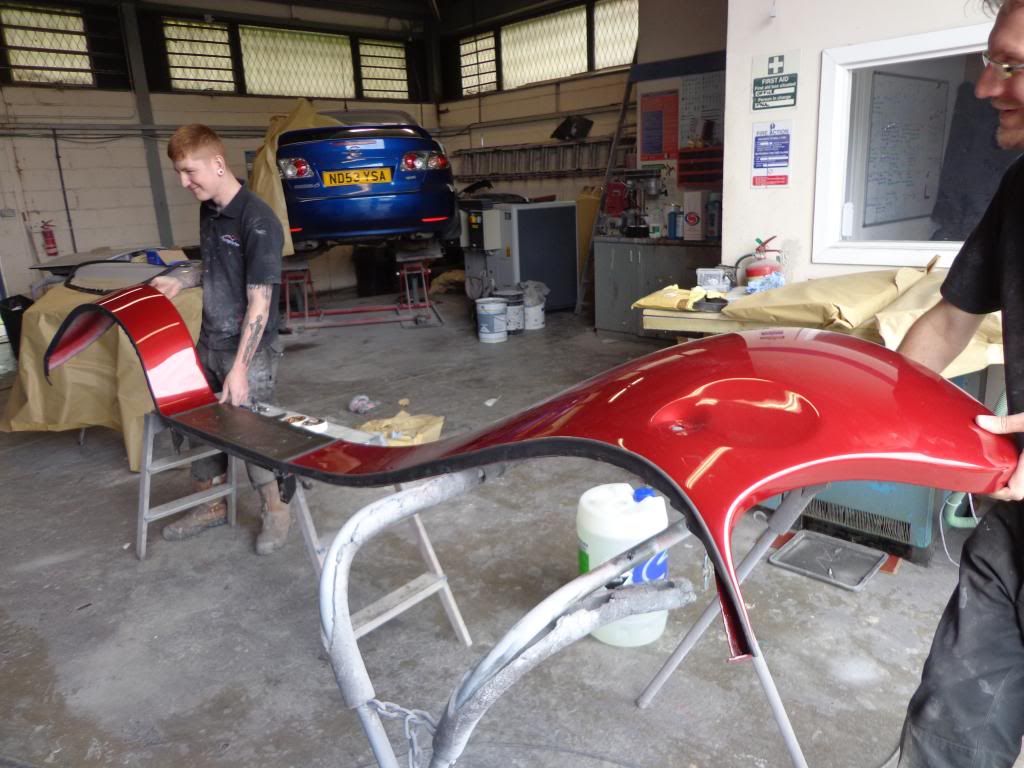
Been looking forward to seeing the paint job first hand, I had some photos sent and it looked great but it looks even better close up.
While away I had a good search on the Internet and found the rear combination lights I was after, I had seen them on Europa Spares for £37 each and after a search on eBay I picked up the same set for £32.64p each with free p+p from a local firm.
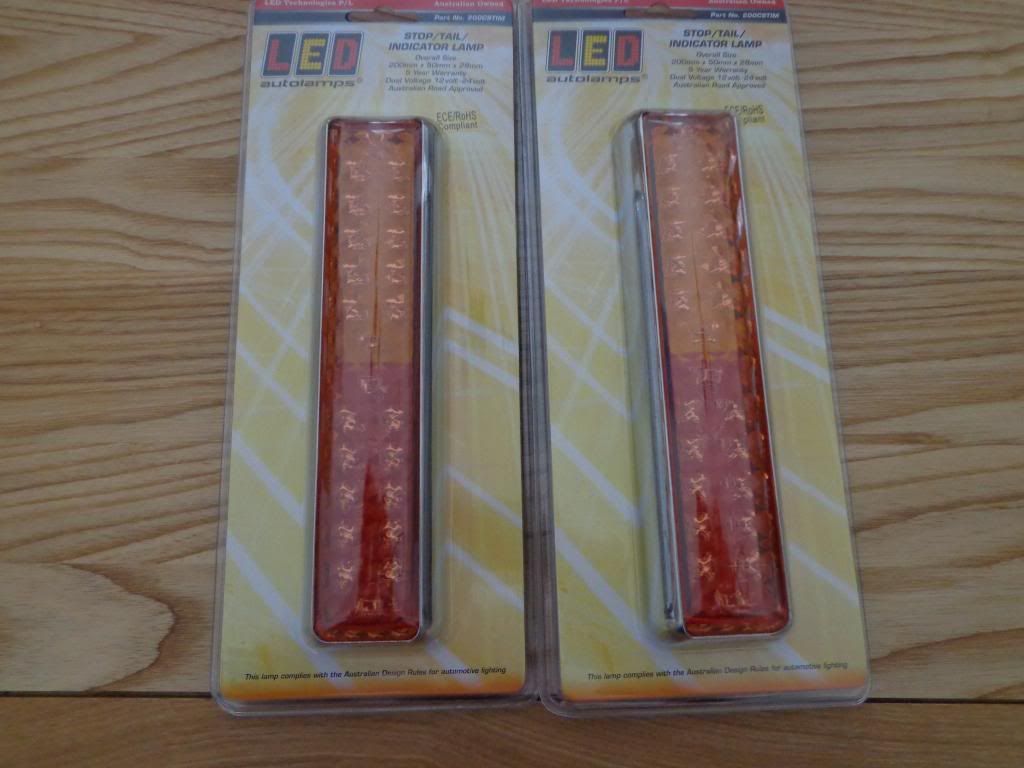
These are 200mm x 50mm LED lights I have checked them against the rear bumper and if not a perfect fit then its just a simple mod to fit.
Another great buy was for something I never knew was available and it is a cover for the wiper motor, I found it when searching through MG Midget spares on eBay.
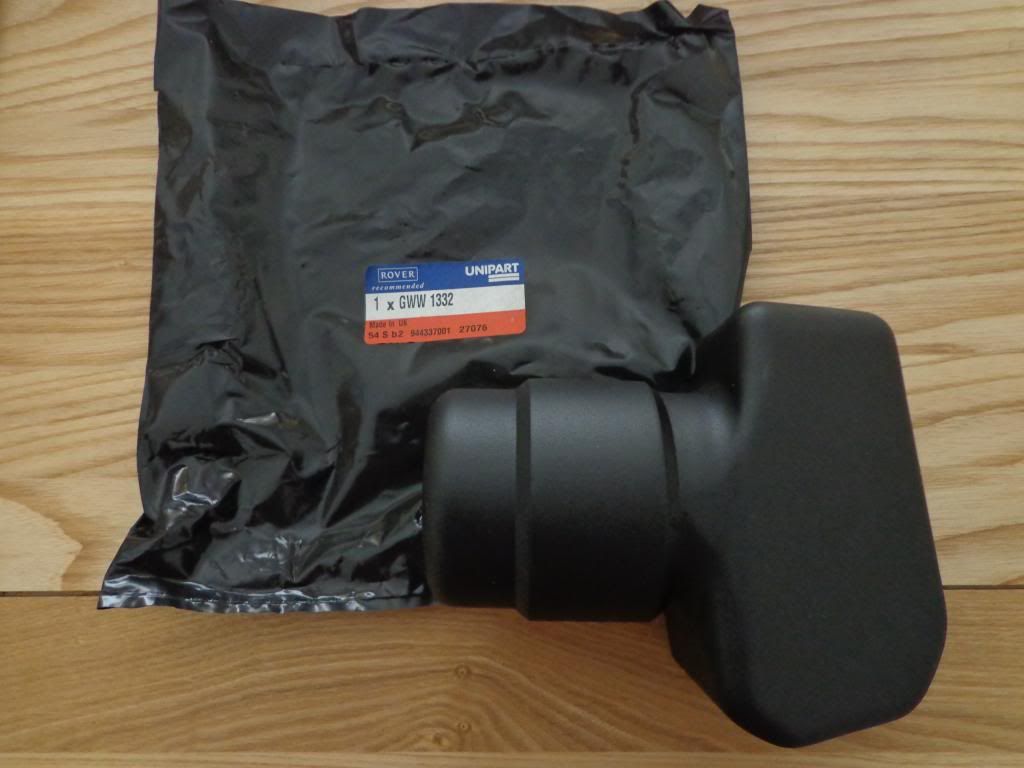
I shall have it colour coded to the scuttle and it will all but disappear when in place.
I also bought in some more double sided tape for the wing piping and some foam tape for the Kallista script.
The plinths for the side lights I bought last month have still not arrived, the seller blames the mail but I have never had anything gone missing in the past. So I have been searching for more and have managed to buy another and am still searching for the other.
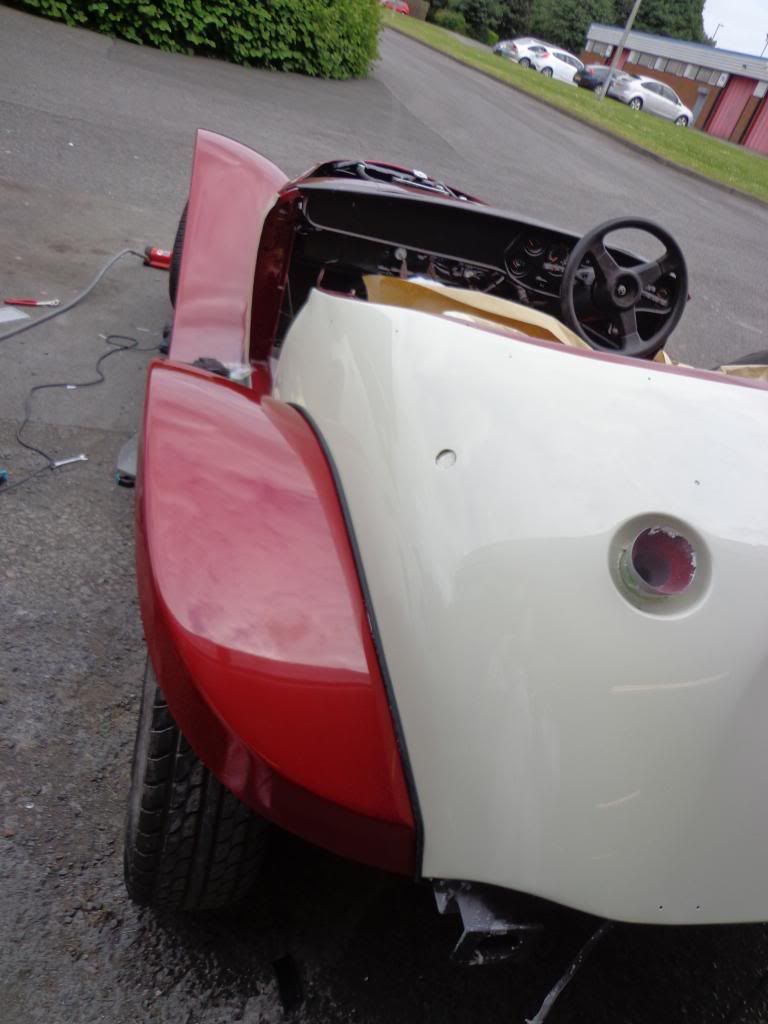
I have spent the afternoon down at the paint shop and have the wings on one side nearly finished, the paint combination works well and apart from a few bad places that I have either caused or found that need re-working.
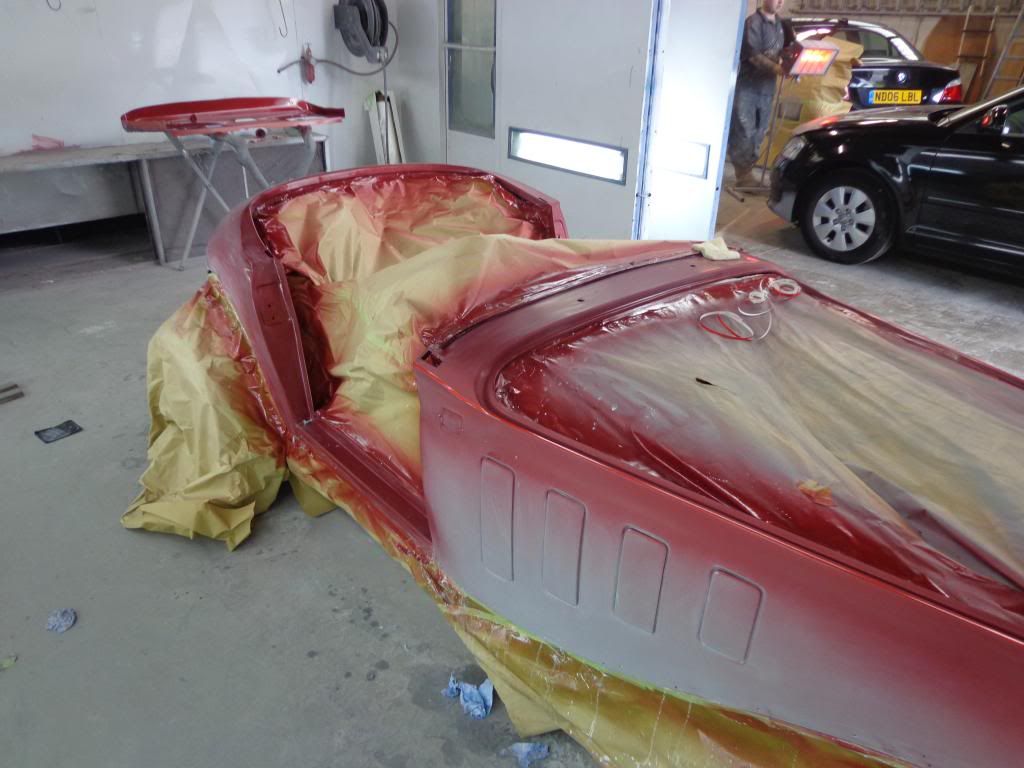
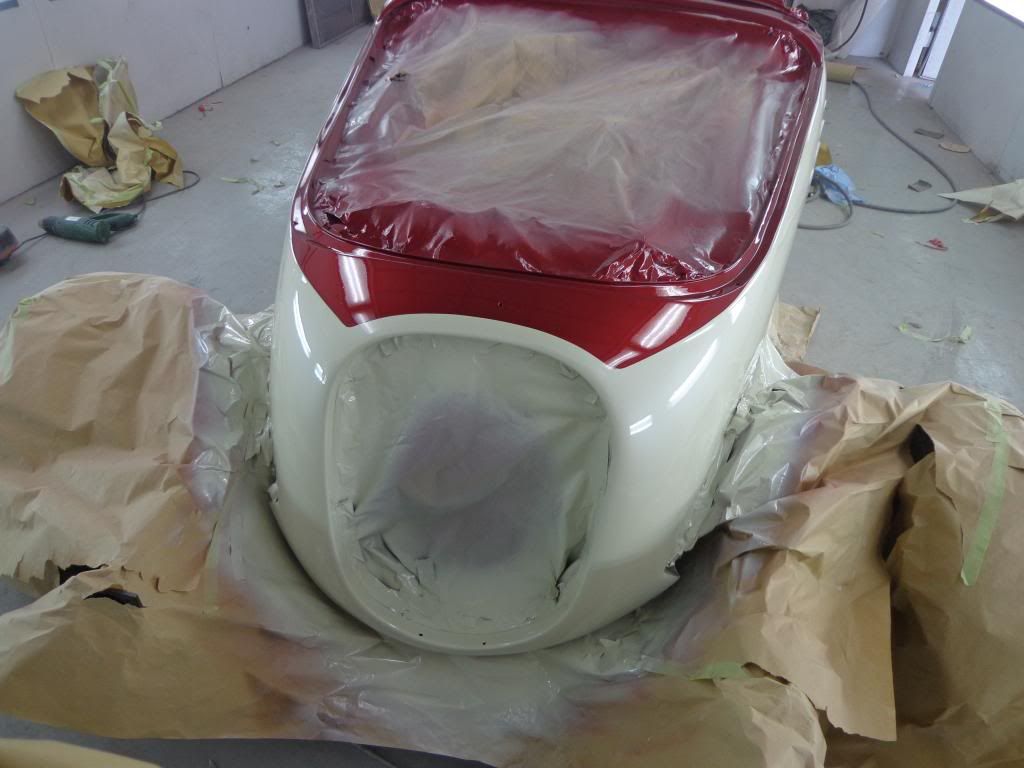
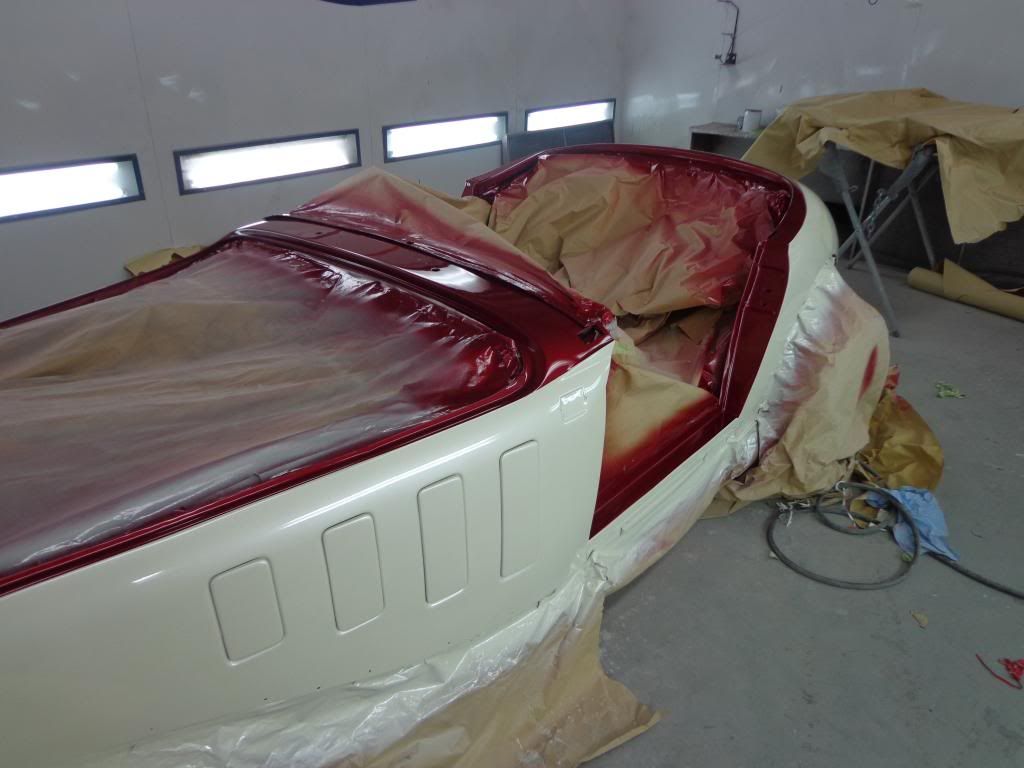
I couldn't resist going back down to the paint shop the day before I went away and carried on rubbing down the bodywork with 320grit, the lads then carried on and it was then given a thinned down coat of primer and rubbed down again with 800 wet which made it ready for the base coat.
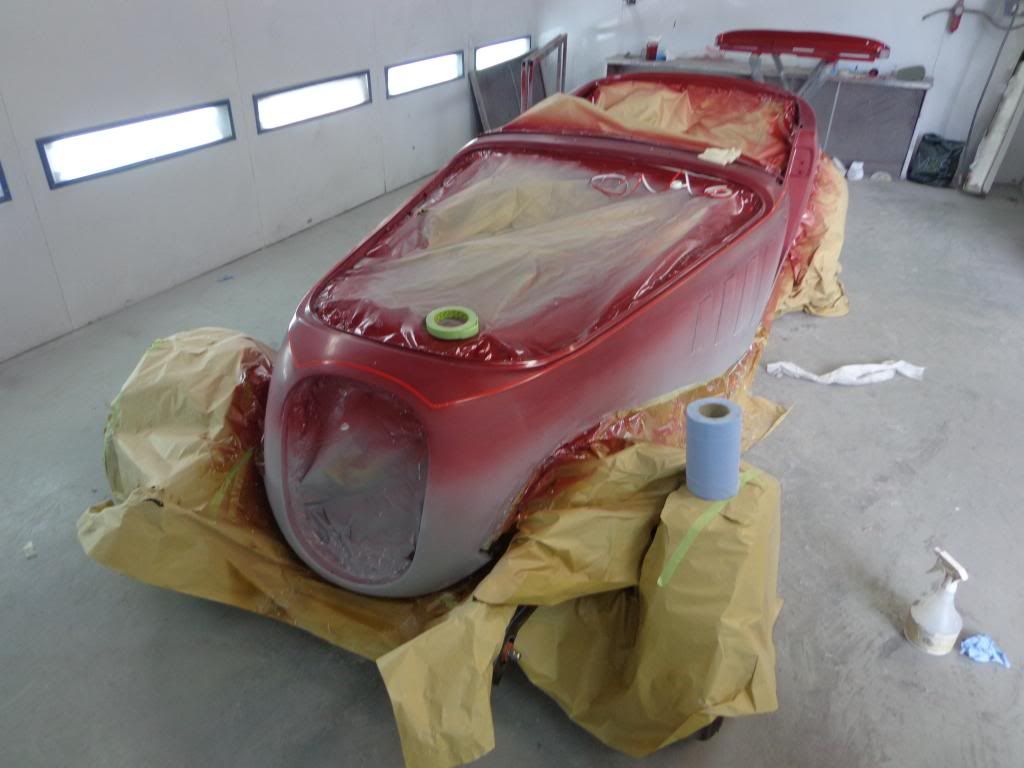
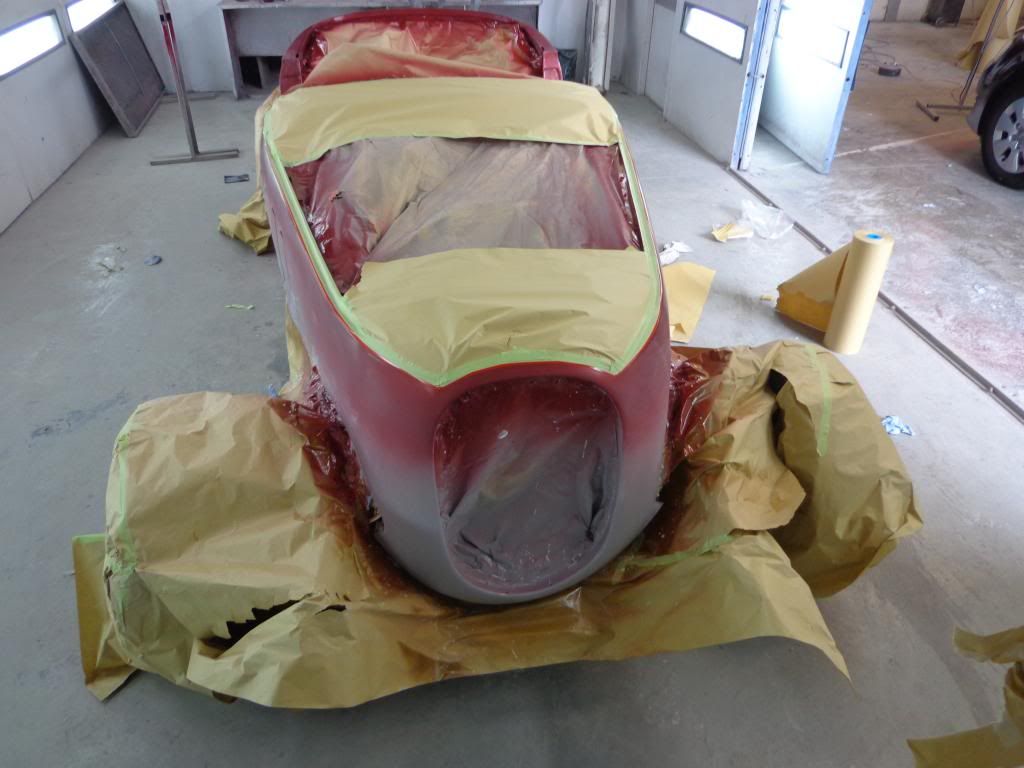
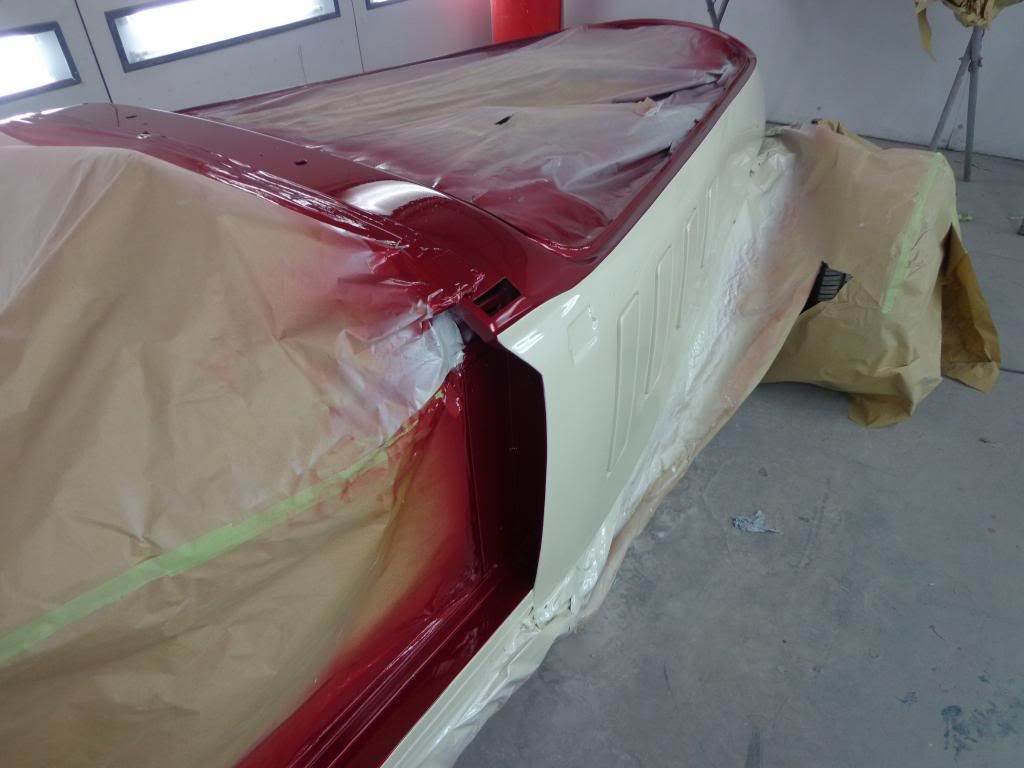
The red base coat was only put onto the areas around the bonnet and the doors as the rest of the car will be in White.
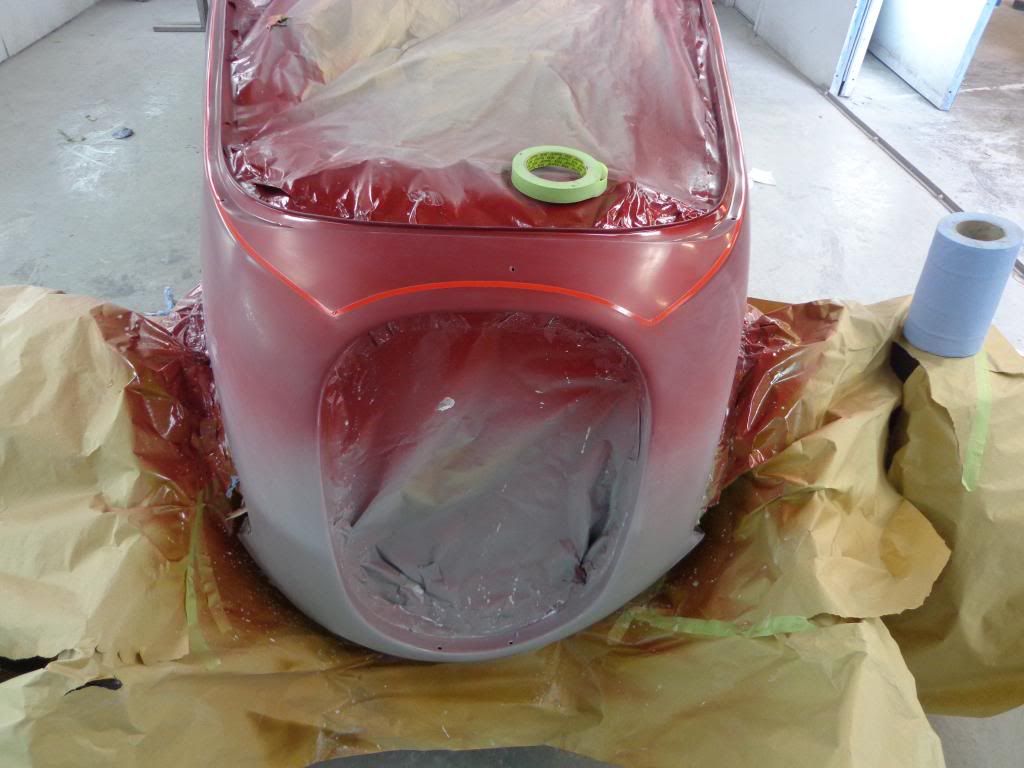
It has been masked off around the grill area.
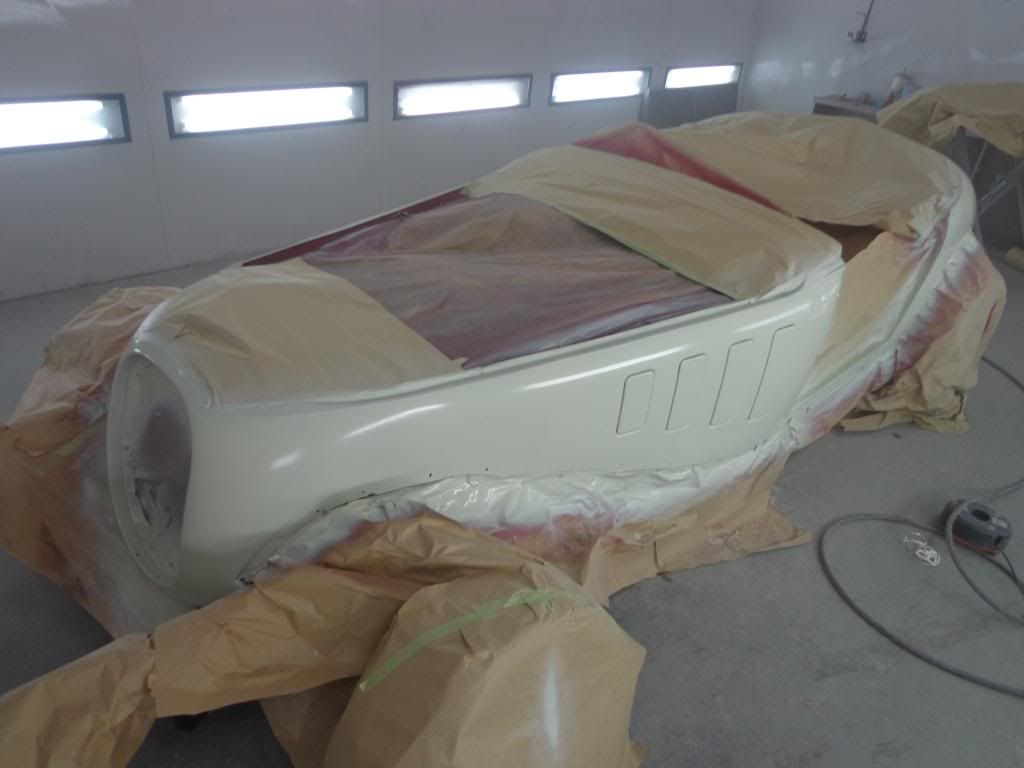
The white pearlecent is not quite white, when we picked the colour I was shown what made the colour up and I was surprised to see it contained yellow which has made it look more like a cream colour. I was pleased with this as it gives more of a match to the new steering wheel than pure white would do.
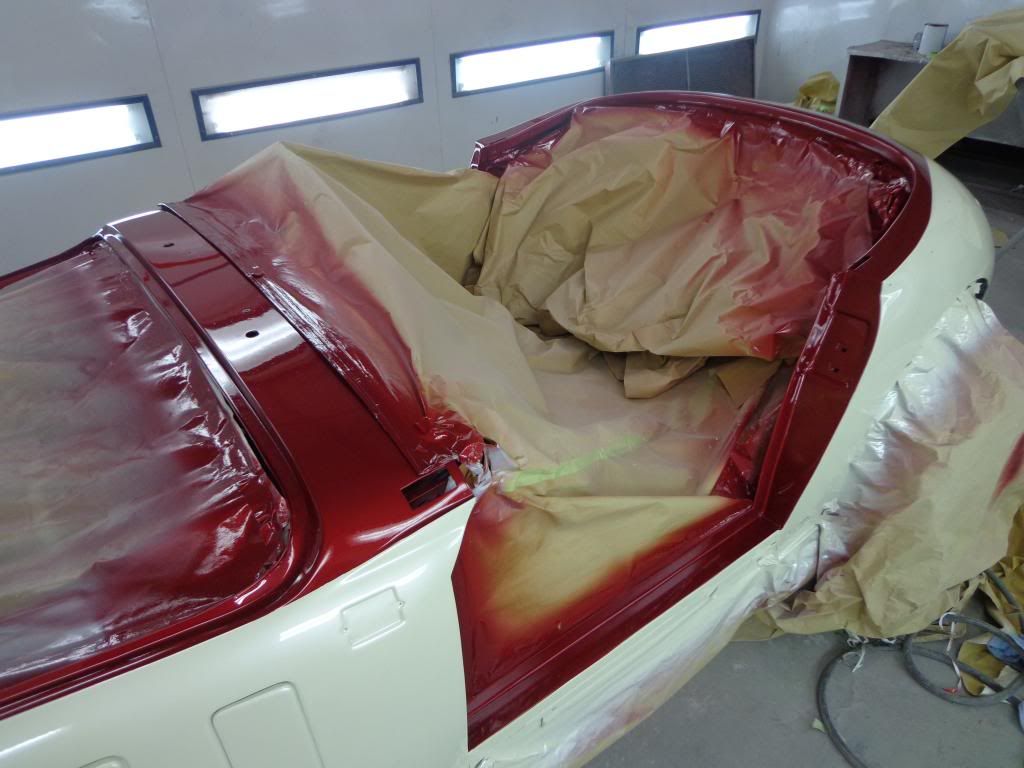
The red was masked off.
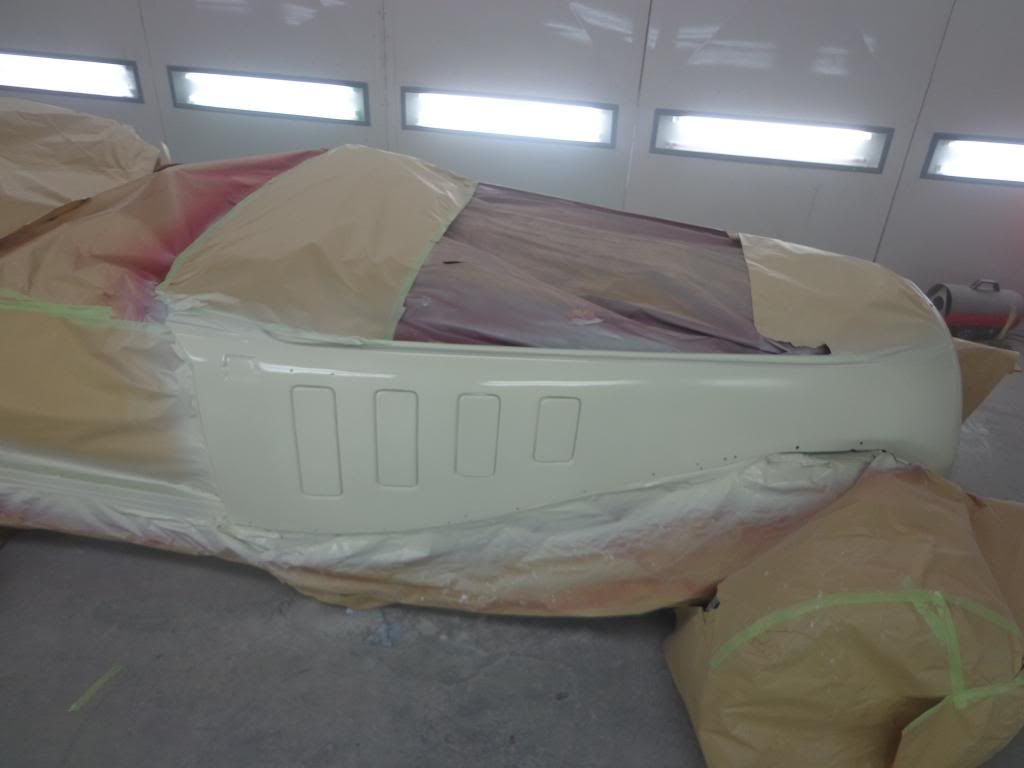
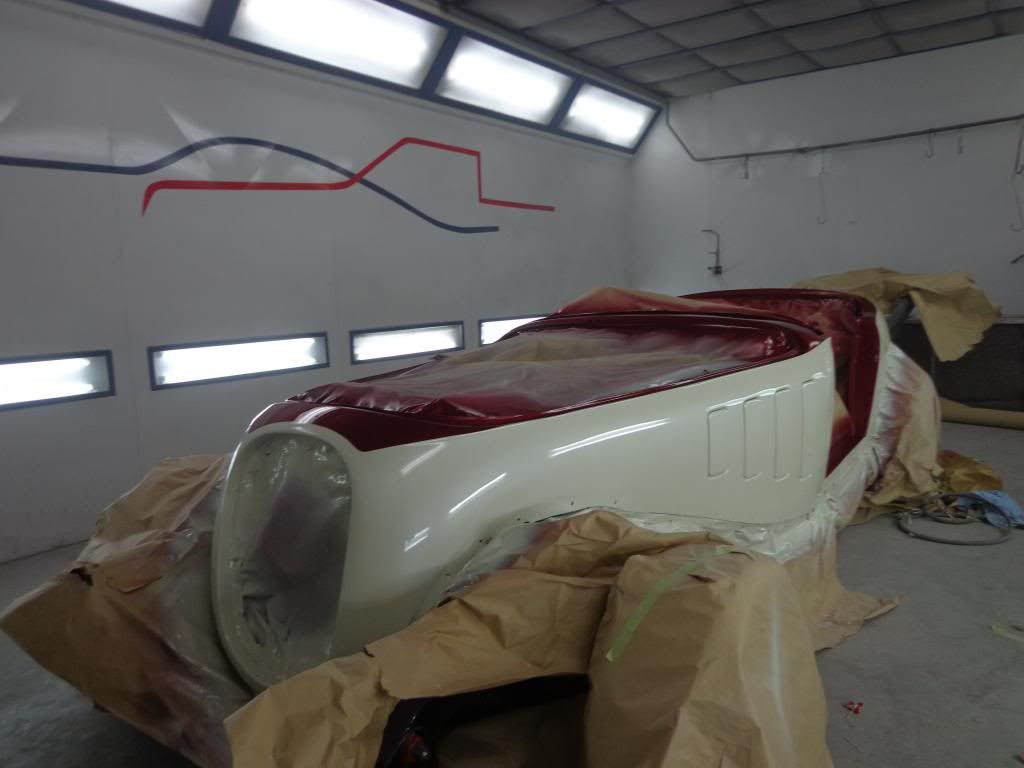
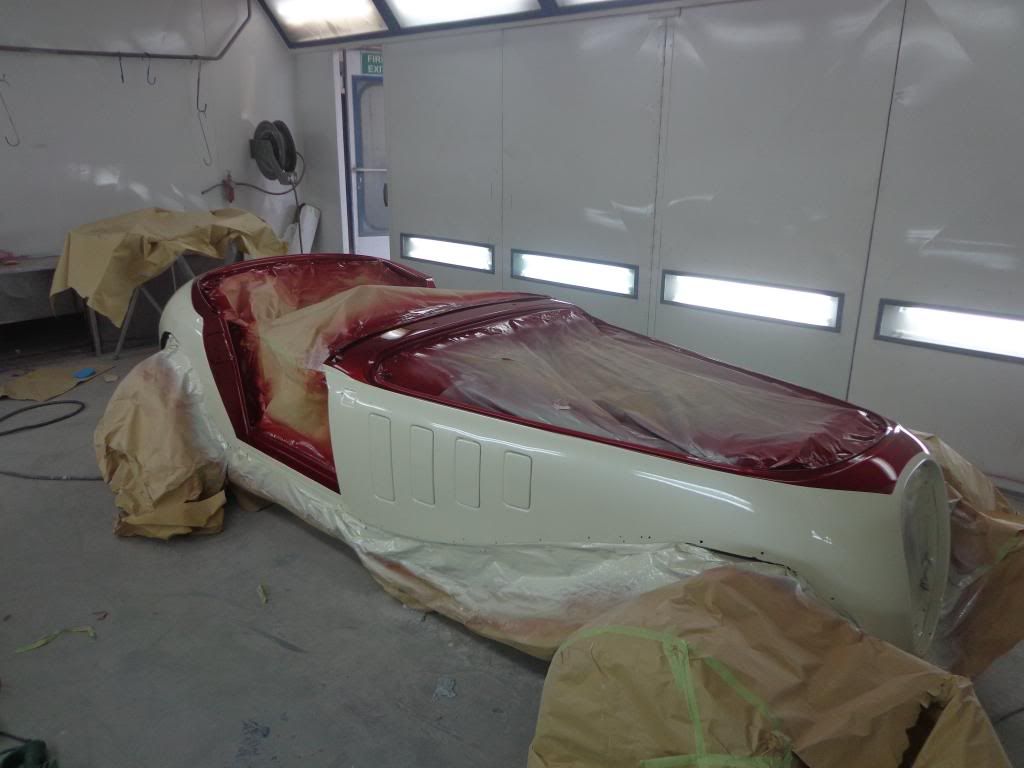
Once the white was finished the masking was removed and 3 coats of lacquer applied.
I decided on a basic design, just the wings, bonnet and around the doors are red, the idea of the red following the line around the top of the grill came from our German friends as I saw a number of cars with this design.
All of this was done while I was away so today was my turn to get stuck in.
I had everything prepared for my return, so I loaded the car got straight to the paint shop.
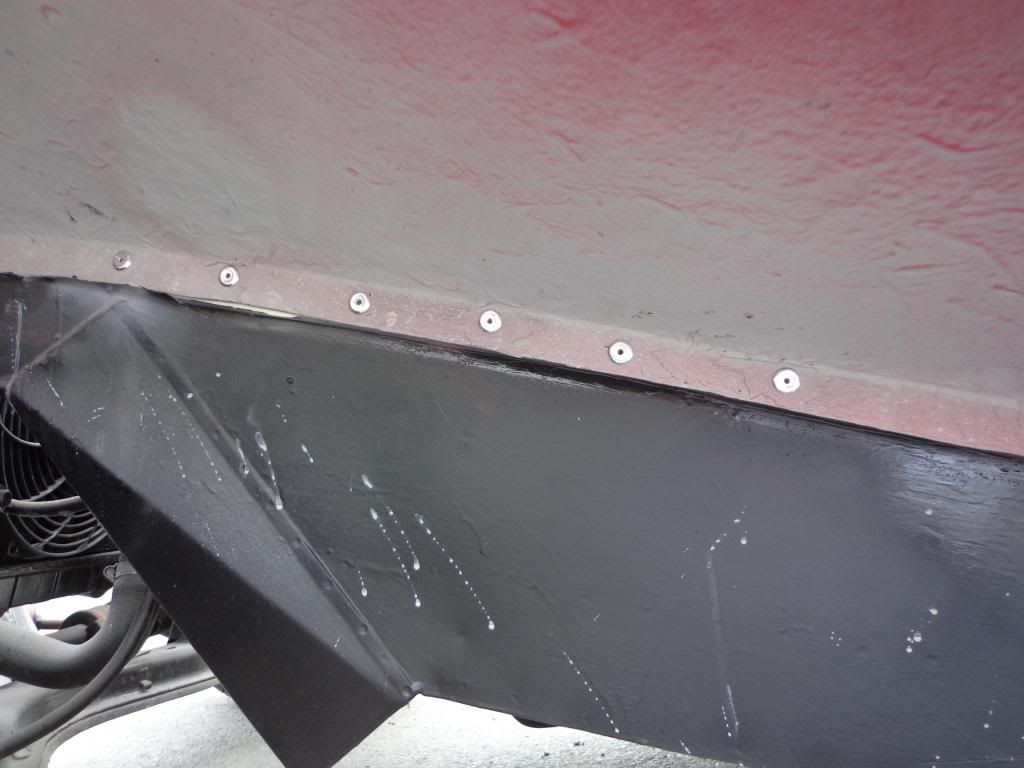
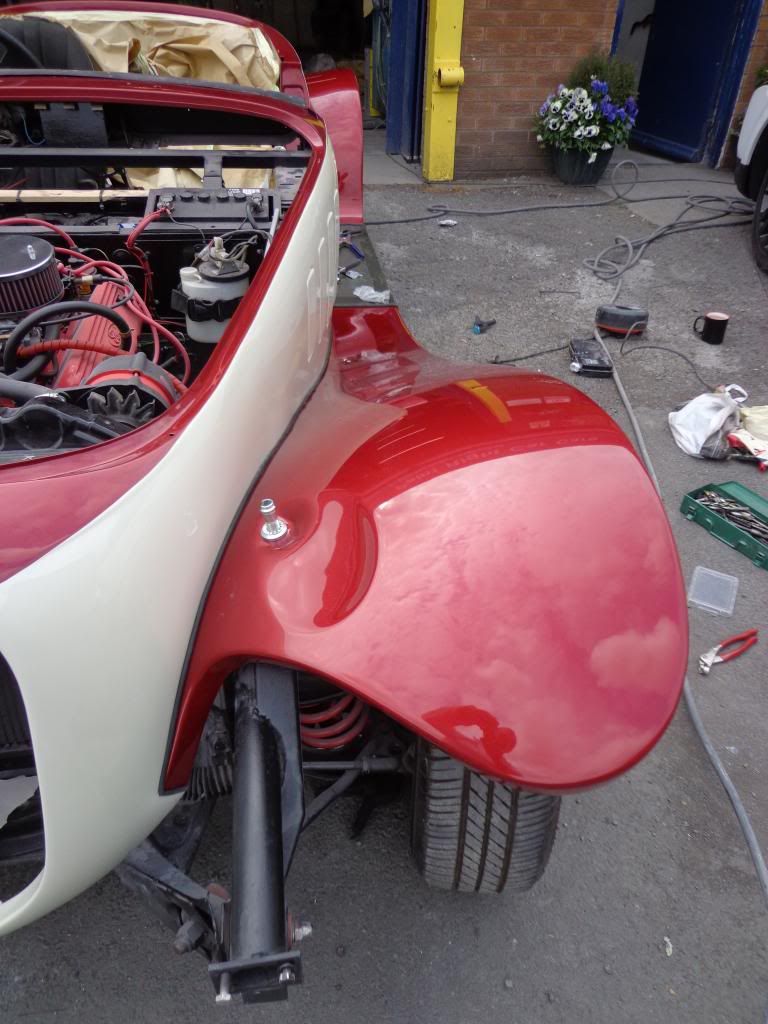
The first job was to fit the rear wing, the difficulty was trying to get the levels right and the rubber T beading from squeezing out of shape when tightening the two sections together, In the end I had to drill 5mm holes through both sides and the rubber then riveting together.

I had clamped the rear section to the body while getting the position as best I could, I am still not happy about it as the T of the beading is not as tight as I would like so when complete I shall lift the edges of the rubber and squeeze sealant in place, should have done this at the beginning and will do on the other side.
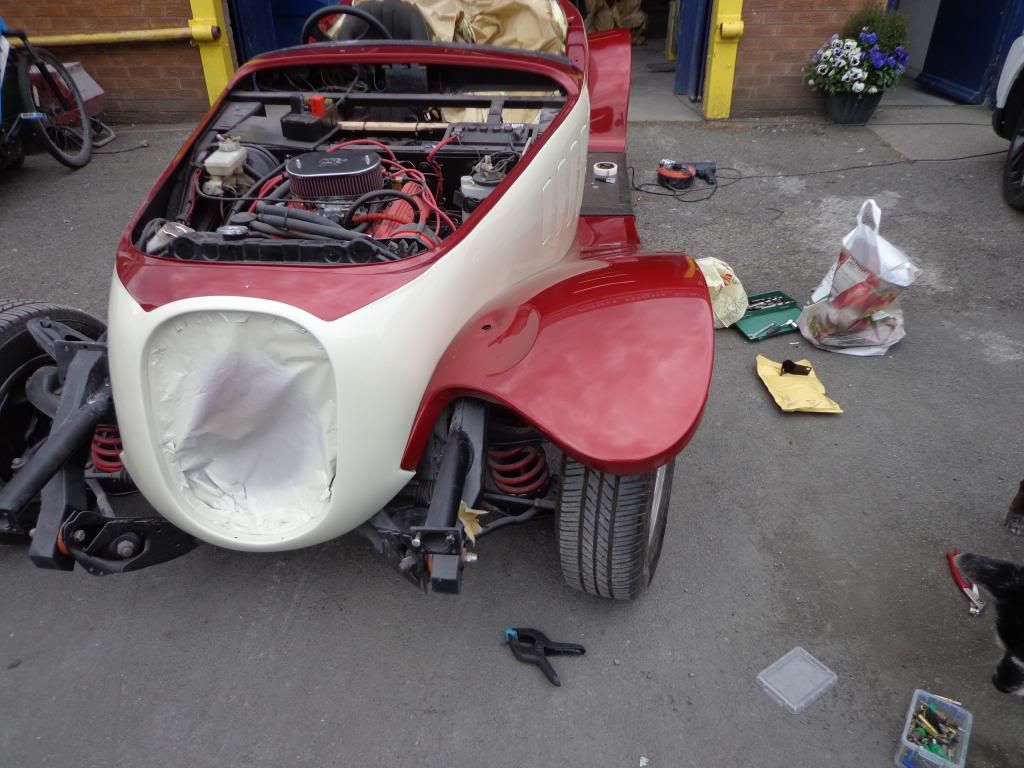
I then fitted the front support arm and the headlight bracket before getting some assistance with the front wing and bolting that into position, I had the same problem of the rubber squeezing out of position and again ended up riveting first.
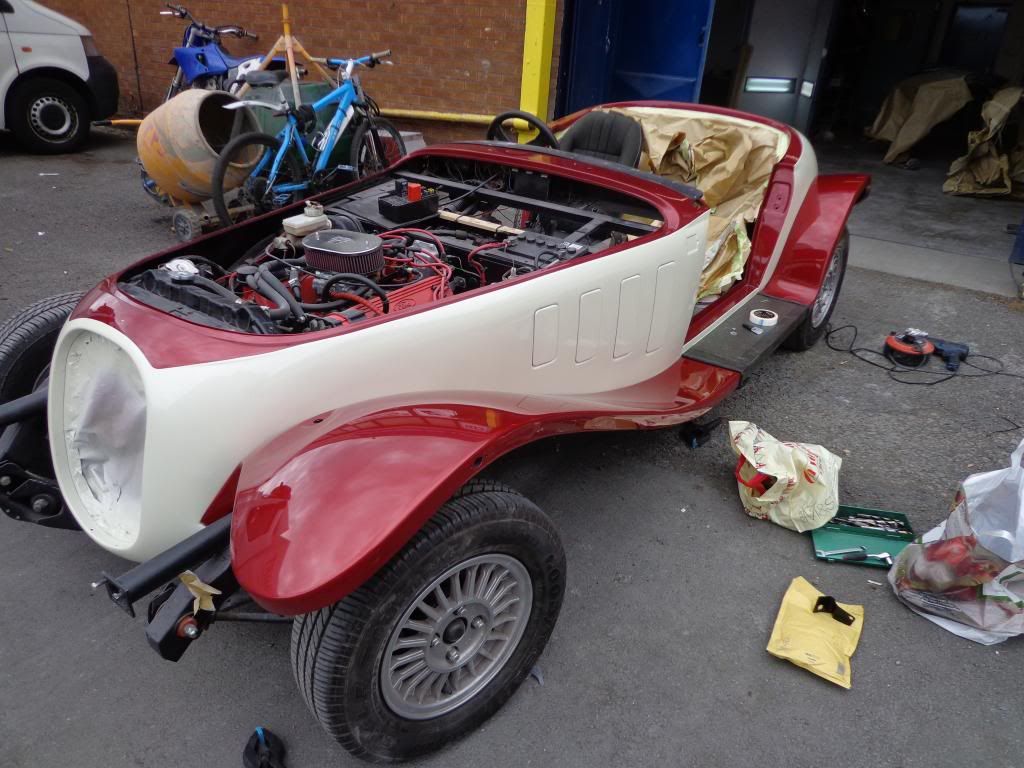
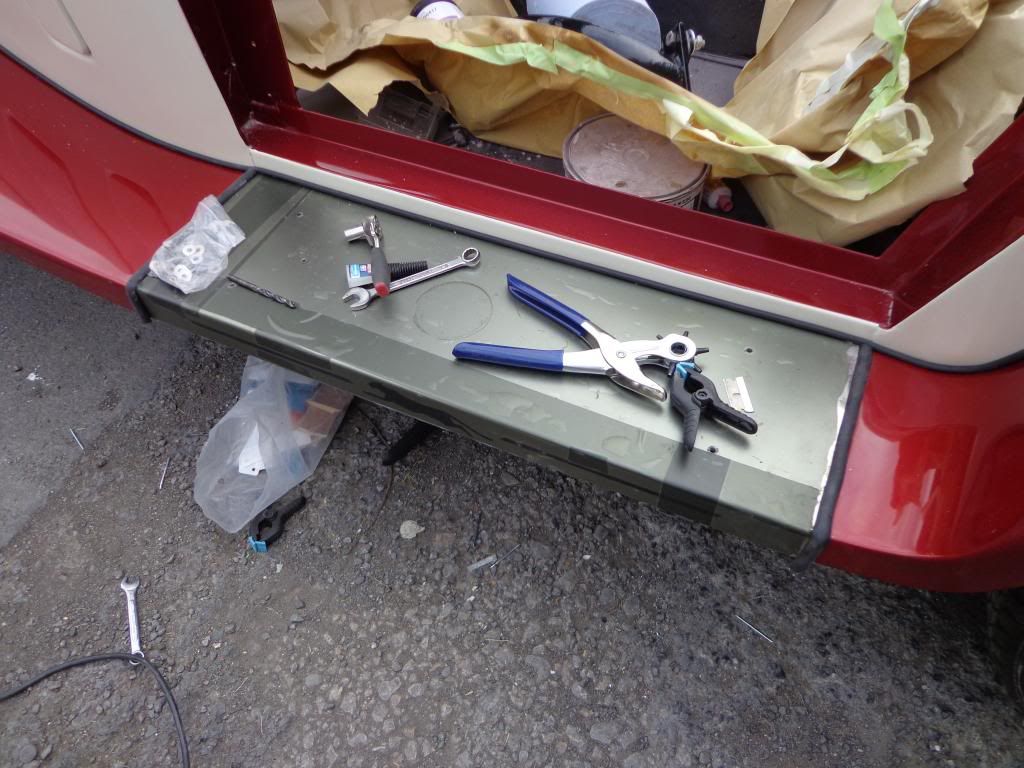
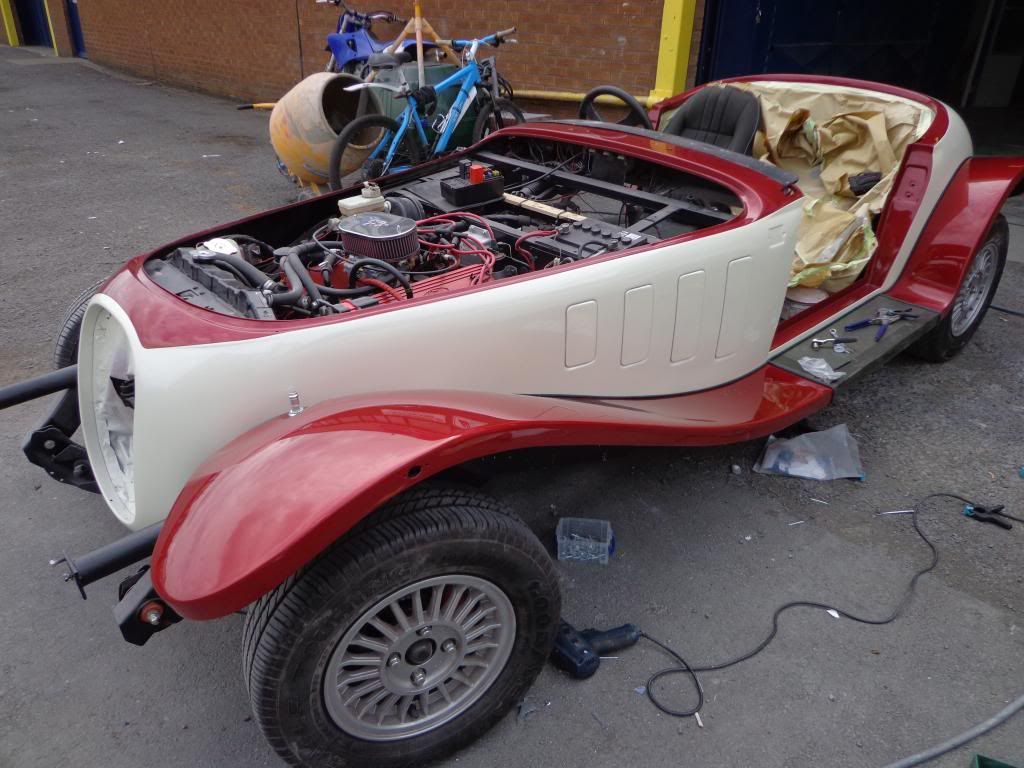
Once the step was riveted and bolted I then recruited lots of help and the whole wing step combination was lifted off and taken to a work bench.
I then ran extra strong double sided tape along the whole length.

I had prepared the wing piping with the cuts to go around the tight areas of the rear wing and started sticking on the piping there first then continuing along.
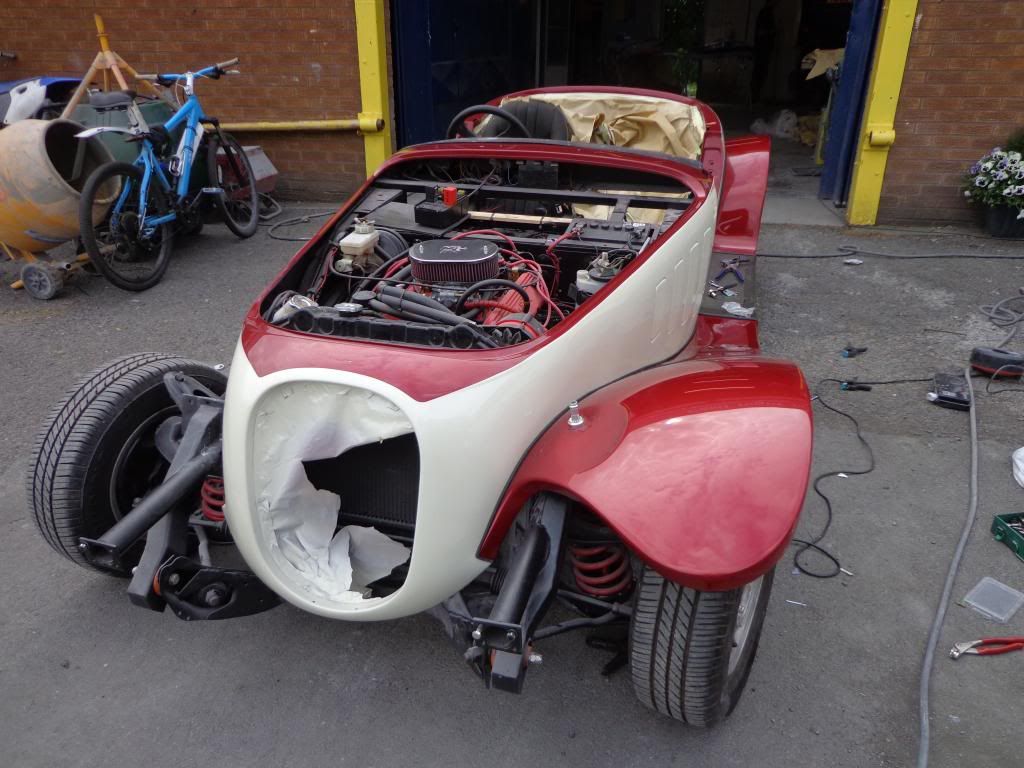
When all stuck on, we very carefully carried it out and positioned the step on the studs, the front wing was positioned and bolted on the support arm and clamps kept the rear wing in position. only then did I breathed easy, no damage.
When I was basically happy with the position I started fitting the 5mm rivets, I had bought a air driven rivet gun for this job and it worked great.
There where a couple of areas that needed wedging to bring the body closer to the wings before riveting but generally it was a good fit.
The two areas for wedging where at both ends of the step area.
The riveting pulled the beading tight up to the body which I hope will be watertight, I completed as much as possible but I was unable to drill some of the holes without my right angle drill attachment and I also need to remove the wheels for access which I will complete tomorrow.
I
I shall finish this side and hopefully the lessons learn't will make the other side a little easier.
see ya Paul
No comments:
Post a Comment