
Well not much to write about as progress is slow while waiting for the parts to arrive.
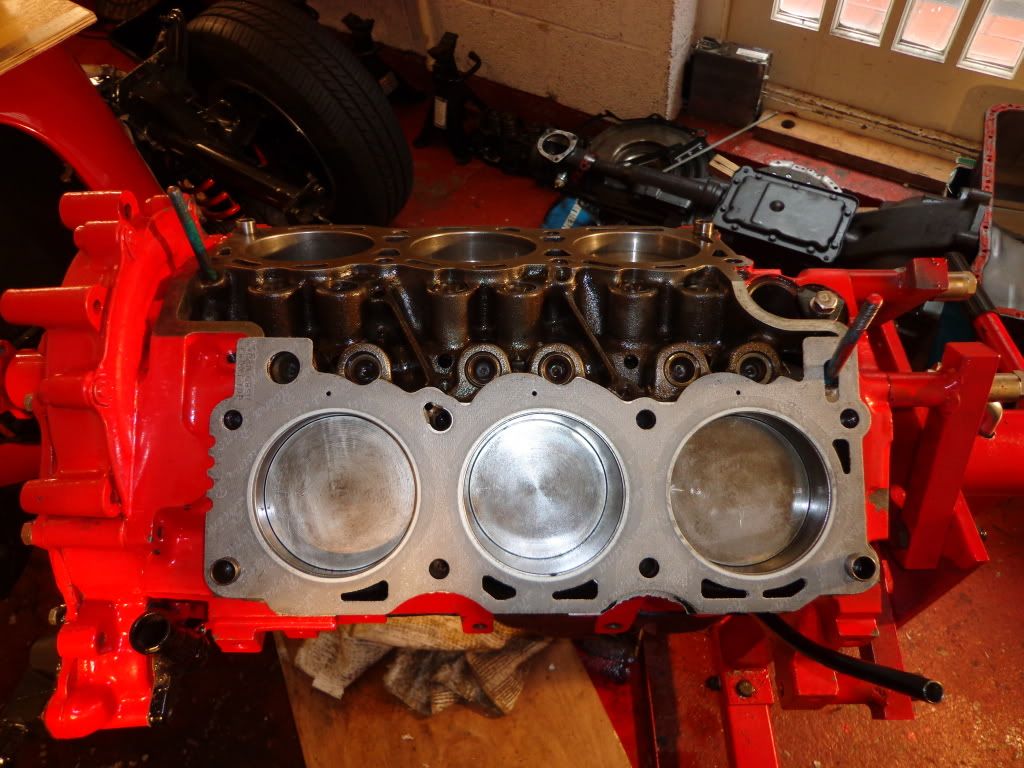
I have managed to get a few bits complete, all of the pistons have been removed and cleaned and replaced everything was fine with these. They just required a spray and clean where a little of the emulsified oil had gotten into the shell.
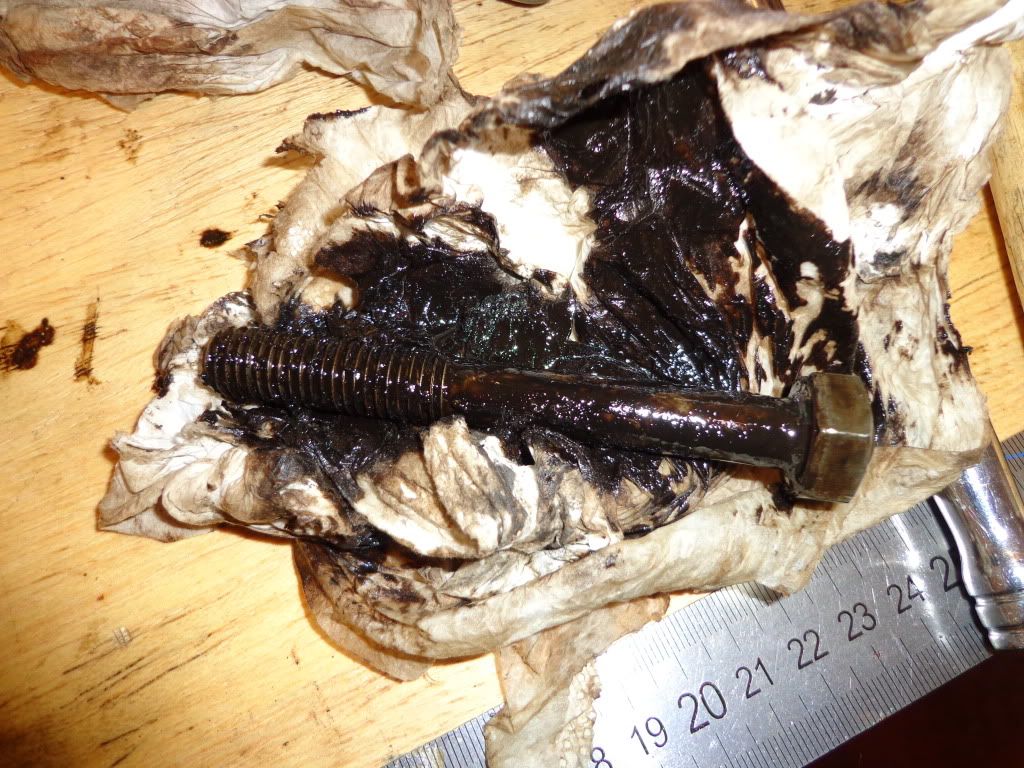
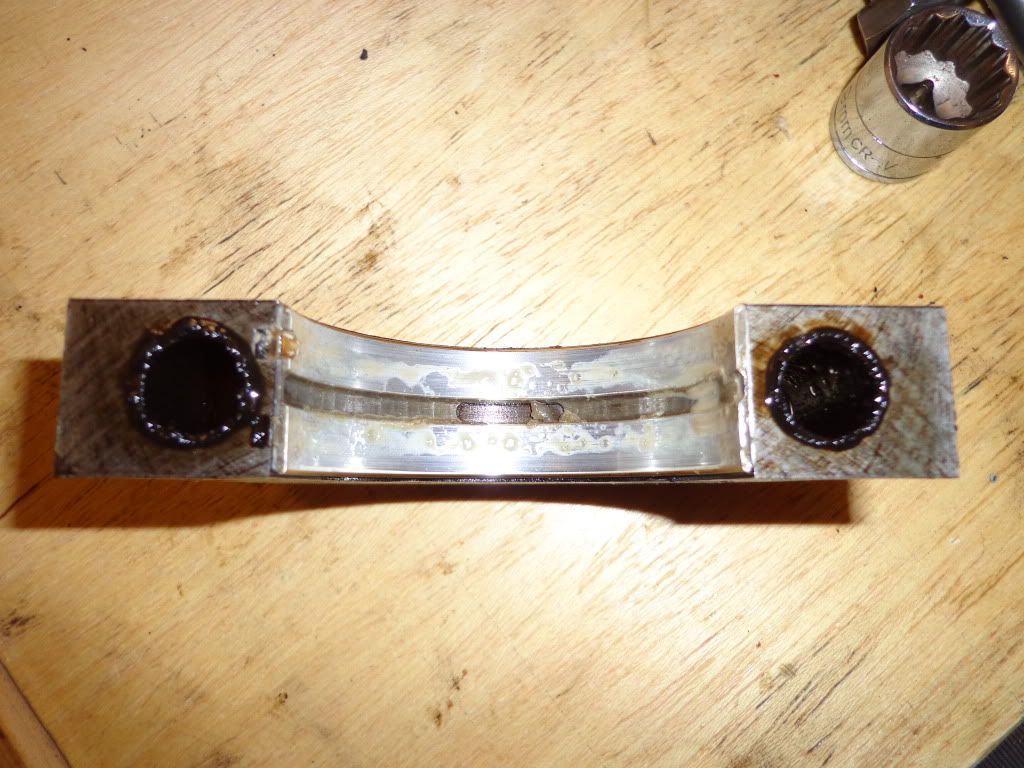
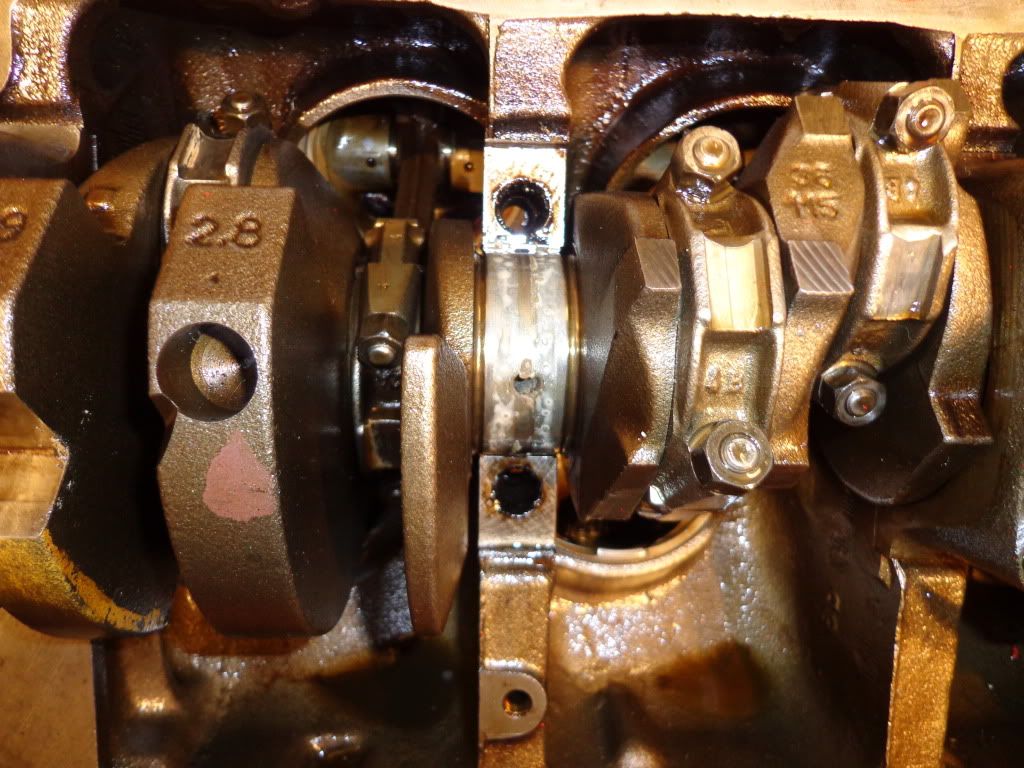
The main bearings shells were also in great condition although the oil way's around the wasted bolts were full of black sludge so the removal was a very good idea.
These are all spotless now and the oil passage ways have been oiled and blown through.
I also removed the most rear cap even though I had it off to refit the sump gasket and oil seal, this was because before deciding to remove the engine I had thought about trying to remove the damaged piston in position and to do this I had to remove the sump pan. Two things I learn't while under the engine is that I had an oil leak from around the rear of the sump, this could be from either the gasket leaking, the new oil seal leaking or from the interface of the rear bearing cap not sealed correctly. The other thing I found out is that you can't access one of the sump bolts next to the curve around the rear oil seal, it is just impossible to get a socket in position you can't even get a socket on while the engine is turned over on the stand never mind under the car. So the engine had to come out, although this effort did make life a lot easier.
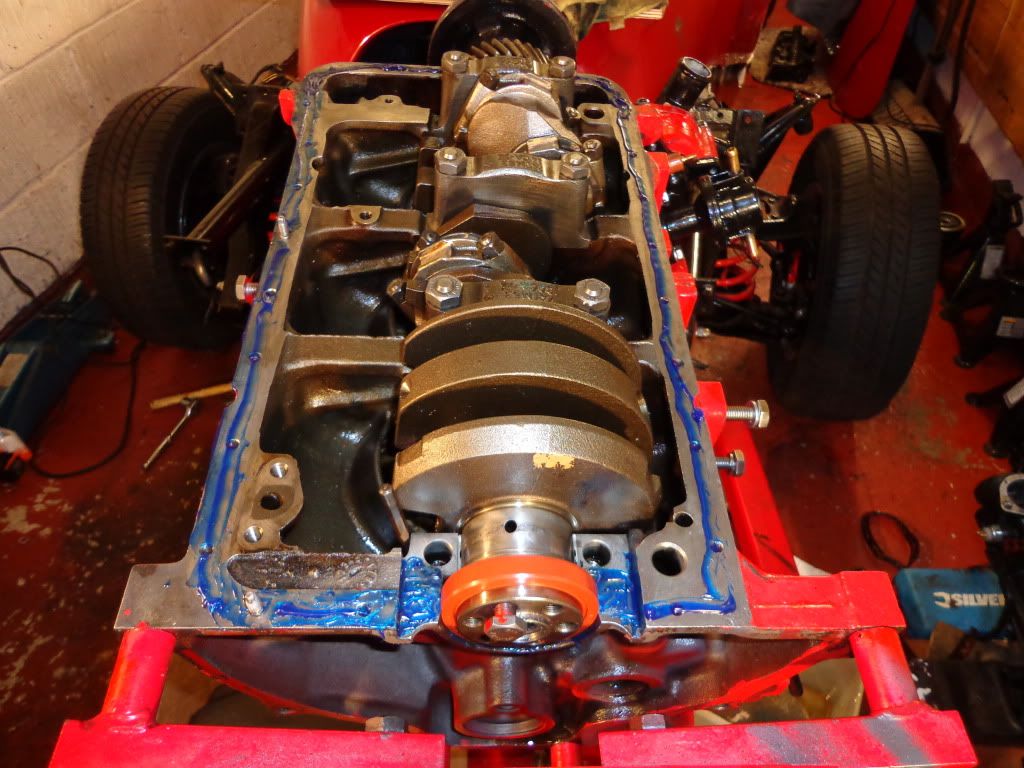
Once everything was cleaned up I used most of a tube of my new Hylomar blue on sealing the cap interface, around the outside of the oil seal and under and over the sump gasket.
I had thought that maybe the sump gasket may have been the source of the leak and because I was using a old style sump pan without the buttons on to keep the gasket from squishing out I though I might have a go at repairing the original pan. I had a couple of sticks of silver solder lying around for years so I begged the use of some oxy acet gear and after giving the area a good grind I silver soldered the holes and the general area.
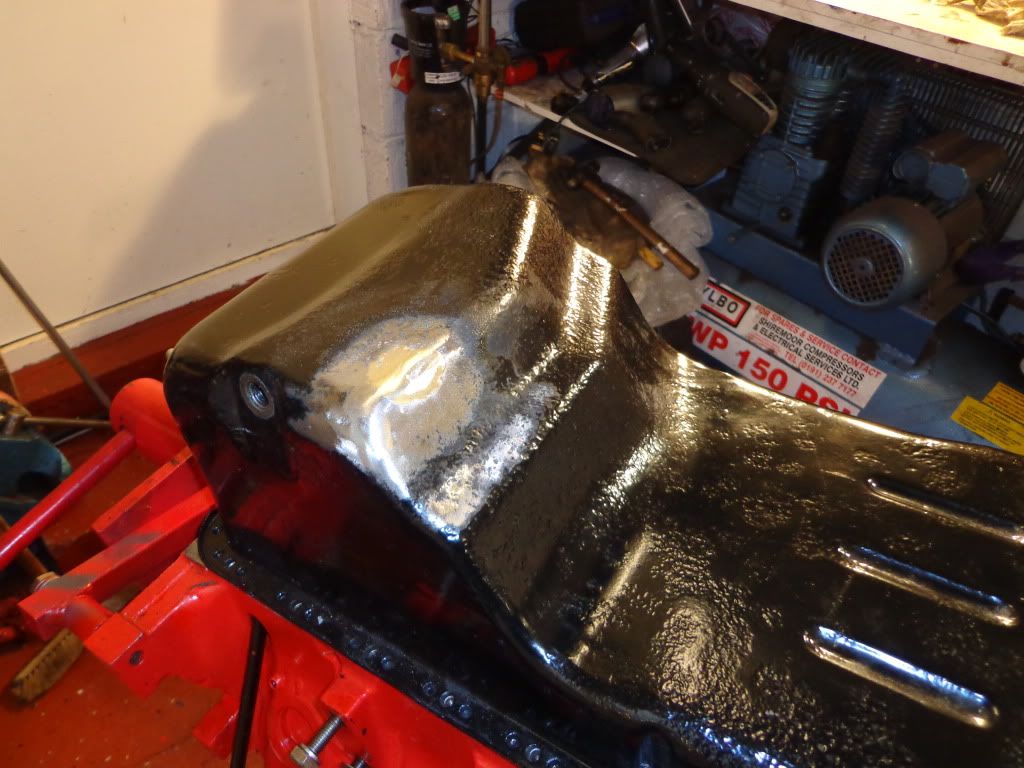
After a water test that held Ok I think I'll chance it. I have also got hold of a tin of Rust Bullet resin paint so I rubbed down the whole pan an give it a coat. When it was dry last night I gave it a coat of Stone chip.
The gasket and bearing cap was fitted and torqued down to 95Nm then with plenty of blue hylomar, the oil pump then sump pan was put on and tightened, I have made sure to take it easy and not let the gasket squeeze out by over tightening.
I am still waiting for the engine paint to arrive so until then I made do with just the prep work for painting, plenty of gunk to get all of the oil off and a good rub down with a scotch bright and wash down. I have also removed what I can and painted separately.
Not much else I can do until the head arrives, I have had confirmation that they are working on it and hopefully it will arrive before I return to work.
I have fitted one of the heads, after cleaning the faces and double checking that nothing has dropped inside.
This is the new gasket, I have fitted the head over unit 5, out of sight out of mind.
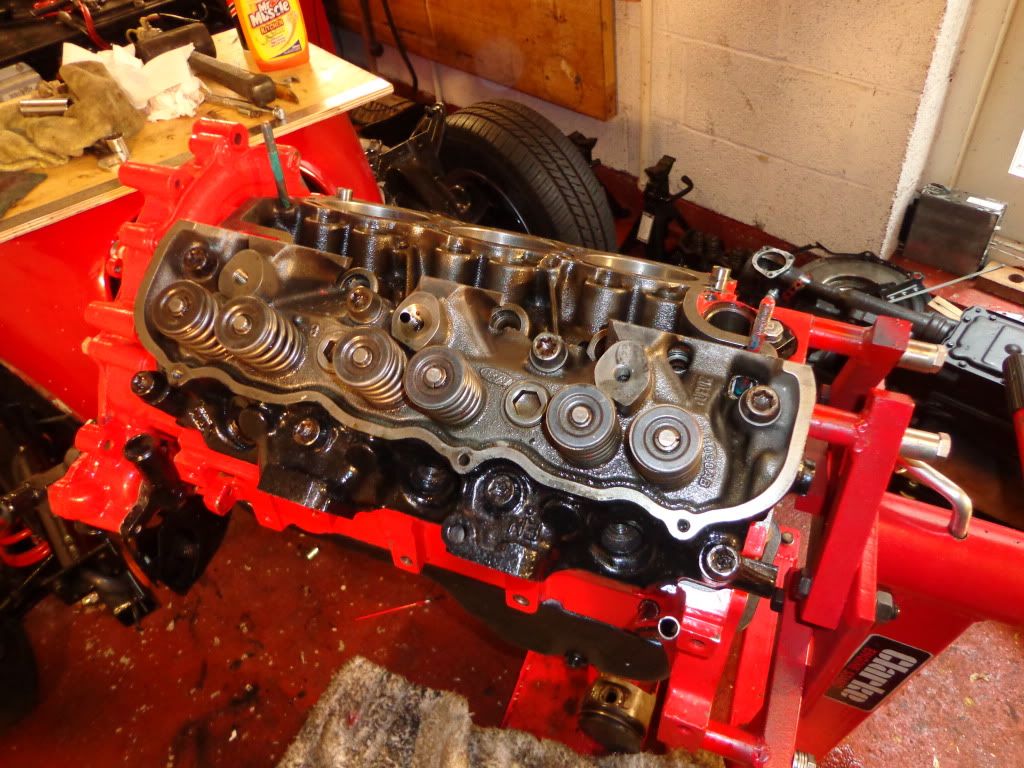
I have not torqued it down yet and shall wait until both heads are on before I do that, guess I'll just have to wait.
see ya Paul
No comments:
Post a Comment