
Hi
More deliveries today and my new / used piston was one of them.
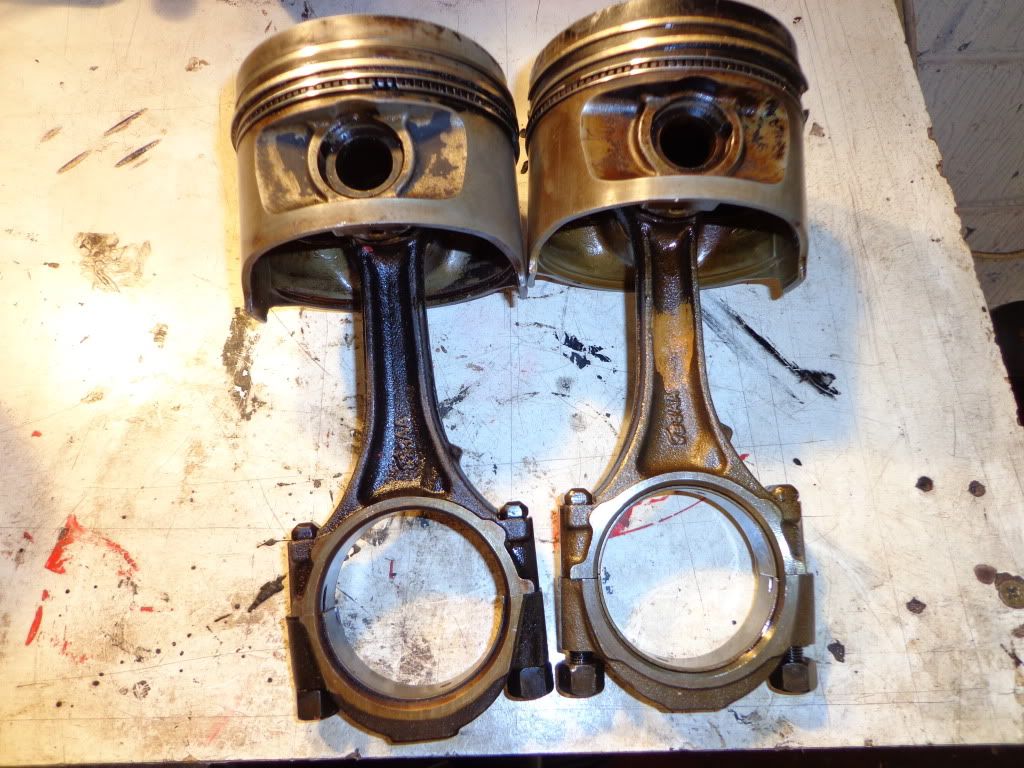
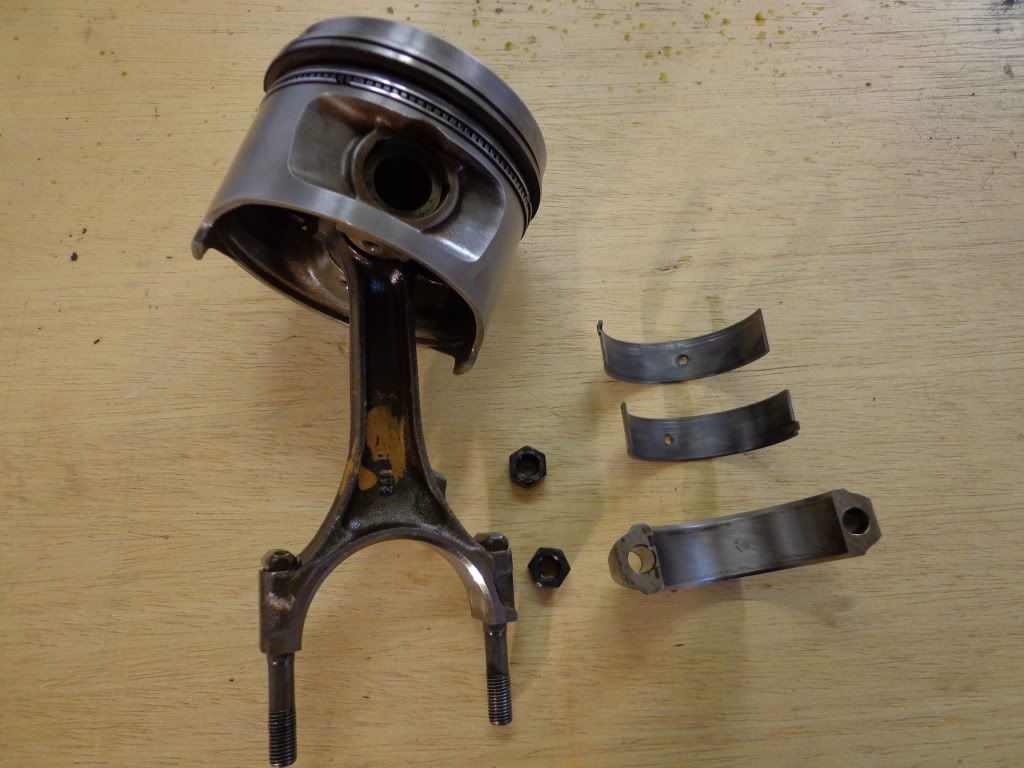
The new one is on the left of the photo, just a little oilier and a lot less damaged.
I was just going to use the crown from the new one and use the original conn rod but after trying to remove the gudgeon pin I soon realised that it had been pressed into the rod and unless I used a lot of brute force it was not coming out. I had asked when ordering the piston if I could have the piston from unit #5 because of the number stamp just in case I had to use it, I checked the part numbers and everything matched so after a good clean up in it went.
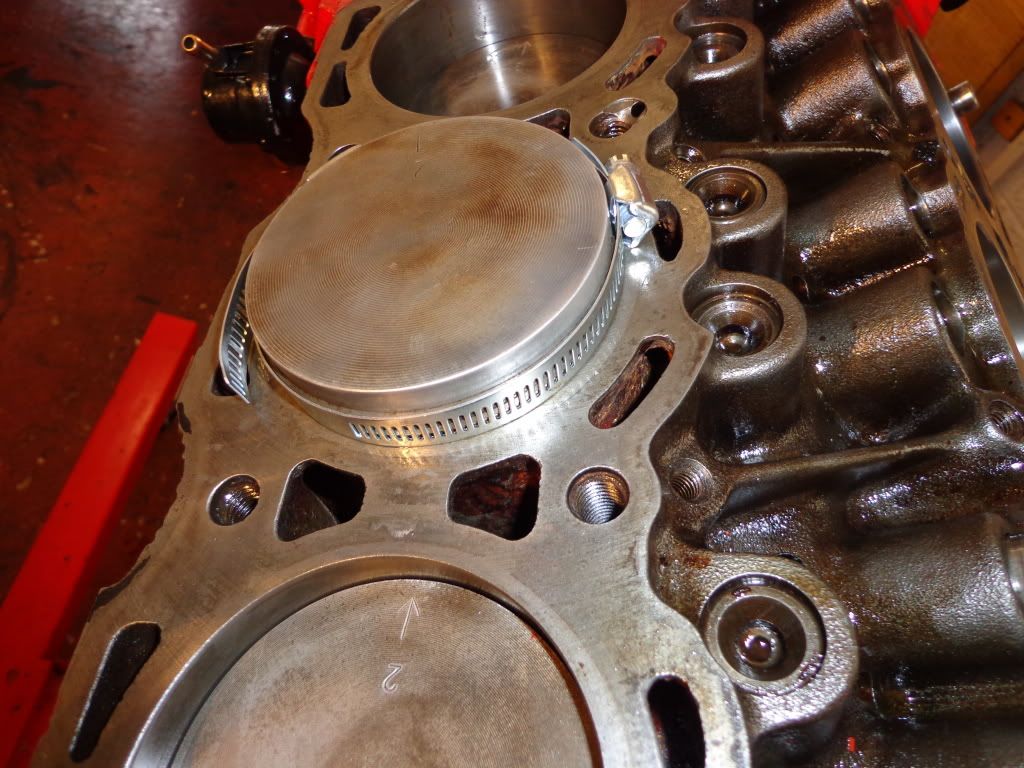
I did not have the correct ring compressing tool for fitting the piston so a little imagination required, well a couple of worm clips.
Plenty of oil and the bearings went in and torqued per the Haynes manual to 31 Nm or as near as I could get.
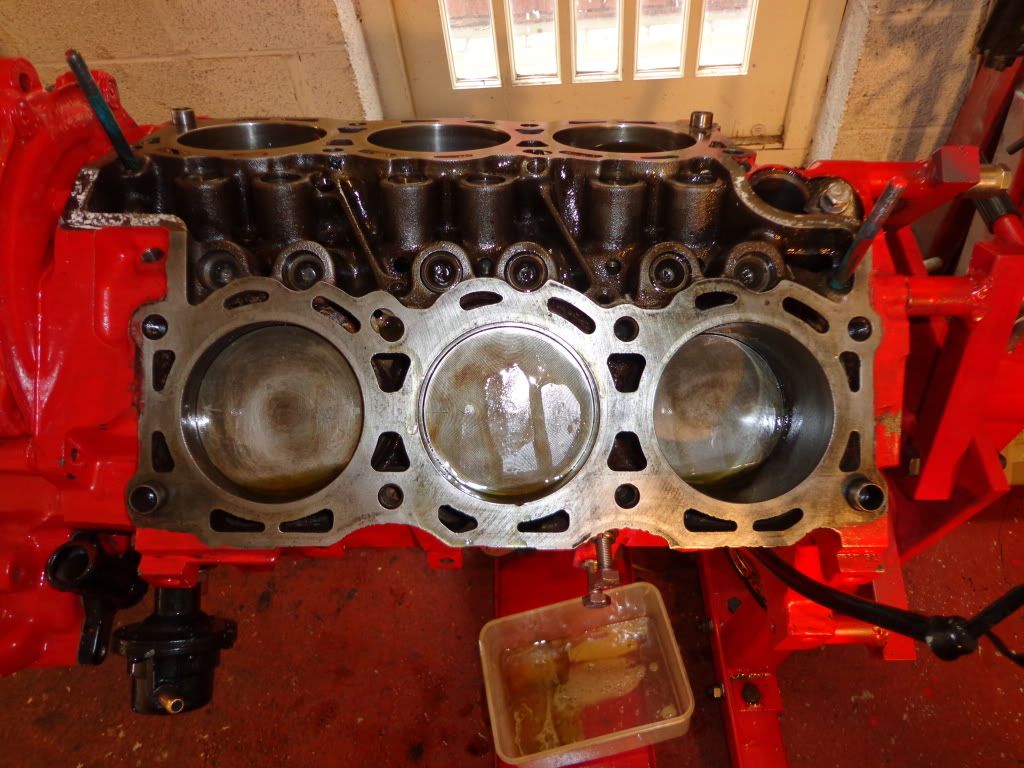
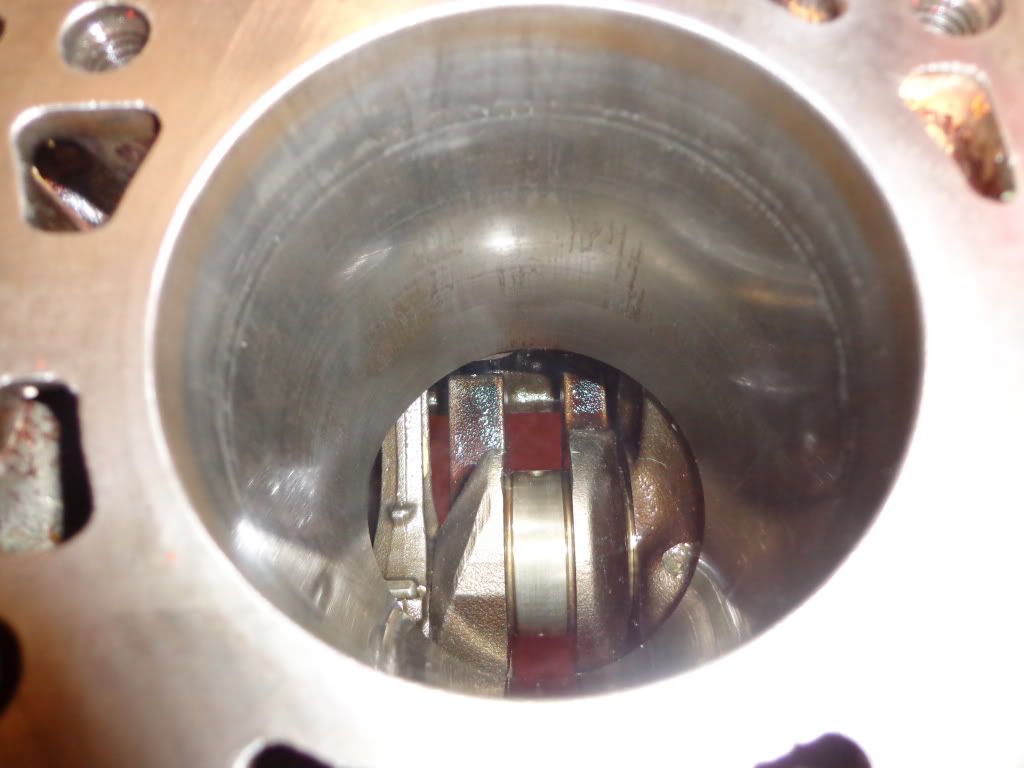
After fitting the piston I oiled everything up and gave the engine a turn. I then decided that as unit #5 had a lot of oily rust in the bore then maybe the rest have, so all of the pistons are to come out and all crank bearing caps are to come off.
After the first piston came out I am glad I decided to pull them.
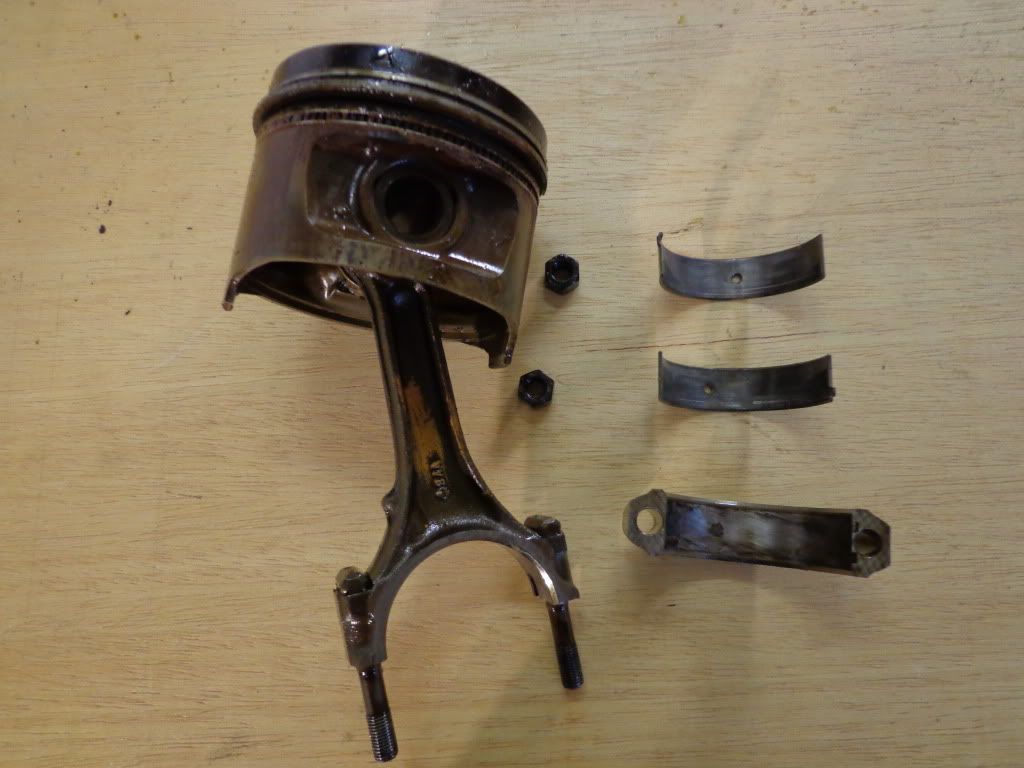
The piston is a little cruddy but the rings still have movement so with the oil additive they would / maybe have cleaned up. Anyway a little bit of elbow grease and it cleaned up nicely, unfortunately I also do not have a ring expansion tool so instead of risking breaking a ring I just left them in place and sprayed plenty of WD40 into the groove and cleaned as best I can .
The bores were also a little cruddy.

So the rotary wire wheel and a good rub with the diamond paper and they came up nice.
I have only managed 4 units today and will carry on tomorrow and get everything spotless.
til tomorrow
see ya Paul
No comments:
Post a Comment