
Well last day before I go back to work, (seem to say that a lot). Not as much to report this time home as most of it has been cleaning and painting.
With the axle and fuel tank out of the way I managed to get at the rear underside, as I said before this was in really great shape with just a few places needing a bit of rust removal and rust cure applied. Then a scrub up with degreaser and a bucket of floor cleaner and ready for painting, I removed the fuel pipes which are all new to the engine by the last owner then rubbed up the paint to give it a key and gave it a good coat of chassis paint. I started on the wheel arches next but only managed one of these, getting of the old undercoat was a bit messy but a wire wheel on my grinder made light work of it.
Just a note for those that are going to work on there car this winter, have a look and a feel under rear lower section of the wing as I found a hole. It feels like it is a proper cut hole and not corrosion and is in one of the worse places to be as all of the wet gets thrown into that corner, so a real corrosion problem.
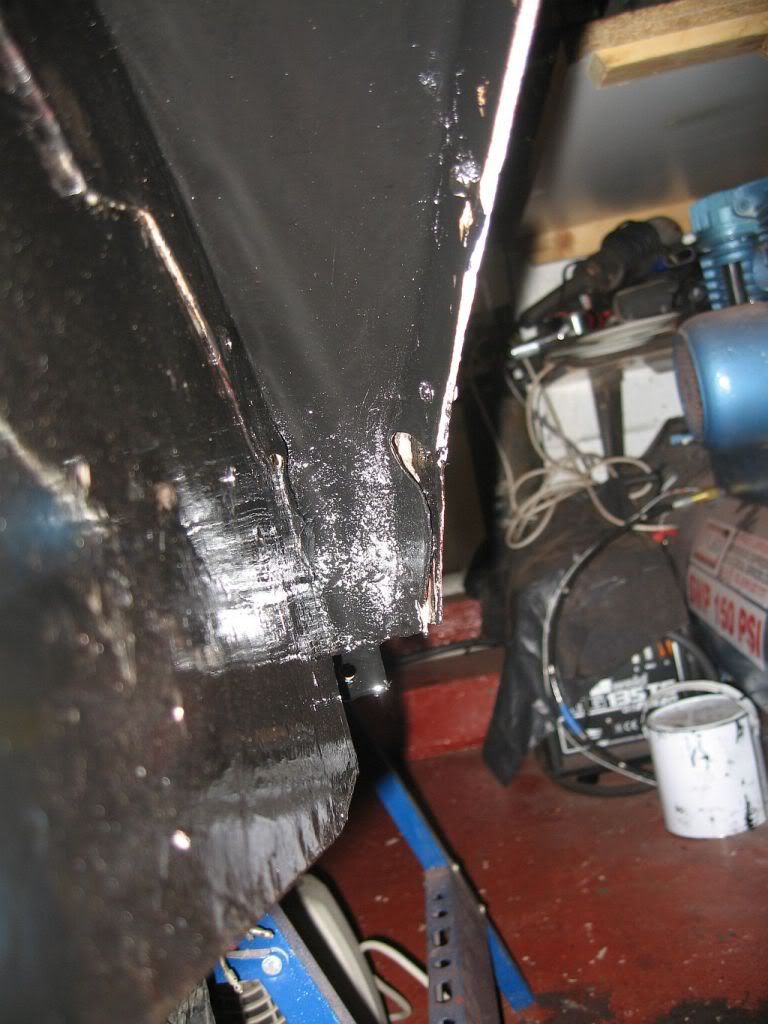 |
| Just a few inches from the bottom |
This is defiantly going to get filled before underseal is sprayed on.
Next effort went on the fuel tank, a bit of rust on the lower weld edges and signs of brazing on 2 of the edge corners but other than that it cleaned up rather nice. I removed the sender unit which also looks in good condition, I don't know if it works yet but will put a meter on it before I refit and see if I get any readings.
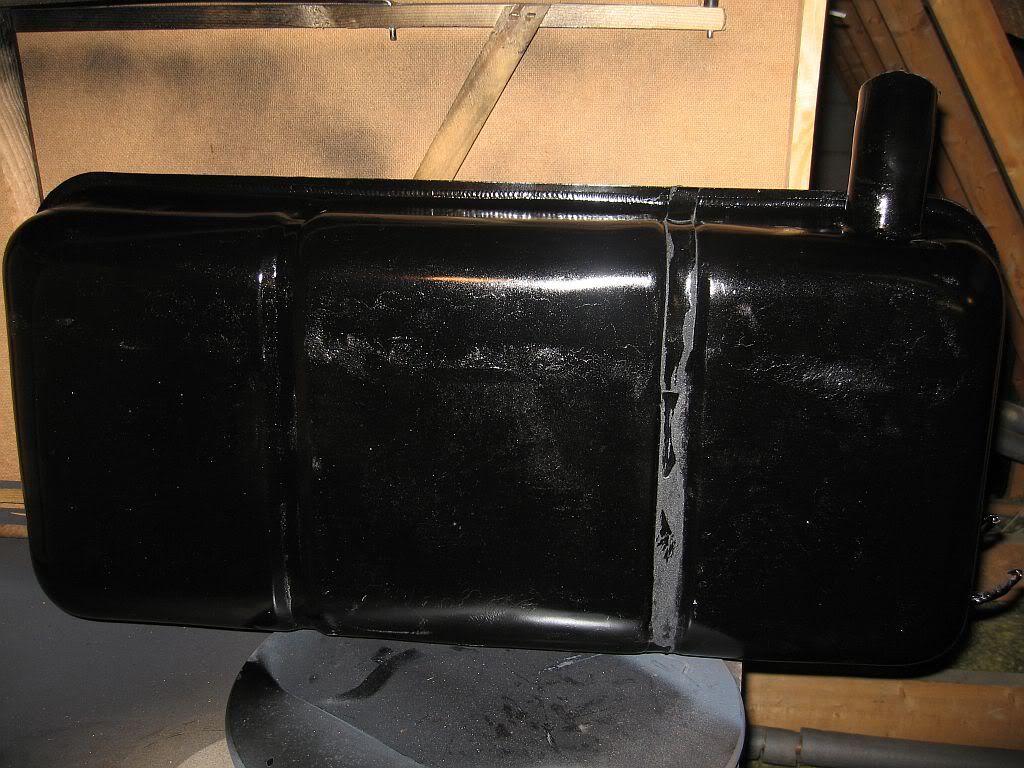 |
| Fuel tank |
After a good cleaning I gave it a couple of coats of primer then a couple of black and its ready to fit, need to wrap around some sound deadening strip to stop any road noise and rubbing first. Also had a look inside and its not to bad at all.
The axle came next, quite a bit of weight in this; you don't realise how much steel goes into one till you have to hump it around.
The brakes came first so lots of photo's for putting them back and stripped them off, I have been on eBay and ordered new springs and shoes, the shoes are here already but waiting for the spring set also found a hole in the handbrake lever dust boot which will either be repaired or replaced if I can find a supplier. Will put the number of these items on when I have fitted them.
Next came cleaning the axle, this was done over a 2 day period first with sand blasting then the needle gun and then the rotary wire brush, not for the faint hearted but the results are defiantly worth it.
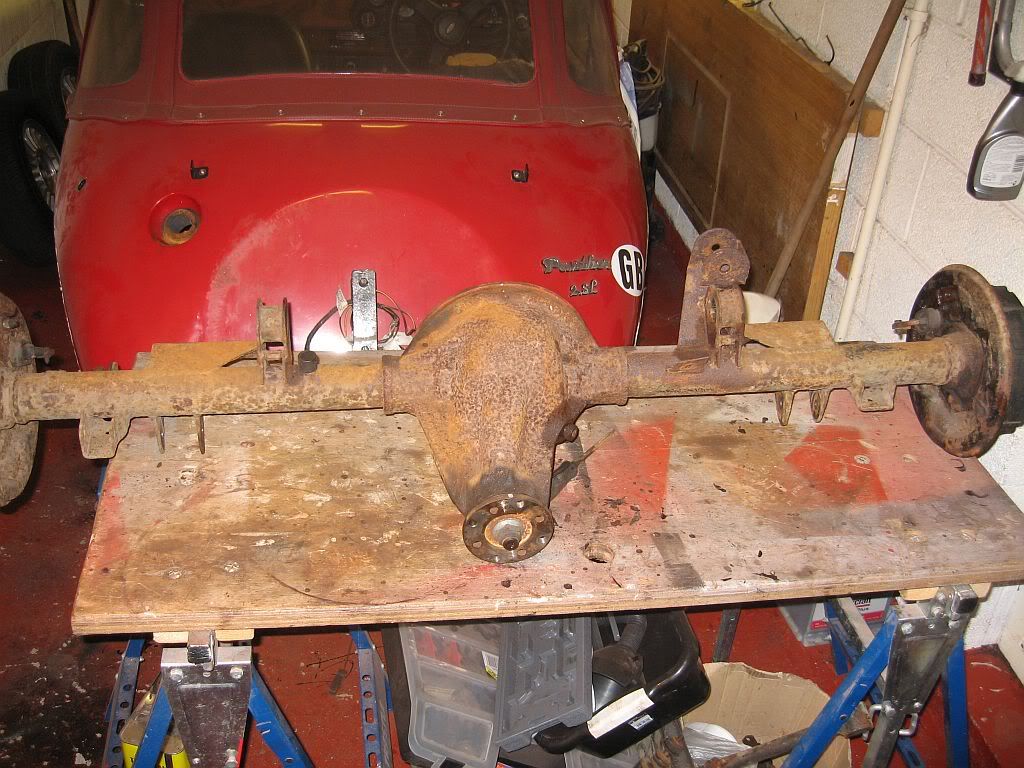 |
| Axle before |
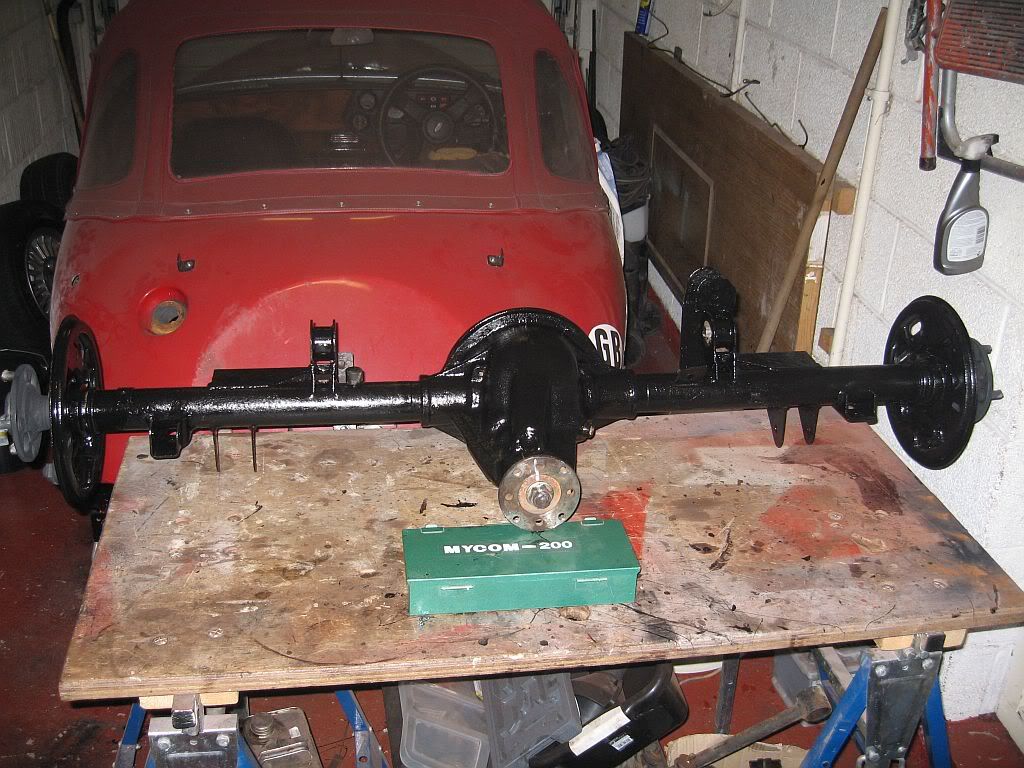 |
| Axle after |
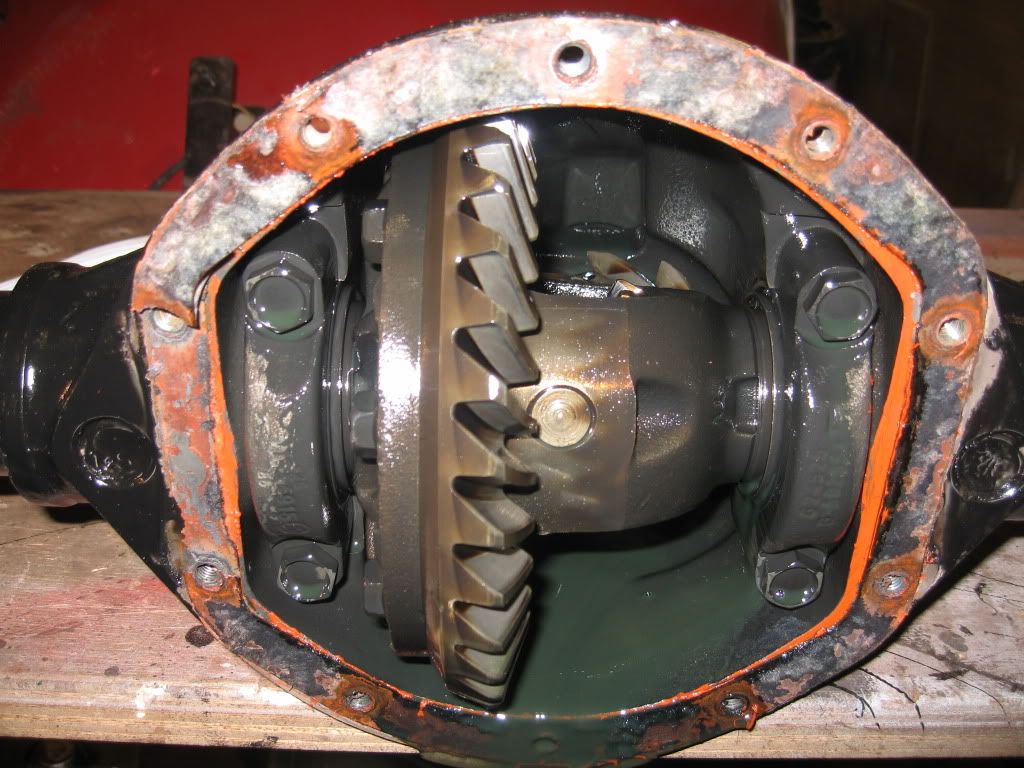
Now for the oil leaks, I suspected that the leak was from the gasket but did not want to fit the axle and find out it was from the pinion so I bought the oil seal and the gasket. The first to get a look at was the gasket, this was fixed on with a red sealant. I don't know if this is factory fit or has been replaced in the past but gave it a good cleaning.
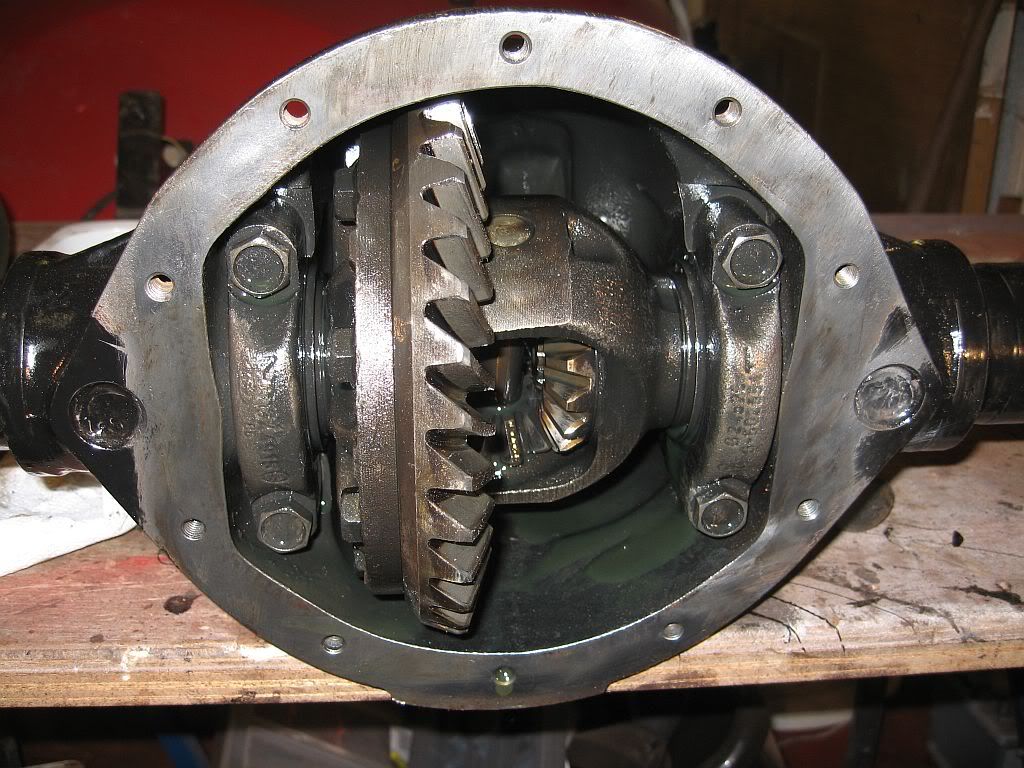
I also gave to inside a good staring at as I ain't got a clue what I was looking for, but all seems well; no wear on the teeth and no play or movement in the cogs or the shims so all good.
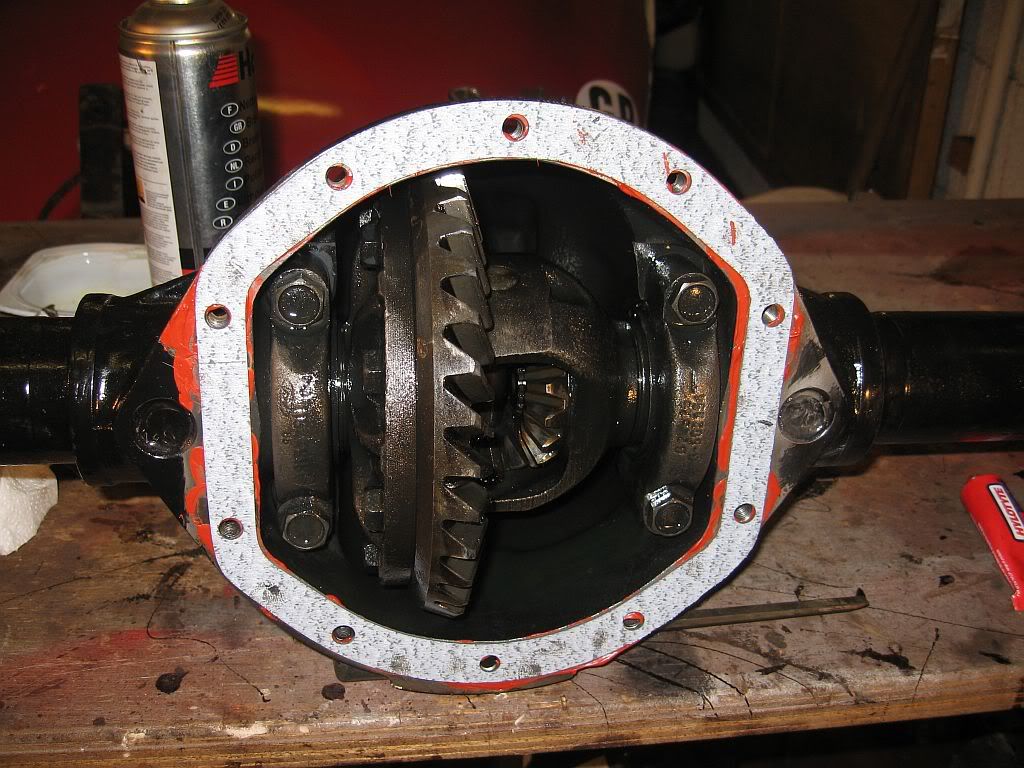 I bought some hylomar red for the refitting of the gasket and cover just to ensure a good seal, tightened it all back together and fingers crossed.
The next job was the pinion oil seal, I have never; and I imagine nearly everyone reading this will never have changed a one of these, so youtube got a good seeing to and it looked so easy; famous last words.
Well surprisingly enough it was just that easy.
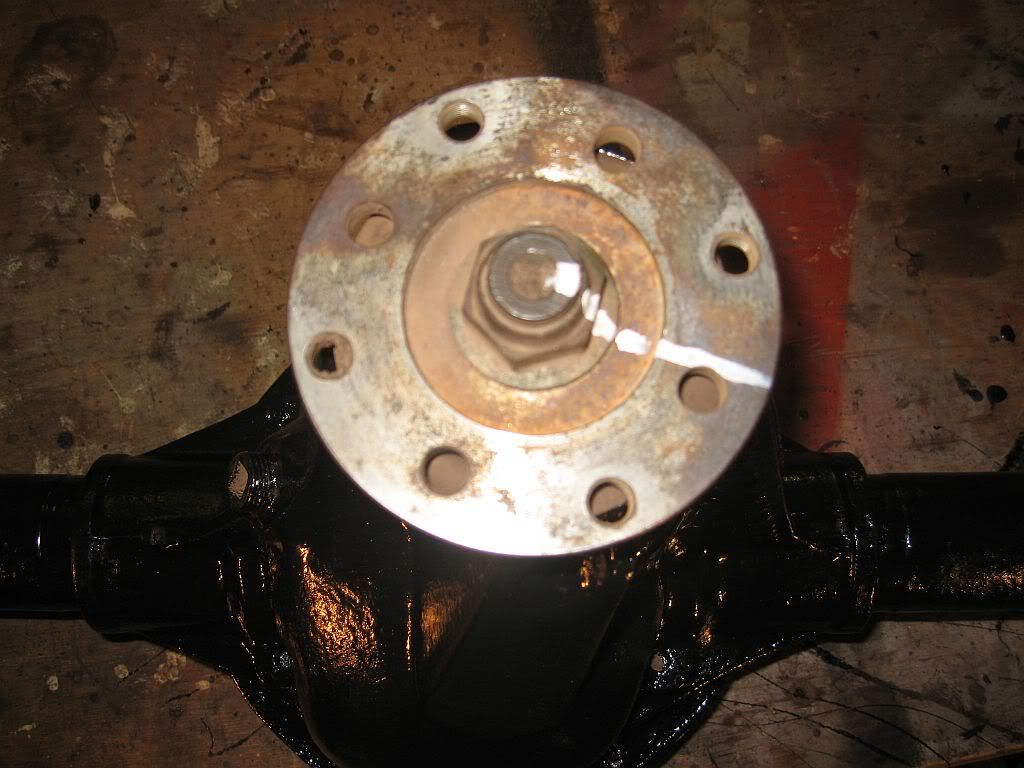
First job is to mark where the nut is positioned and to count the threads, this is because it has to go back exactly where it came from. It is factory torqued and there is a crush washer that needs to be pulled up to its original position.
 Next, remove the nut, I had to use a impact gun to do this and a fully pressurised air bottle as it was on that tight. Once off, the flange just pulled off.
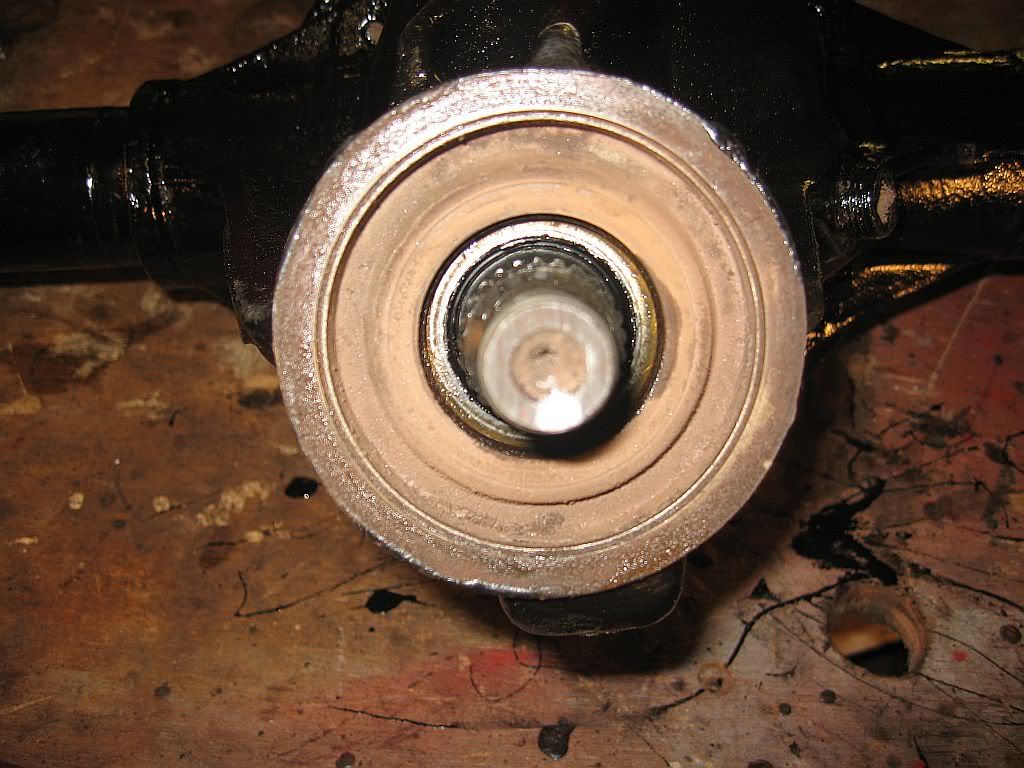 And there is the oil seal, it was covered in a lot of dust and crud which I imagine was from the sand blasting even though I tried to keep the stream away from the joint. On youtube it says to remove with special oil seal removal tool, ye right. I am afraid I had to revert to old fashioned methods of brute force and a huge amount of ignorance.
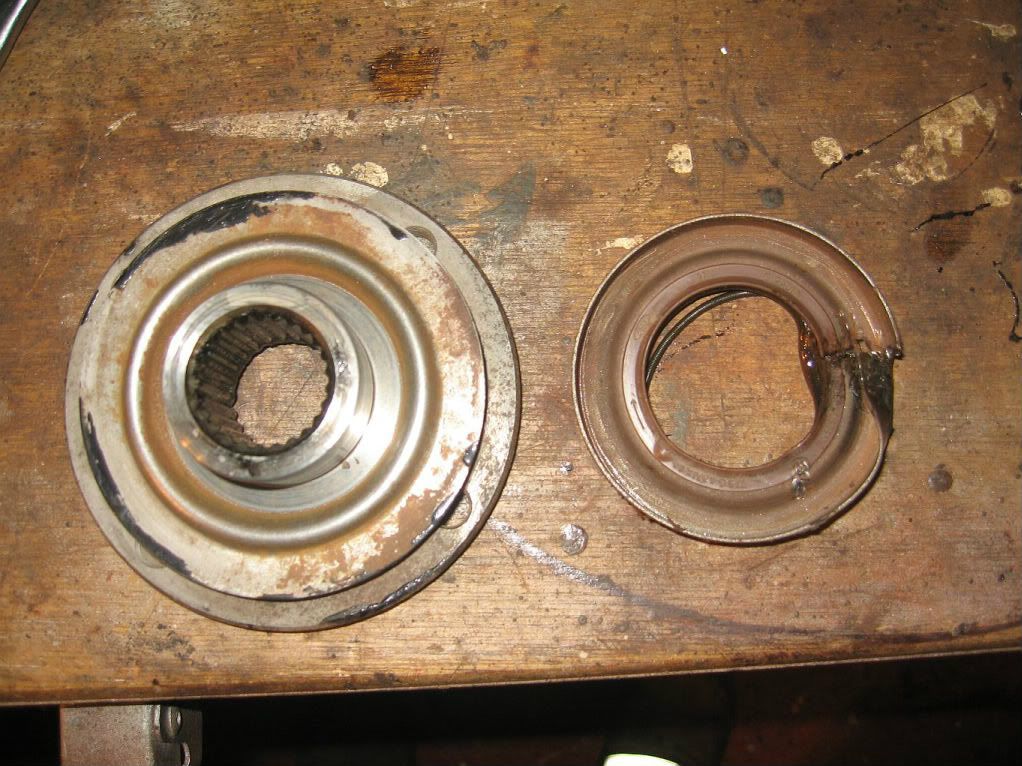 After a bit of persuasion out it came, of course I did try the new one up against it before whacking it. Here it is alongside the inside of the flange.
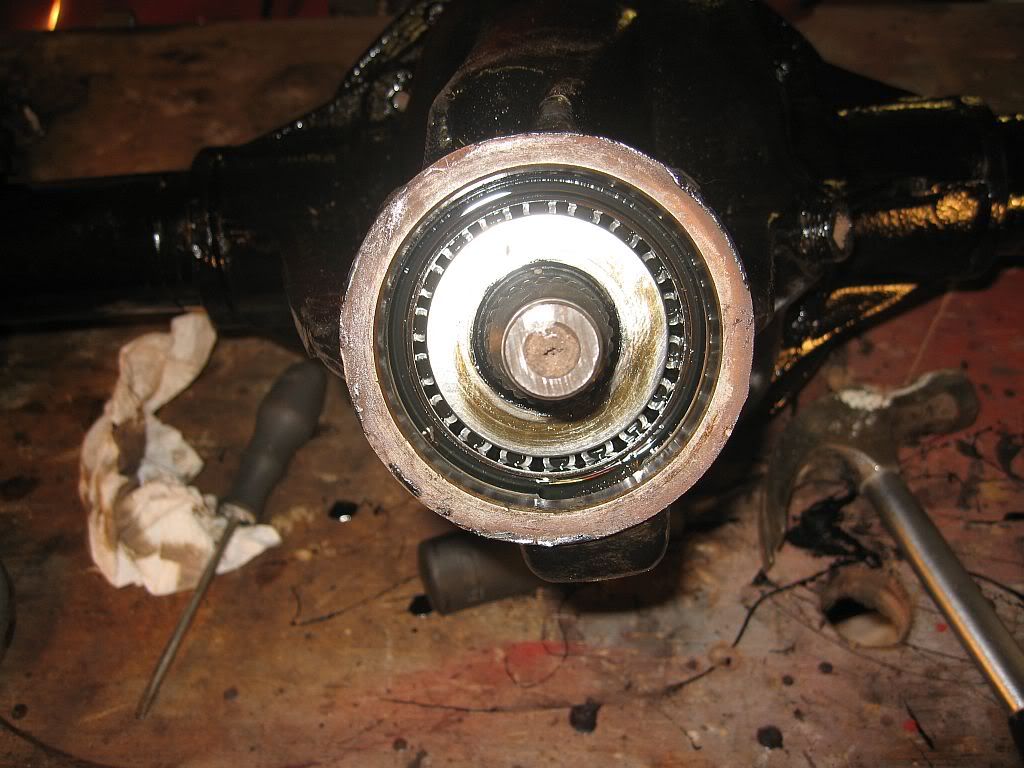 This is the inside of the pinion. Unfortunately I forgot to get a shot of the new oil seal in position, but it went in easy enough I just sprayed the inside with WD40 to give a little lube; fitted it in square and using a block of wood tapped all around until it was in position. I then replaced the flange on the paint marks and tightened back up until the paint marks all aligned and the correct count of threads were showing.
Of course I did all this on a bench, I would imagine it is a different ball game lying on you back under the car.
I had a run out and picked up a litre of 80 - 90 mineral oil and topped it up, I was expecting it to overflow from the fill hole but it took the whole litre straight of, I shall make enquiries as to the volume as it may require more to fill to correct level. I know a man who will know.
I have spoken to Cat at Flo-flex again today who has tracked down the 2 void bushes for the rear suspension but unfortunately has not had much luck on the rubber bobbin type bushes. She plans to keep on looking and is happy to make a mold if I can get a bush in good condition, unfortunately they need to be forced out and this squishes them a bit so no good for mold making. If anyone out they has a new bobbin bush that a mold can be made from then please let me know as once they have a set made then they will be available to any Kallista owner that wants to re-bush there car.
Well that's about all I got done this time home, hope for better progress next time if Christmas doesn't get in the way, I've asked Santa for Halfords vouchers.
See ya Paul
The next job was the pinion oil seal, I have never; and I imagine nearly everyone reading this will never have changed a one of these, so youtube got a good seeing to and it looked so easy; famous last words.
Well surprisingly enough it was just that easy.
First job is to mark where the nut is positioned and to count the threads, this is because it has to go back exactly where it came from. It is factory torqued and there is a crush washer that needs to be pulled up to its original position.
Of course I did all this on a bench, I would imagine it is a different ball game lying on you back under the car.
I had a run out and picked up a litre of 80 - 90 mineral oil and topped it up, I was expecting it to overflow from the fill hole but it took the whole litre straight of, I shall make enquiries as to the volume as it may require more to fill to correct level. I know a man who will know.
I have spoken to Cat at Flo-flex again today who has tracked down the 2 void bushes for the rear suspension but unfortunately has not had much luck on the rubber bobbin type bushes. She plans to keep on looking and is happy to make a mold if I can get a bush in good condition, unfortunately they need to be forced out and this squishes them a bit so no good for mold making. If anyone out they has a new bobbin bush that a mold can be made from then please let me know as once they have a set made then they will be available to any Kallista owner that wants to re-bush there car.
Well that's about all I got done this time home, hope for better progress next time if Christmas doesn't get in the way, I've asked Santa for Halfords vouchers.
See ya Paul
No comments:
Post a Comment