Friday, 7 June 2013

Blocking down

Hi
Nice early start this morning, I was down there for 8 and the primer had set off and was nice and dry.
I sorted out the sanding equipment which was 180 grit paper on the long sanding pads, I had two different one's to uses, one is 12" long made of hard plastic for flat sections and the other a little longer but very flexible for the many curves on the car.
The other item is the guide coat, this is the powder type which is rubbed on as opposed to the spray on matt black I was using before.
This is where the work started, I have gained a lot of respect today for the guy's who do this type of sanding day in and out. It took around 6 hours of sanding to get it ready for the next coat of primer and my arms feel it now.
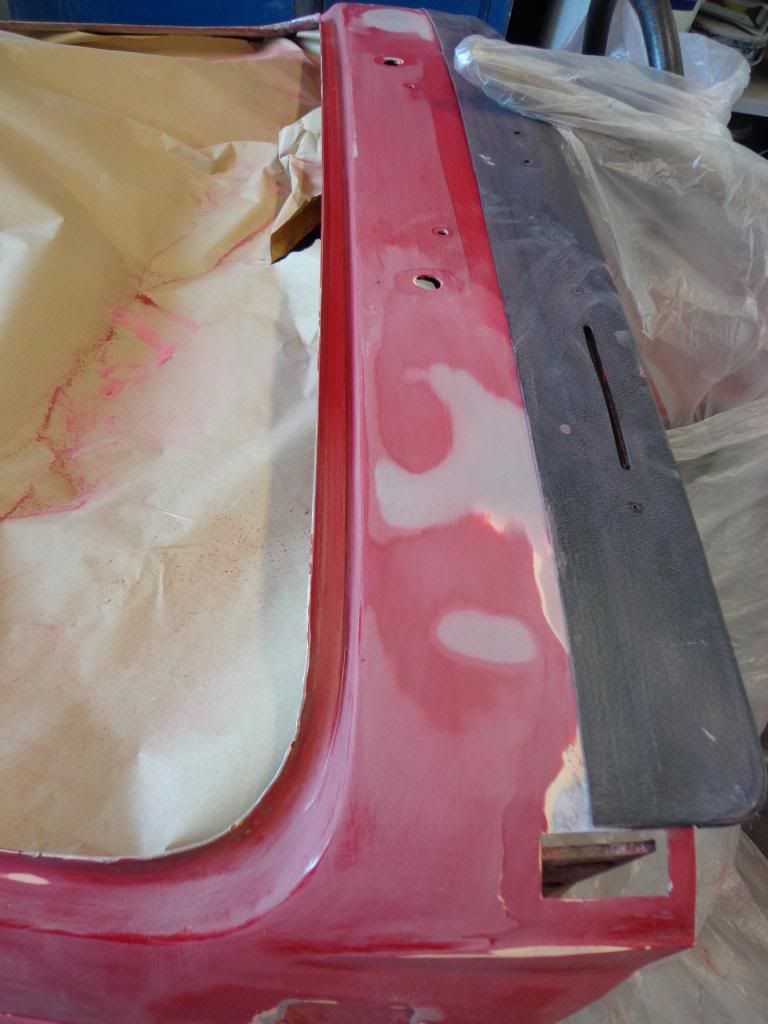
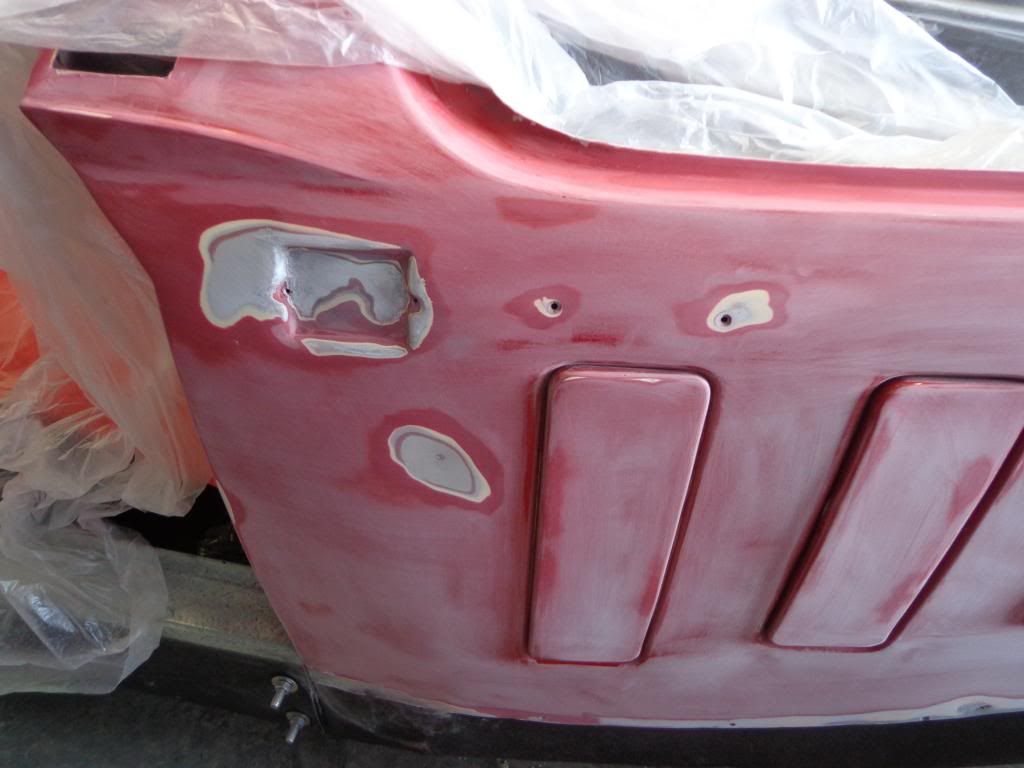
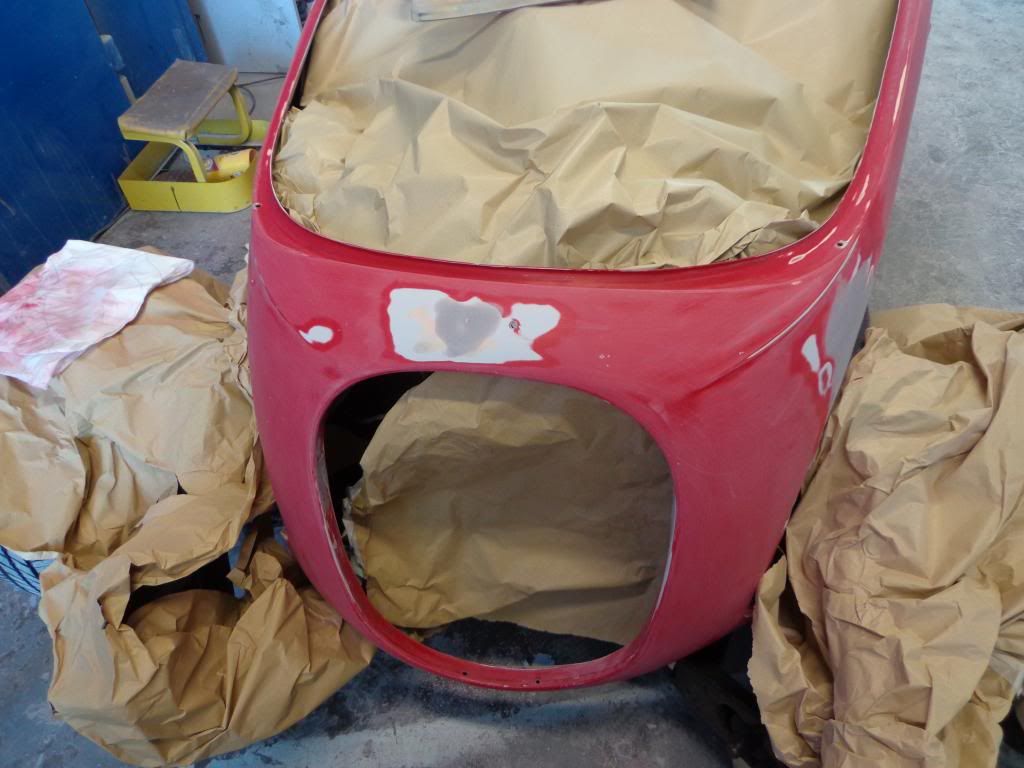
I started at the front and worked back, I was warned that the guide coat would show up all of the hidden  imperfections and they weren't wrong, from stone chips to dents I hadn't seen all jumped out at me. So a bit more filling was required and then a bit more sanding.
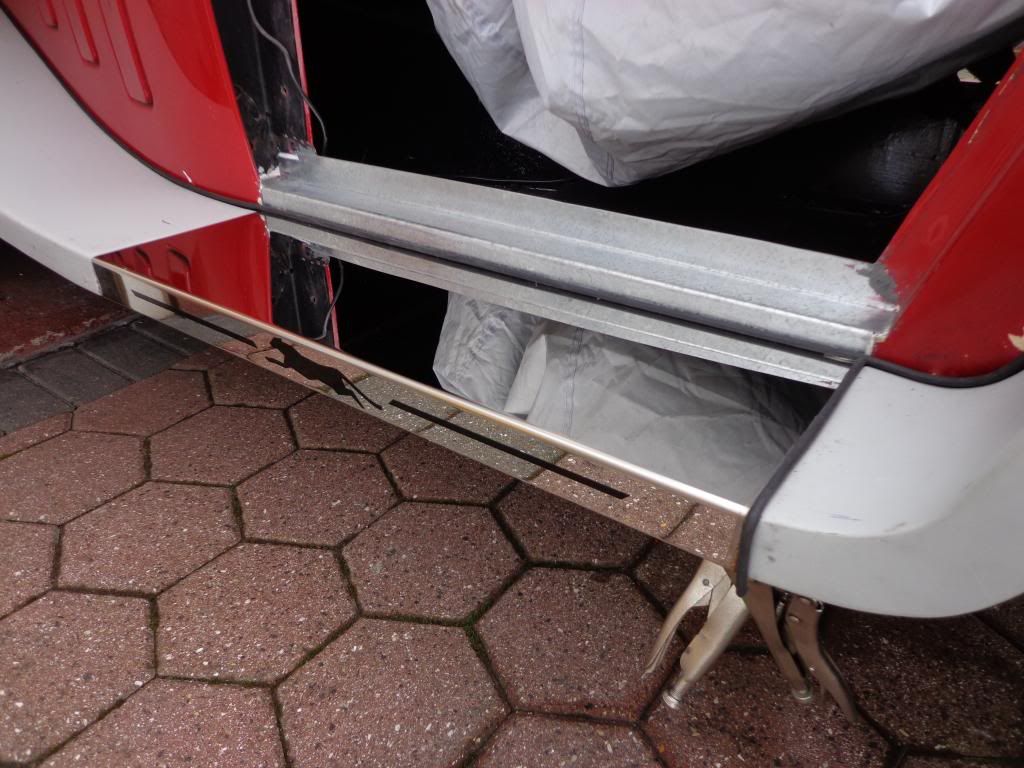
One of the jobs I had planned was a mod on the inner door surround to aid getting my long legs out of the car, this was a simple mod, just cut out a piece of the steel to give more foot room on exit. First I needed to know if it was possible so I got the drivers door down from the loft to hold in position, this was my first real look at the colour in the sun .
The pearl red looks great.
I tried it in position but unfortunately the piece I wanted to cut out is needed to seal the door when closed.
The door looks great in position, shame that the colour design has changed a little and the door will be repainted pearl white. After a discussion with Ant (the boss) on the design I had planned which was the Austin Healey angled down two tone is out, the reason is the difficulty in masking around the false air vents as the colour interface will run right through them and getting the flow of colour may look odd. So after looking at lots of different colour schemes I have decided to follow the natural line around the side of the car from the front all of the way around to the rear. This means the door will be Pearl white, not a problem as I think the Kallista looks fantastic in white and combined with the Pearl Red should look great.  

Another bit of work today was the scuttle, after I made it I painted with red hammerite.
We discussed this colour and decided that it would look better colour coded but Ant was a little worried that the solvents in the hammerite would be a problem with the primer, he wasn't wrong. I sprayed it yesterday and after a few minutes it started to react in a crazed pattern.
Now that the reaction is complete I rubbed it all down and gave it another coat of primer and luckily this time it stayed nice and smooth.

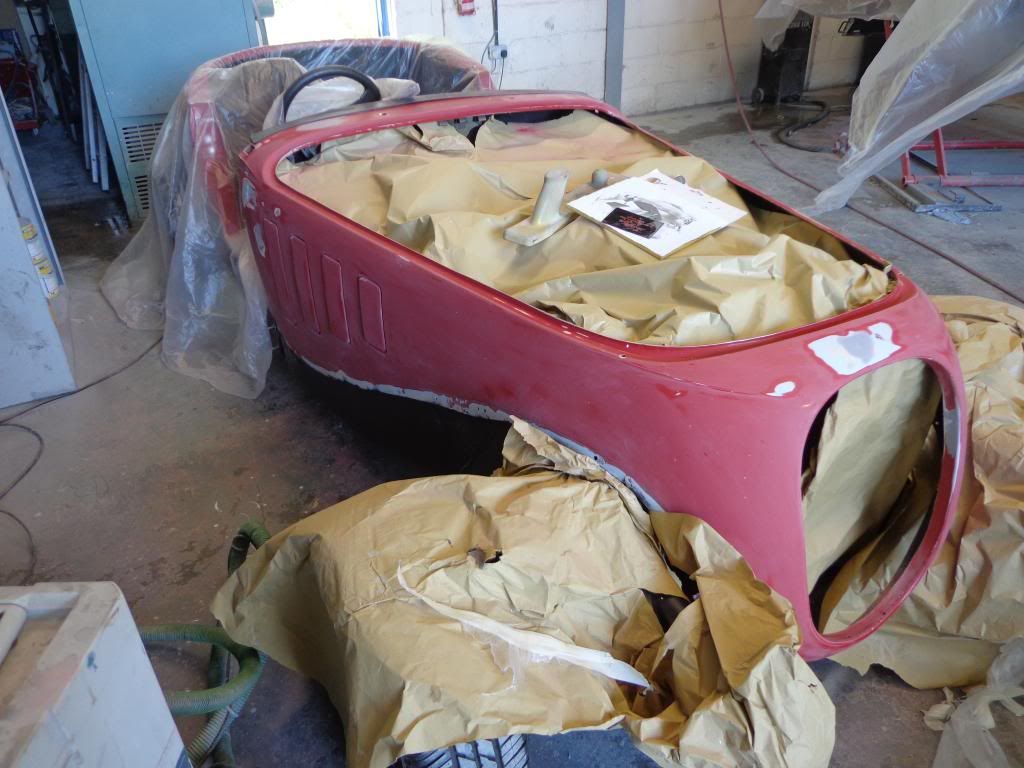
Finally I finished the rubbing down and after a good sweep up and blowing the dust off it was at last ready for its second coat. I gave it a couple of wipe overs with panel wipe and got Mick to do the spraying, I would have done it myself but after getting runs yesterday I decided that it would be best to get the pro sprayer on the job.
That's the second coat of primer complete.
Well that's me finished, Ant says that all of the colour will be on while I am away and I will be able to fit the wings when I return.
So off on Sunday and back in 2 weeks.

See ya Paul


Thursday, 6 June 2013

Body Priming

Hi
We've had a lovely 3 day break in Yorkshire, we started in the East Riding of Yorkshire, an area we have not really spent any time other than driving through and it was beautiful.
We stopped off on the way at the village known on the television series Heartbeat as Aidensfield which of course is really called Goathland. Our destination was a lovely hotel called Rowley Manor in the village of Little Weighton, we arrived to find the place packed with mourners for a funeral and a great band playing, so after checking in it was on the lawn with a beer and joined the throng. It was the funeral of Trevor Bolder who was bass guitarist with David Bowie's band Spiders from Mars, Uriah Heap and Wishbone Ash.                                        R.I.P  Trevor
Now for the travel guide:
Lots of places to visit and we managed to get in two stately homes the first was Burton Agnes , great place for a day out with lots of history.
The next was Sledmere House, another lovely place to visit with the added benefit of the tour being guided.
We stopped two days in East Yorkshire before heading off to North Yorkshire, this is the area we know best and headed first to our favorite walk which is the 41/2 mile trek around Ingleton Falls.
This has got to be one of best walks in the UK, it is very rugged as it is mostly down in a gorge but well worth the effort as there are waterfalls around every turn, we have done it twice now and plan to go back next time in the area.
We stopped the night at The Angel Inn at Hetton and had a great meal and a lovely Garden room.

I am pleased to say the SLK is a fantastic car, I could have gone for the V6 model but I wanted to get some miles per gallon out of it so I bought the 200 model and once you put it in sport mode and put your foot down then you really feel the huge supercharger taking off. great car.

That's the plug for British tourism over, (and German cars).

As soon as I got home this afternoon I dropped of the luggage and went straight down to check out the Kallista, as planned it was all ready for me to put down the first coat's of primer.  All it needed for me to do was to blow it down and tack rag it ready, it had been checked over by the pro's and they had done a few more areas of filling.


The primer was mixed up and I was given a bit of tuition and got started on the areas where I had filled.
I went over these areas twice.
Once these areas had dried a little I started going over the whole car.
Some of the areas were a little difficult to get at.
Getting the overlap right is the most important thing.
I put on two coats and I'm sorry to say lots and lots of runs.
These two coats are just the first application.
Not a bad job if you don't look at the runs.
Early start tomorrow, I shall apply the guide coat and this should show up all of the bits I have missed of which I have been guaranteed will be many, then its lots of rubbing down before applying the next coat.
Anthony the boss say's that two coats will be enough as he bought in the best quality primer for me, fingers crossed.

See ya paul

Friday, 31 May 2013

Petrol cap drain mod

Hi
Well that's 95% of the rubbing down and filling complete, the rest I will leave to the lads in the shop, although they will say that I have managed only 80% when they find lots more that I have missed no doubt.
Its surprising what you can feel when you rub your fingers over the paint, I never noticed the 2 dents in front of the windscreen until I started sanding.
I rubbed these areas down and filled, another bad area was the union jack flag recess, trapped moisture over the years had lifted the paint, this was a bit more difficult to get too so I had to use a pointy tipped sanding machine and managed to get into the corners.
There was a section of crazed paint under the recess and when I sanded this down I found a nice little dent so that was filled also.
I have finished the front section and repaired the damage caused when I removed the grill mounting brackets, I will have to re-use these as I image that having a Jag grill re-chromed will cost around 4 to £500, maybe more; if there want to charge £120 plus for a pair of 6" light plinths so I guess I shall call Bruno and see if he can get a hold of a wire Kallista grill. Unless anyone has one for sale, give me an email if you have.
So thats me finished as they are only open till 12 tomorrow and I am going away on Monday for a few days but hopefully the priming will be complete on my return.
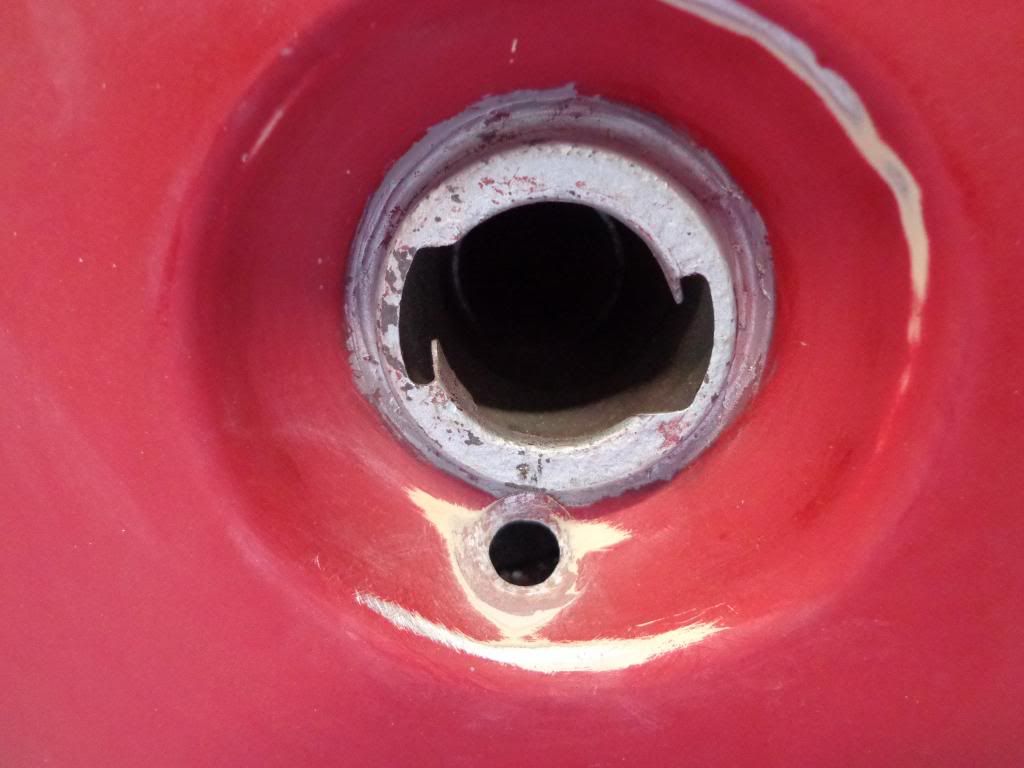
I received a timely email from Terry B this morning reminding me about the filler cap drain hole modification, he mentioned it a long time ago and I had completely forgotten about it. It's pretty obvious when you look at the filler recesses that water will build up there and the chances of getting into the tank are quite high judging by the quality of my filler connection.
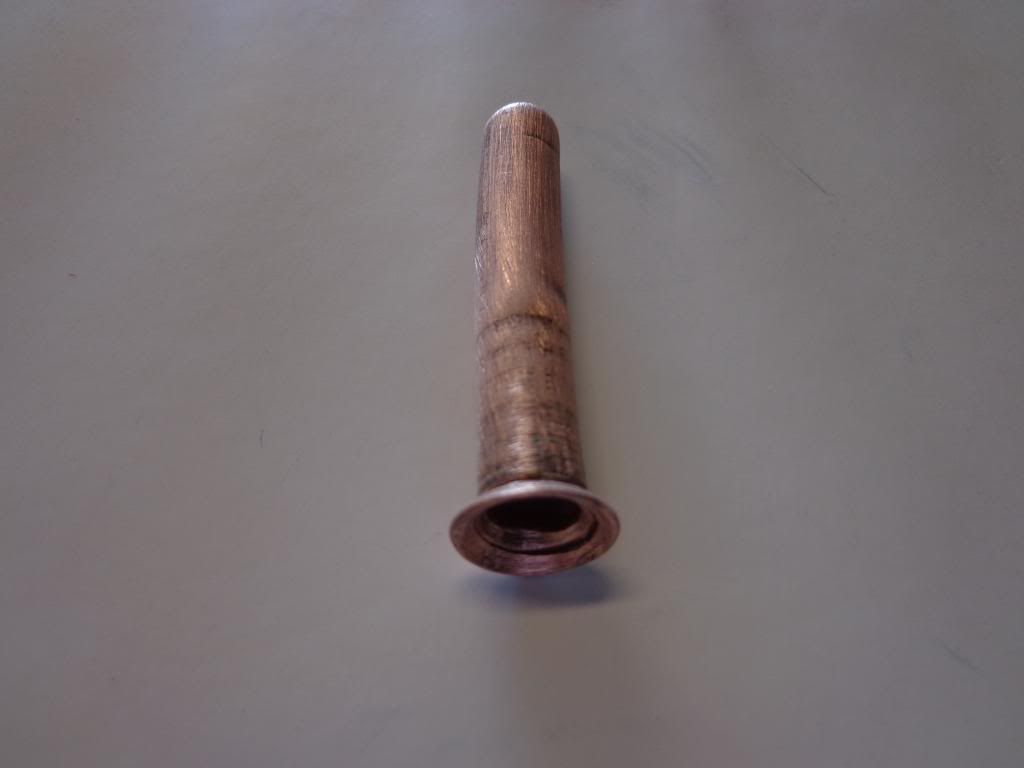
I had made the piece of pipe when Terry first mentioned the fix to the problem and unbelievably I managed to find it straight away.
It is only a piece of 10mm copper tubing around 50mm long and deeply swaged on one end, I had completely forgotten about this mod and so I have not ordered the rubber tubing for the drainage, I rectified this straight away and have 1m of 10mm i.d silicon tube coming. I shall find a convenient area and drill a 12mm hole to feed the pipe outside and problem solved.
I marked off the best place in the filler recess and drilled a 10mm o.d hole, it is slightly off centre as the recess is positioned to the side of a downward curve which changes where the water will lie.
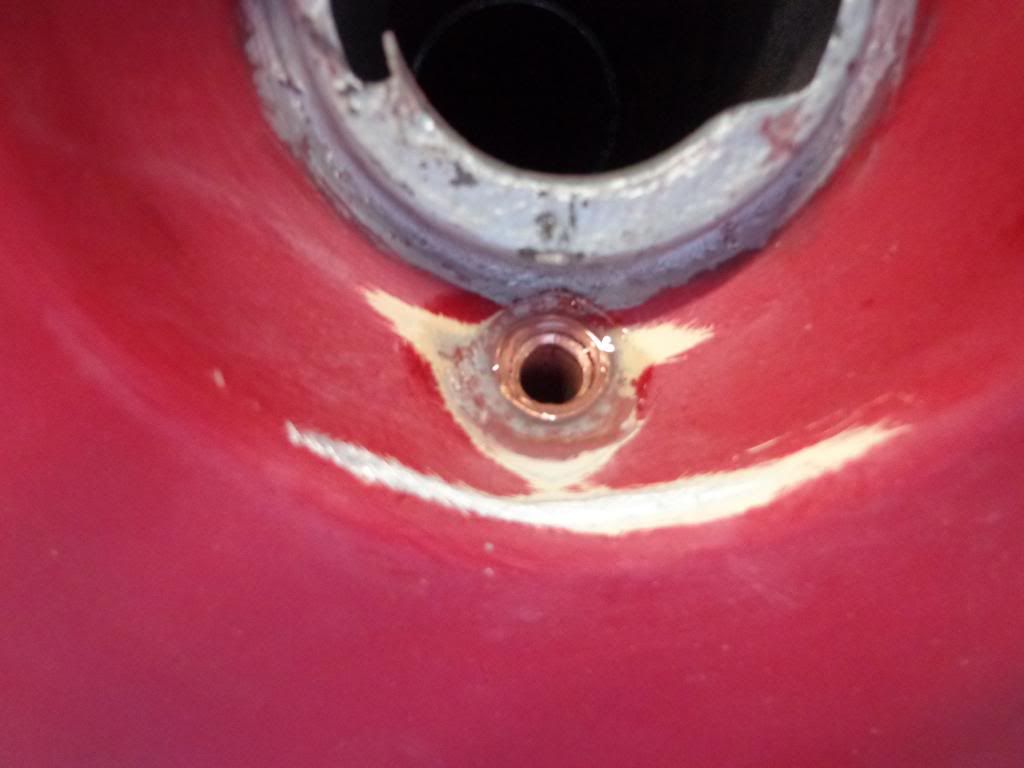
I managed to use a pointed hammer and shaped the inner edges so that the angle of the swaged pipe end will fit into the shaped hole, this makes it flush to the bottom so all of the water will run away.
To secure the pipe in place I mixed up some Araldite and glued the pipe into position.
Once painted you will think it was built like this.
Won't be till next week till I see the progress so till then.

See ya Paul

Thursday, 30 May 2013

Body work

Hi
I made a number of purchases while away in preparation of the re-build.

I was not happy with the way I had edged the step with the wing piping, it just didn't look right.
So I looked around the rubber extrusion section on the Woolies site and came across the tee section R942, I ordered 2 metres for around £11 inc p+p and it looks great quality.
 I haven't got round to fitting it yet but hopefully it will cover the join between the wings and the step nicely.

I also found on ebay a nice set of Lucas L516 side lights.
The chrome is quite good and should polish up nicely or would have if my plans had come together, what may change my plans for lovely chrome is the cost of chroming itself. I have also bought a pair of matching L516 side light plinths.
I managed to get these for 99p plus p+p with the idea of getting them re-chromed, I have received replies to 2 quotes so far, the first was £80 plus vat and postage and the other is for £120 plus vat and postage, not a chance in hell of me paying that, so a change of plan.
The plinths haven't arrived yet and the idea was to shape them to fit the wing by either filing away material to make the curvature or bending the small amount required to fit the wing, if this is not achievable I shall then buy the rubber mounts available on eBay for £13. If they fit the wing and look good then I am going to have them and the side lights colour coded to the white pearlescent I plan to have on the car sides.

The chrome will come from the headlights I bought, these are used but the chrome is in perfect condition, I picked them up on eBay for £65 and they look great, I was going to have the original ones colour coded and have even sand blasted one of these but after spotting these I put a bid in and won them. 

The pickup truck finally arrived yesterday, 4 hours late which made it a wasted day as far as the paint prep was concerned but it gave me a chance to clean the engine up a little as it has become a little dusty.
I had asked for a pickup with a winch just in case, but the engine picked up with a little choke and I took the car out to turn it around in prep for there arrival, I had to fit a seat first but that was no problem. 
I was very pleased with the driving experience although I will have to get used to no power steering and basically just the power. A V6 2.8 engine driving something that weighs less than a pair of shoes will take some getting used to.
The pickup arrived at 2 in the afternoon and I got another chance to drive it, this time it was onto the truck, up what seemed very narrow ramps.

I lined it up behind the ramps and promptly stalled the car as I tried to get the speed just right, so I backed off gunned the engine and flew up the ramps, just like to say I made a damn good job of overhauling the brakes as the car stopped perfectly, thankfully !!
I followed the pickup down to the paint shop and because it is a private industrial estate I had a good drive around and it was great, just like a go kart.

I was down at 9 this morning and got straight to work, it may seem strange to some seeing as I am paying for a respray to be done and doing a lot of the work myself, but I want not only to learn body work but also to  be a part of the spraying of the car.
I've been given a spot at the back of the shop on the ramp and got started on the back end with 180 paper on the DA sander.
Not much wrong on the back end, a dint or 2, the wheel arches and where the spare wheel rack bolted on was a little dented. 
I sanded the paint off and filled with the Dinitrol aluminium filler then sanded down until all was smooth.
I am really just doing the rough work as the pro's will finish of my work to get it perfect.
When finished here I moved around to the side, I removed the scuttle so as to get the engine bay edges sanded, I am also having the scuttle colour coded to the body, I had painted it with hammerite but they are happy to spray this as well.
Apart from the lower edges where the wing meets the body there were only 2 main parts that required attention, I always new the front where the headlight was resting against the body and rusting was a little bad but after feeling all over the side I found an area around by the door that was a little dented. I think maybe the door may have been opened a little to much and bent the body a little.
I sanded down these areas, filled and sanded.
Not much more done today, I moved around to the front and got started ready for tomorrow, I managed to sand most of it and have a couple of areas that need filling, these are the damaged areas I made when removing the grill brackets.
A  good start today and I shall finish the rough work tomorrow and the lads can get on and do the fine filling and sanding.

see ya Paul