
Well I've had my marching orders and am off on Monday morning 0605 flight to Schipol then a helicopter out to the ship for 2 weeks then the reverse journey, even after 35 years at sea I am still looking forward to it, guess I really am a sad B!"**;D.
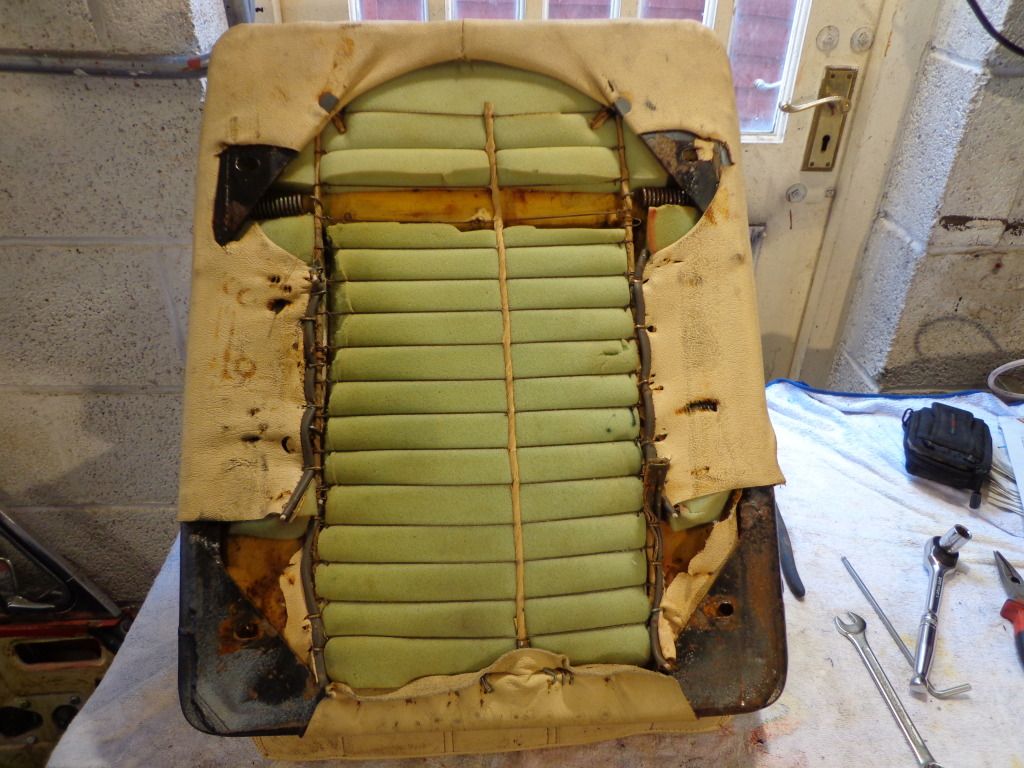
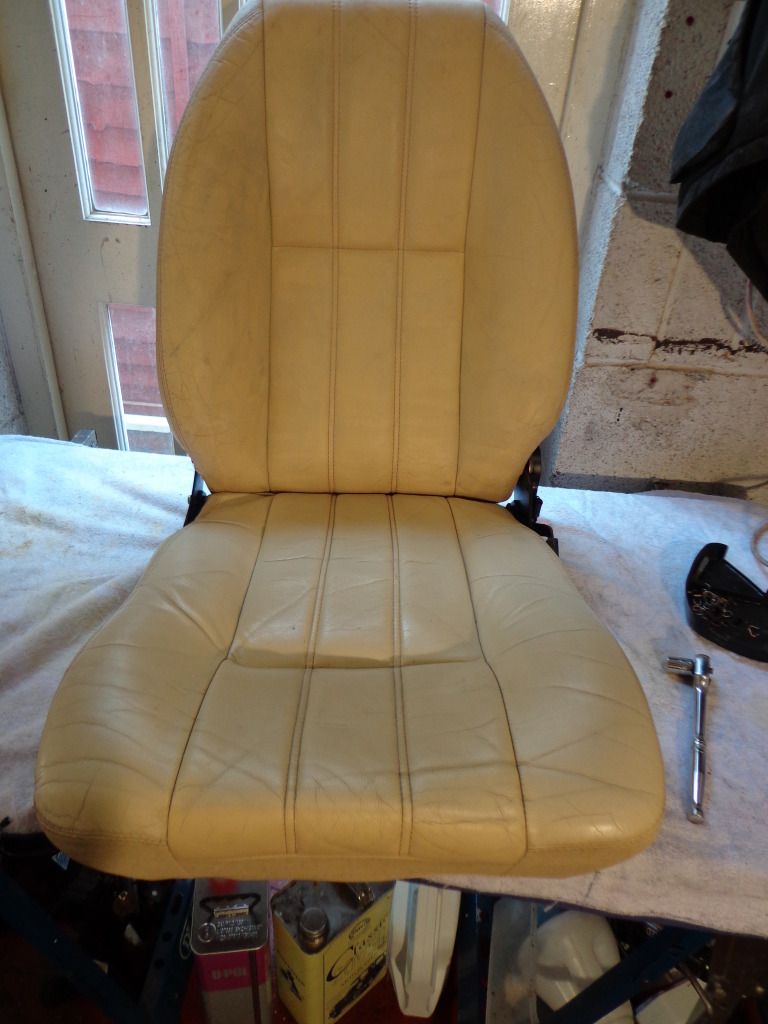
Back on the other seat today and got that finished, much the same as the first but a lot easier as I new what to do this time.
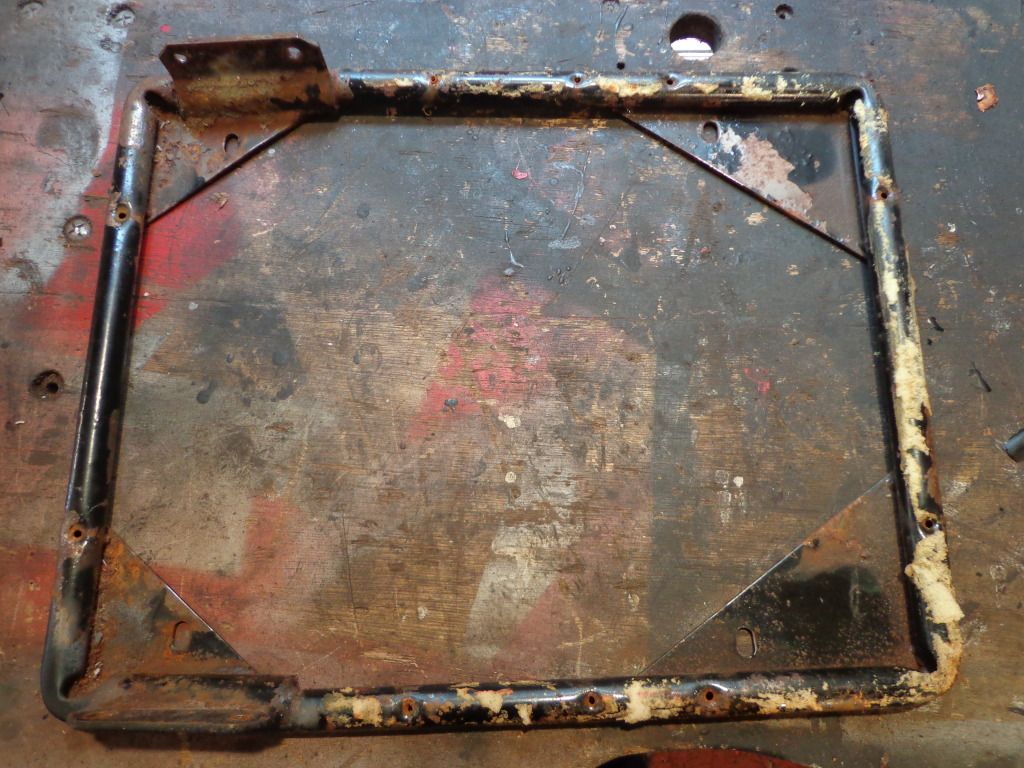
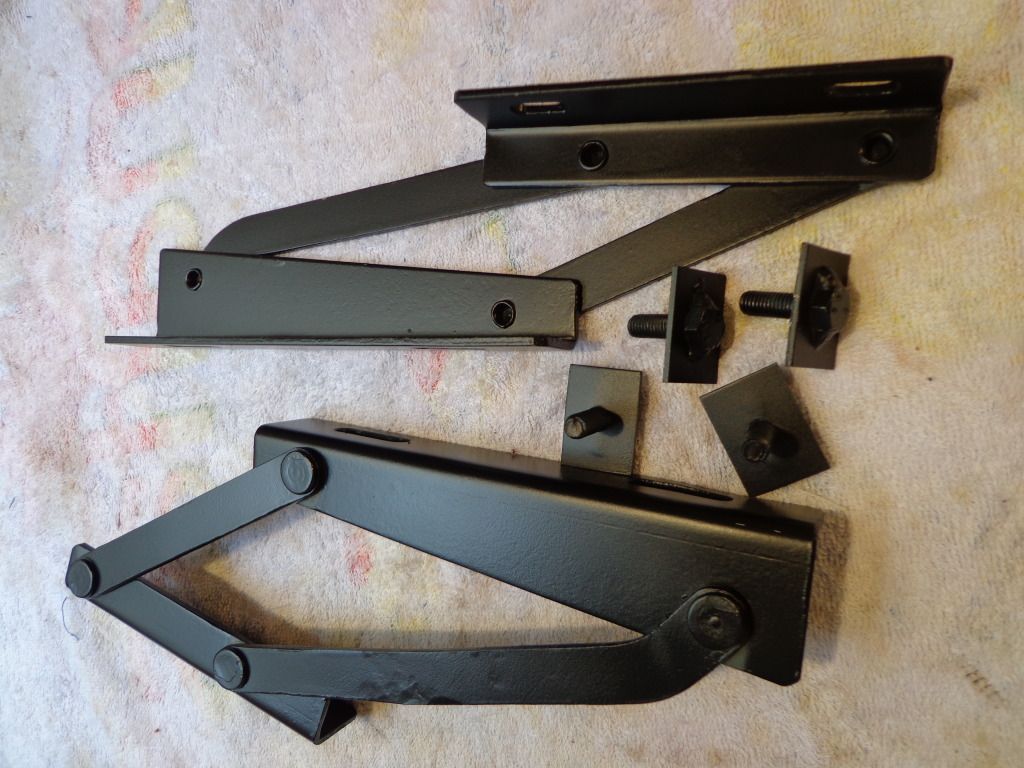
The frame is a lot rustier than the other, but again a good clean then acid etch primer and a couple of coats off satin black and it looked as new.

Something I missed when I first got the seats is that the plastic cover is missing, you can see the centre screw and where the cover is broken off.
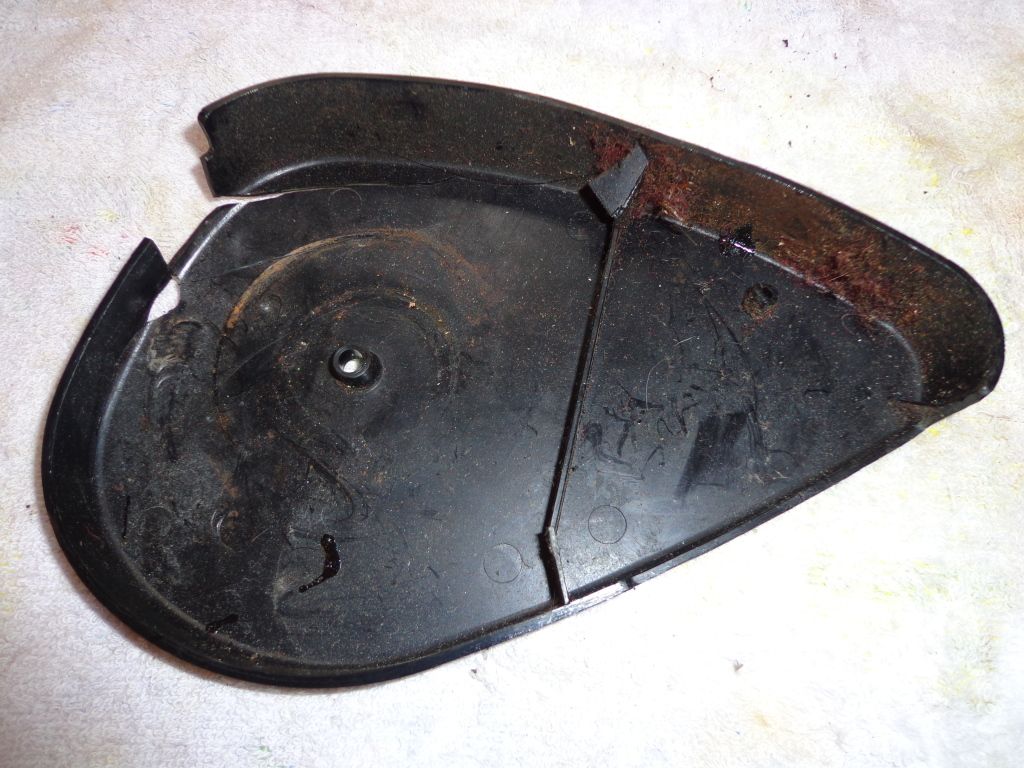
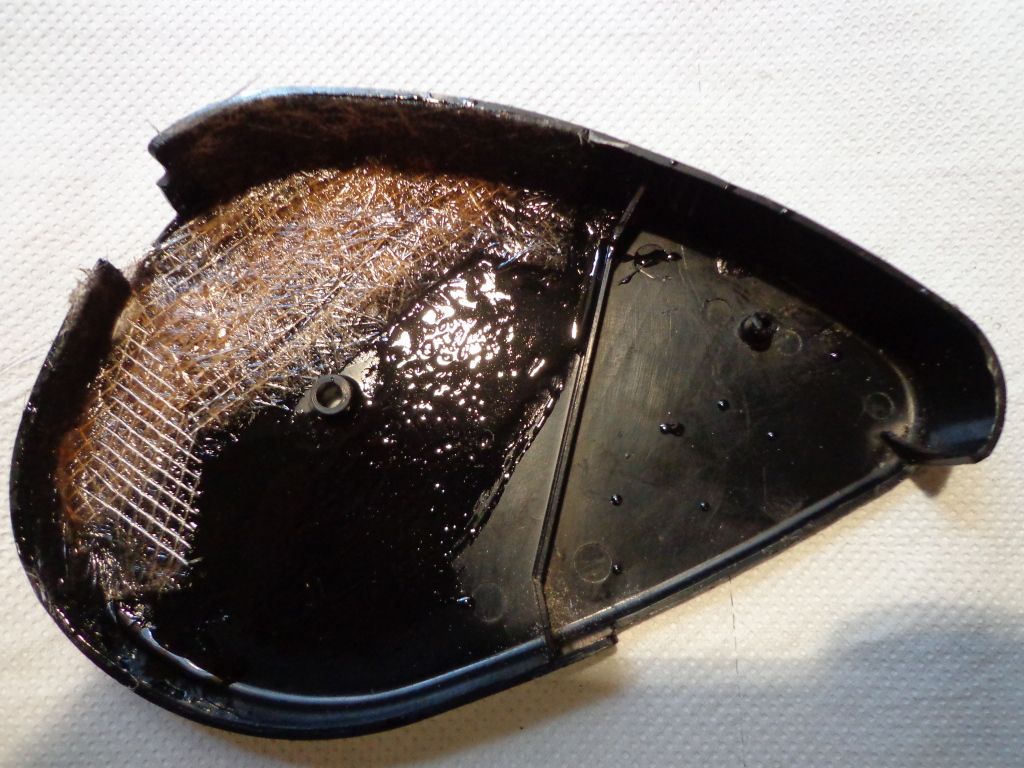
Nothing that a little fibre glass can't repair, I shall clean it up and give it a spray. I shall make a one out of wood or steel for the other side.
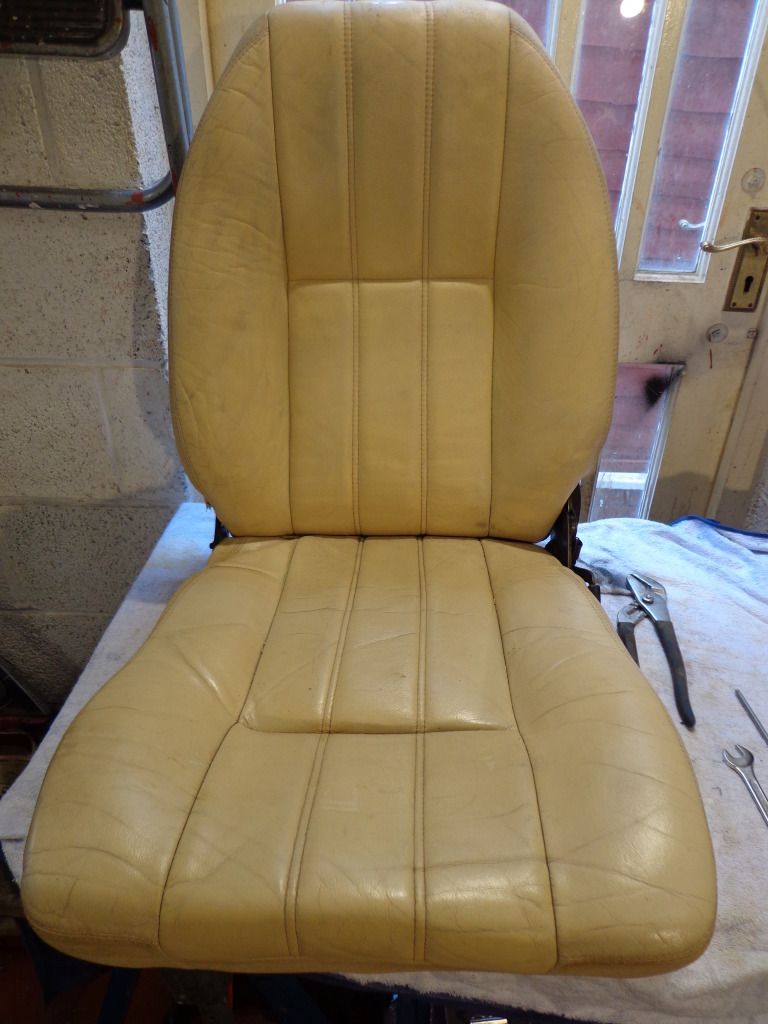
While the paint was drying I carried on with the saddle soap and gave the leather a good clean then put everything back together again.
After I finished yesterday I had a look on YouTube for lessons on leather dyeing and straight away I found a video from a local firm www.furnitureclinic.co.uk who supply all of the kit to do it yourself, wish I had of known earlier as the colour match would have been perfect. Any one wishing to see this video check out this link it is in two parts and other training videos are available.
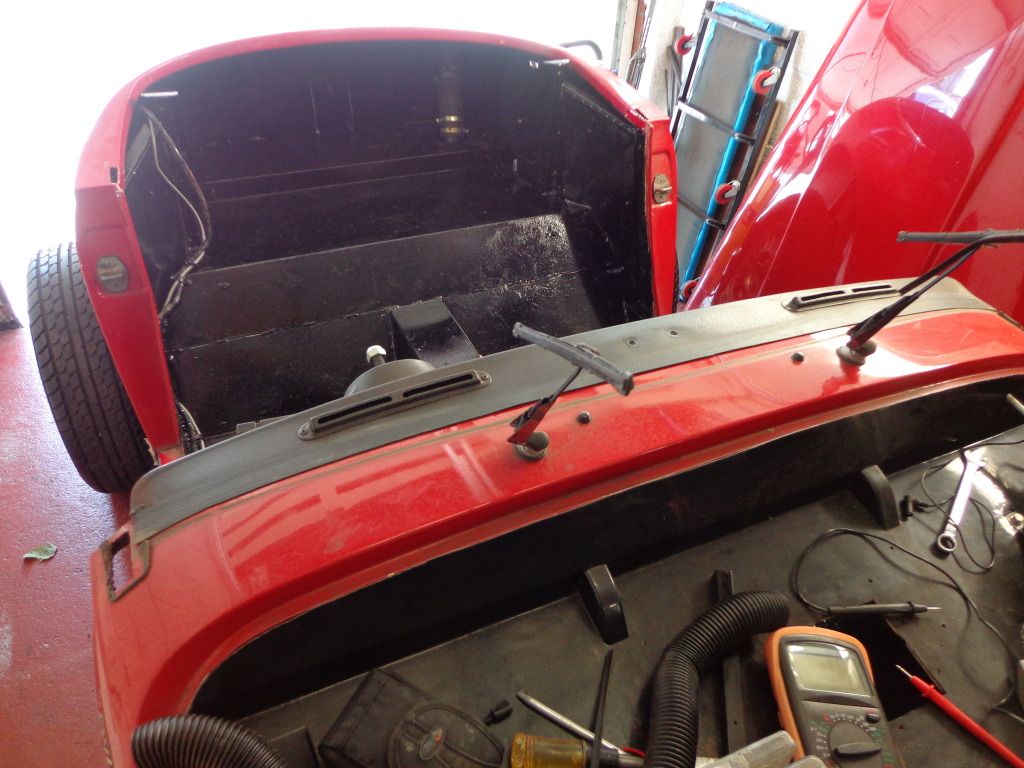
I also managed to get a few other jobs done starting with the bonnet hinges, I had already cleaned these up by soaking them in rust remover and had them primmed so they just required a couple of coats of paint.
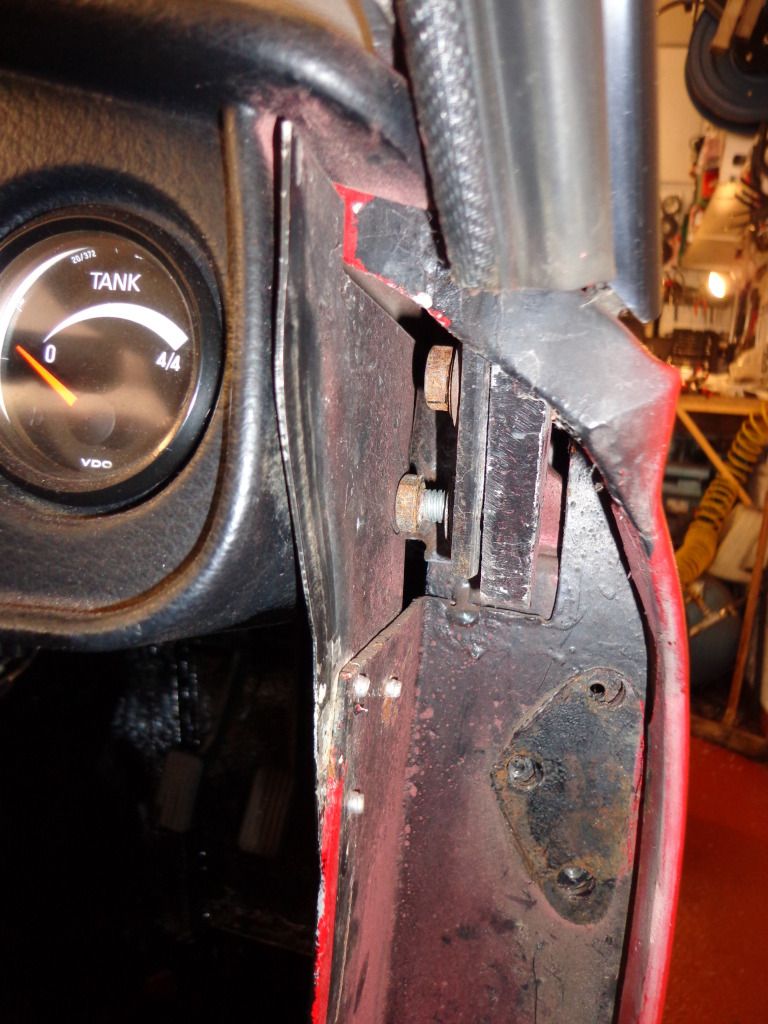
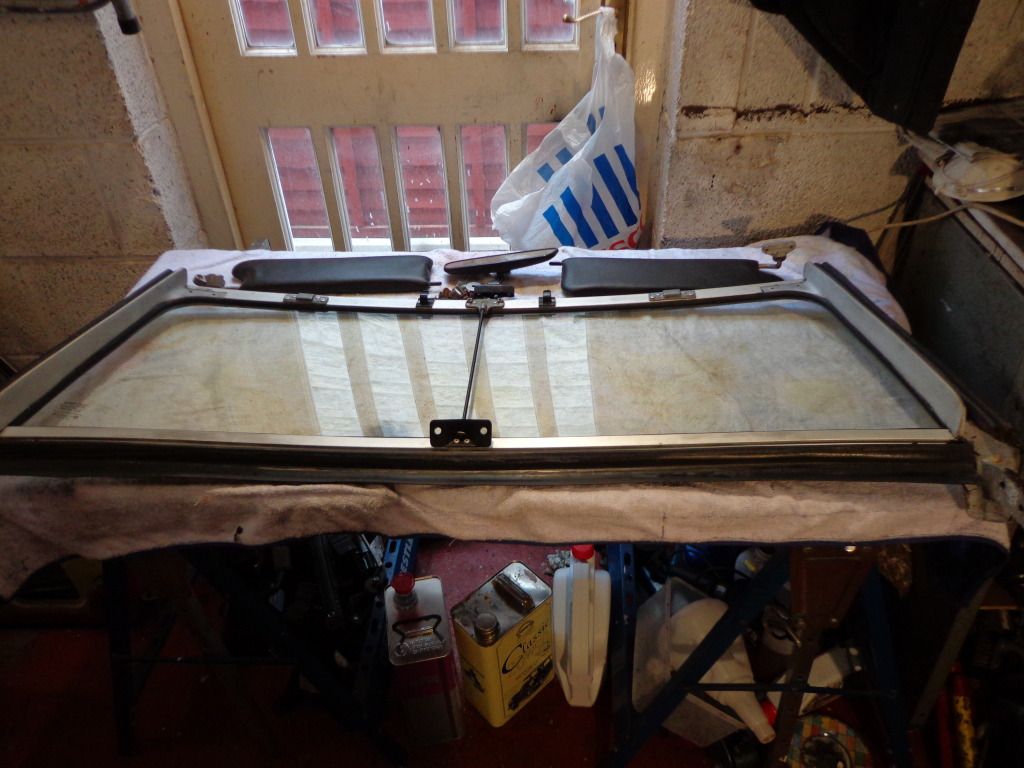
I also thought it was about time the windscreen came off and got put away somewhere safe until I can work on it, its a pretty straight forward job to remove it.
The first bolts I removed where from the centre hold down rod, there are 2 bolts on the dash and behind the mirror there are rivets. It probably would have been easier to drill out the rivets but as I had spent all of that effort getting the footwells cleaned and painted I didn't want bits of swarf all over. I then moved onto the end bolts and started to remove them until I realised that the bolts would not come out until the dash end plates had been removed so I had to drill out these rivets.
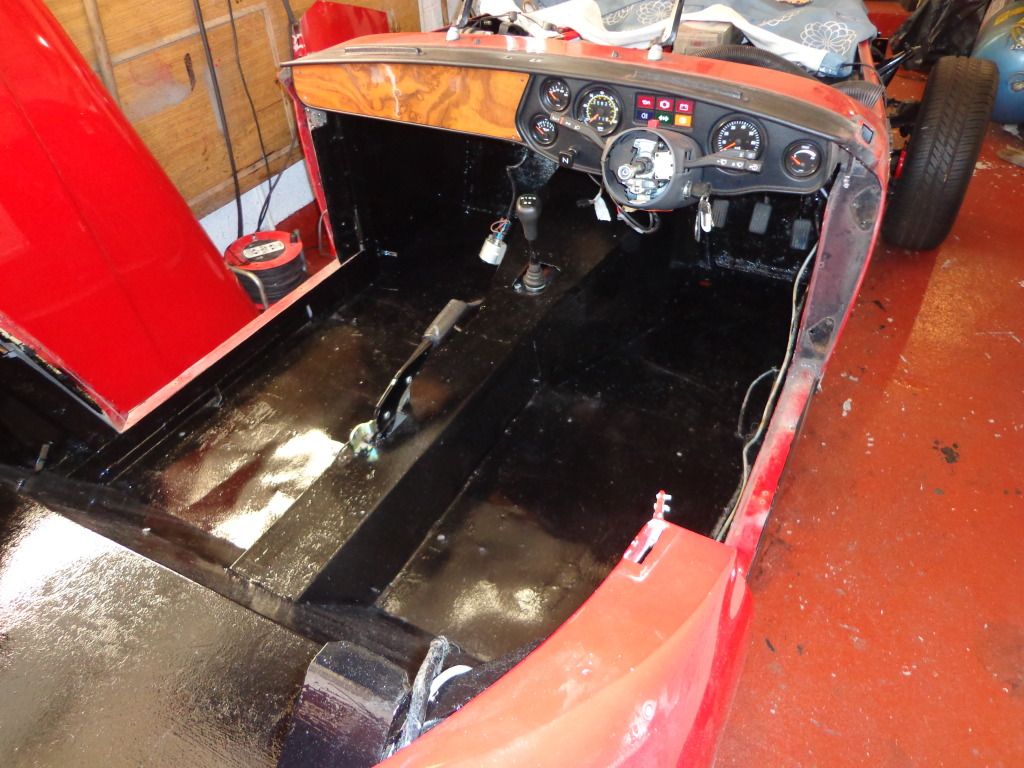
Well that's all I managed today, I never got my tuition on body work but plenty of time for that although the owner of the paintshop where the car is being re-sprayed came around and we agreed on a colour scheme and a price. The body is going to be a deep red candy and the wings are to be pearlescent cream. I haven't quite decided on the bonnet yet, wether to keep it candy or to match the wings, either way it will look pretty good.
A lot more work before then.
see ya Paul
No comments:
Post a Comment