
First off! for those of you who spotted yesterdays deliberate mistake then well done, for those of you who did not spot it; then 'what mistake'.
I foolishly got the control arms on the wrong sides, it was not until this morning when I tried to fit the track rod ends that I realised the internal tapper was upside down. Once I stopped swearing I found it was not as big a problem as I originally thought, It just required the tension in the spring being held while the control arm nuts were removed and the arms swapped round.
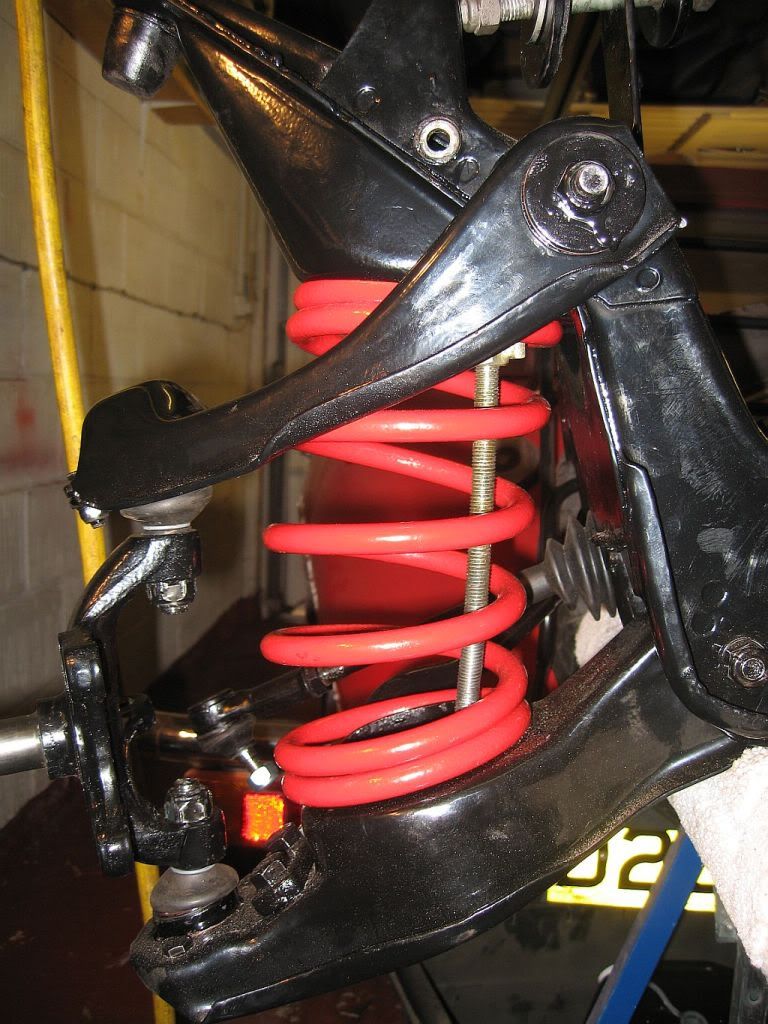 |
| Spring being held |
I fitted a spring compressor on the underside of the lower arm and the other end over the upper arm, a bit of tension to hold then gingerly undid the control arm nuts. I refitted the dampers and around 40mins later all done.
The paint was dry on the steering rod and knuckle, and the stiffer one soaked over night in oil was nice and free so time for my small mod to prevent future seizing. The universal steering rack boots are perfect for the job and cheap at only around £5.
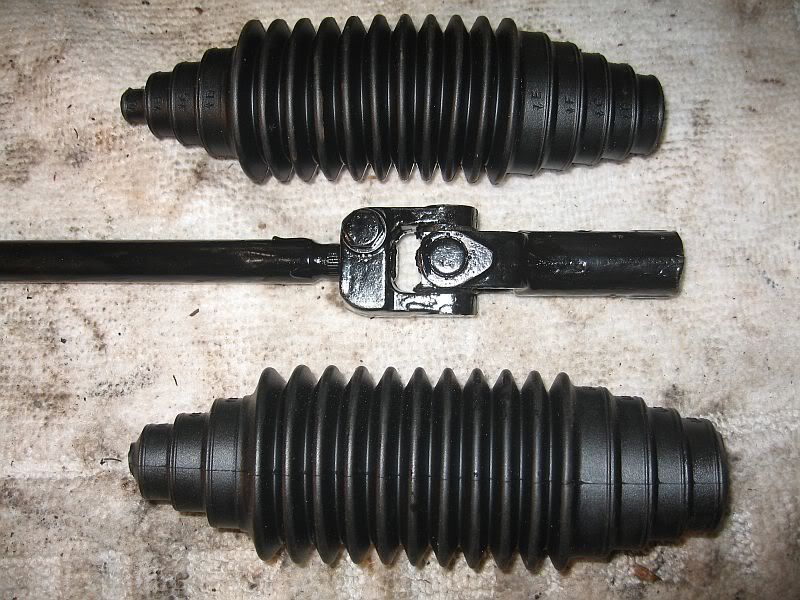 |
| Universal boots |
The boots have cut of areas to fit lots of sizes, the top was is uncut and the lower ready to fit.
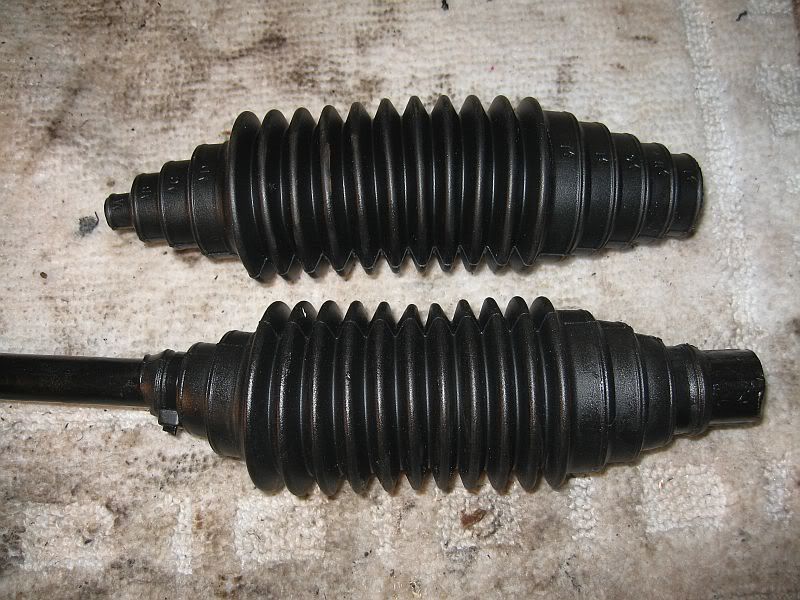 |
| Boot fitted |
I first packed the knuckle with grease then slid the boot over, being rubber I was able to stretch it over all the lumpy bits. One end I secured with a tie wrap and left the other end until bolted to what was left in the car.
Not a great photo but you get the idea, once bolted on I slid the boot over the bolt and tie wrapped in place.
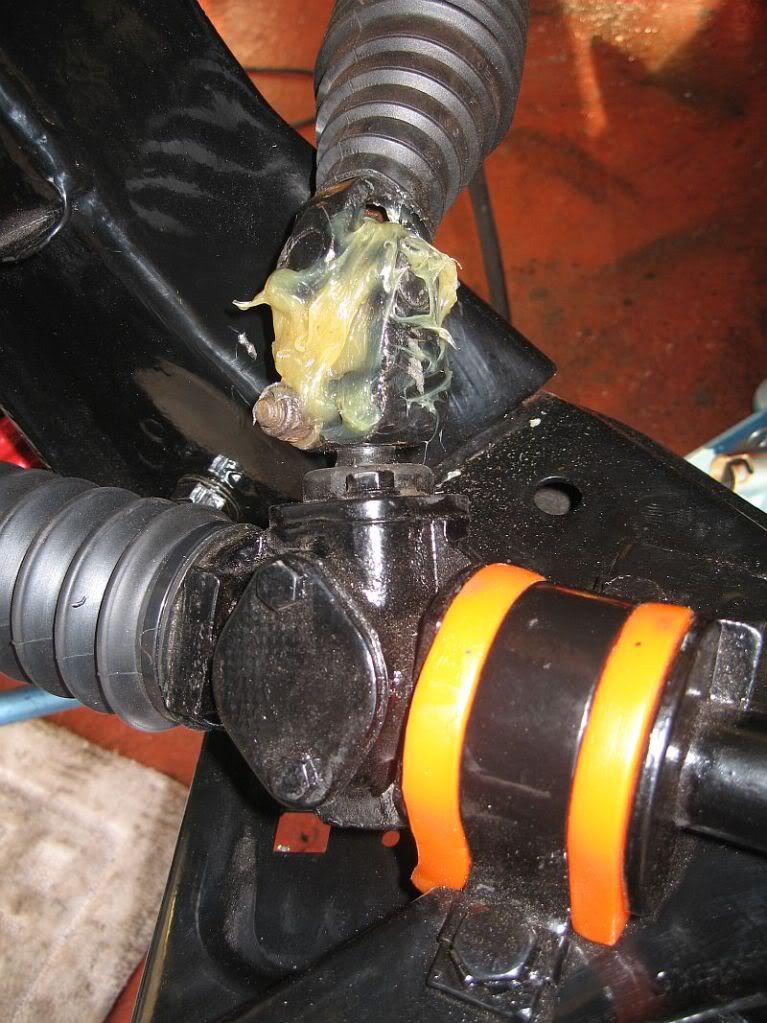 |
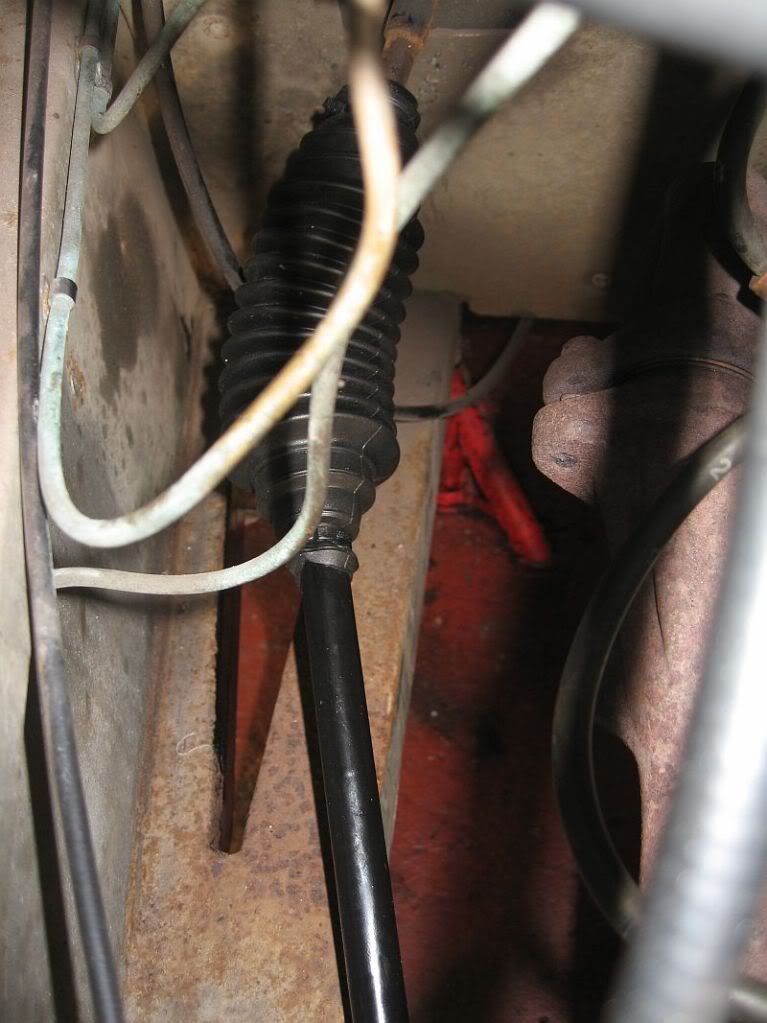
| Rack end |
Once the sub frame was slide in place I pushed on the steering rod knuckle end, unfortunately I got the fit wrong and the steering wheel is a few degrees out, I am hoping that when I change the wheel I can sort it, If not the the rack will have to come off again to turn the knuckle.
Once in place I packed with grease and slid down the boot,
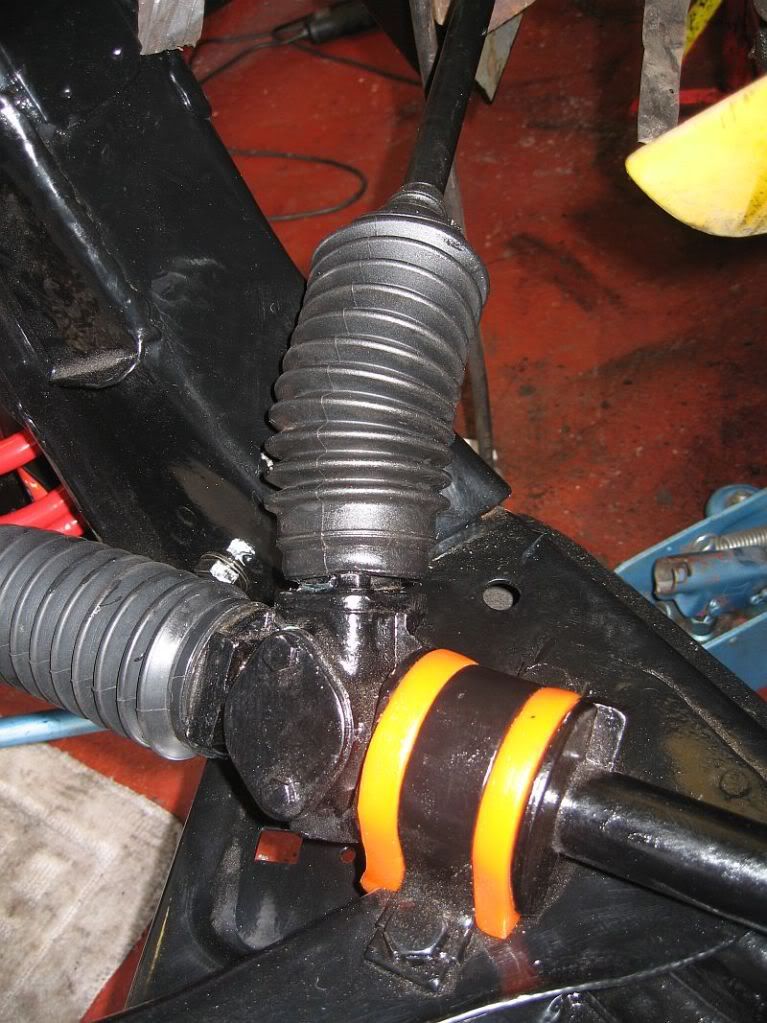
Unfortunately I have not been able to get a tie wrap to stay in place on the bottom end yet as it keeps sliding of but I'll get there.
The subframe went in quite easily considering its awkward size and shape, a few things to remember when fitting.
First the large black plastic washers need to be in place before jacking into position.
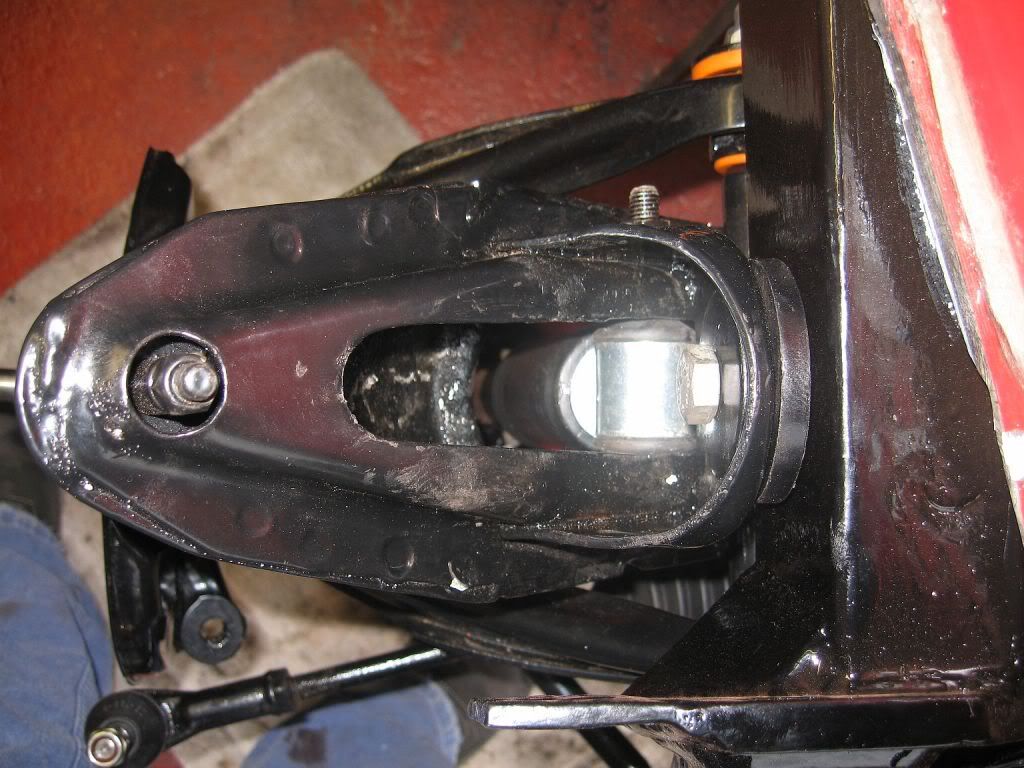 |
| large black washer |
Secondly, Don't forget when positioning the subframe the steering knuckle is slid in first. You can't fit after without unbolting the steering rack.
How did I learn this, by firstly fitting without doing either, secondly by fitting with the big black washers and not the steering knuckle then thirdly by fitting the right way.
The big bushes for the subframe were a bit difficult to fit at first as the lead edges were to shallow so a little shave and a spray of silicon grease and they slid in position, there was an i.d mark showing the upside to get it right.
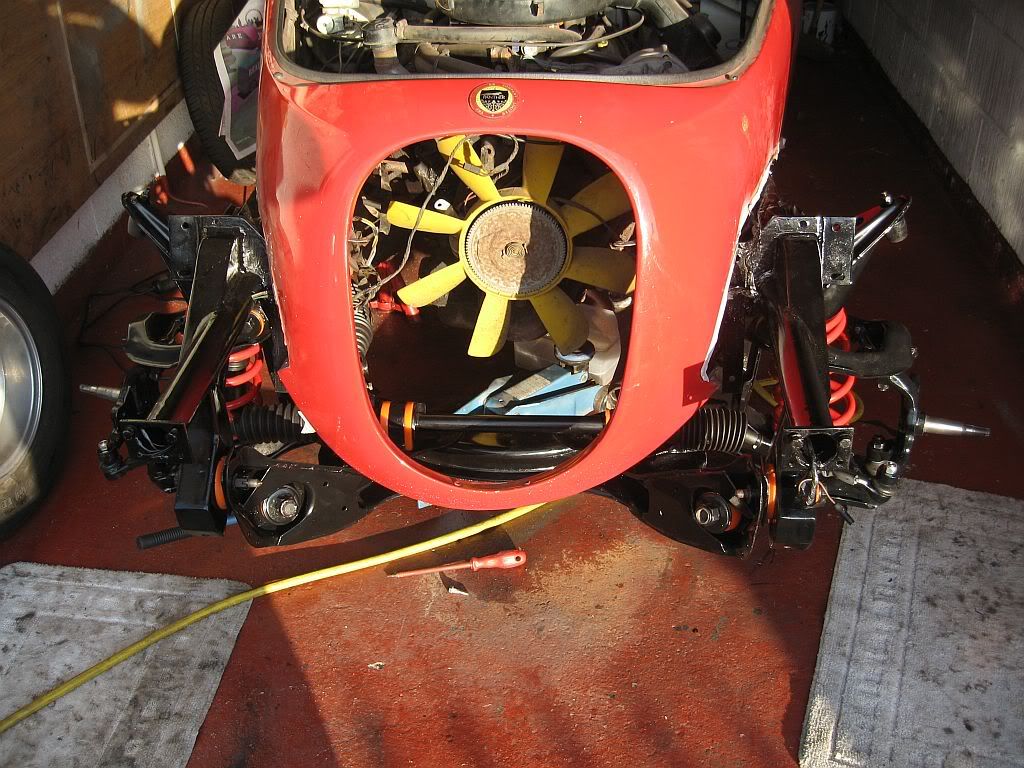 |
| Subframe in postion |
All in all the whole job of removing and re-building was not that difficult, I replaced all of the bushes, ball joints, track ends and dampers. Sand blasted everything and had most pieces powder coated, those pieces not coated were hammerited.
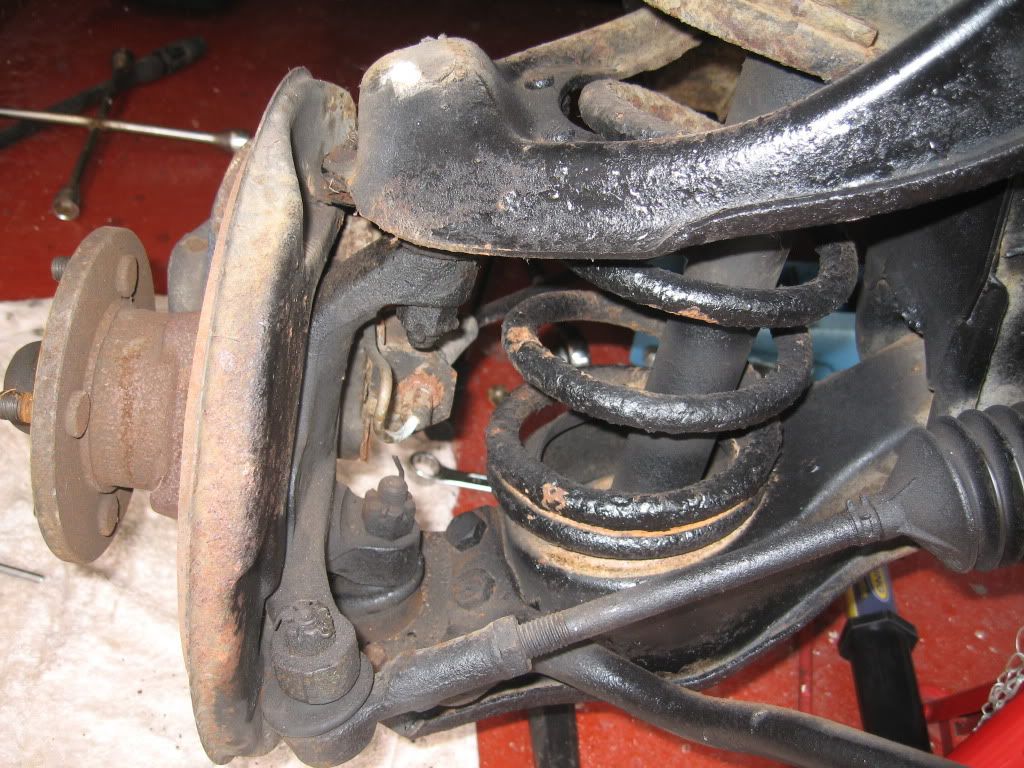 |
| Before |
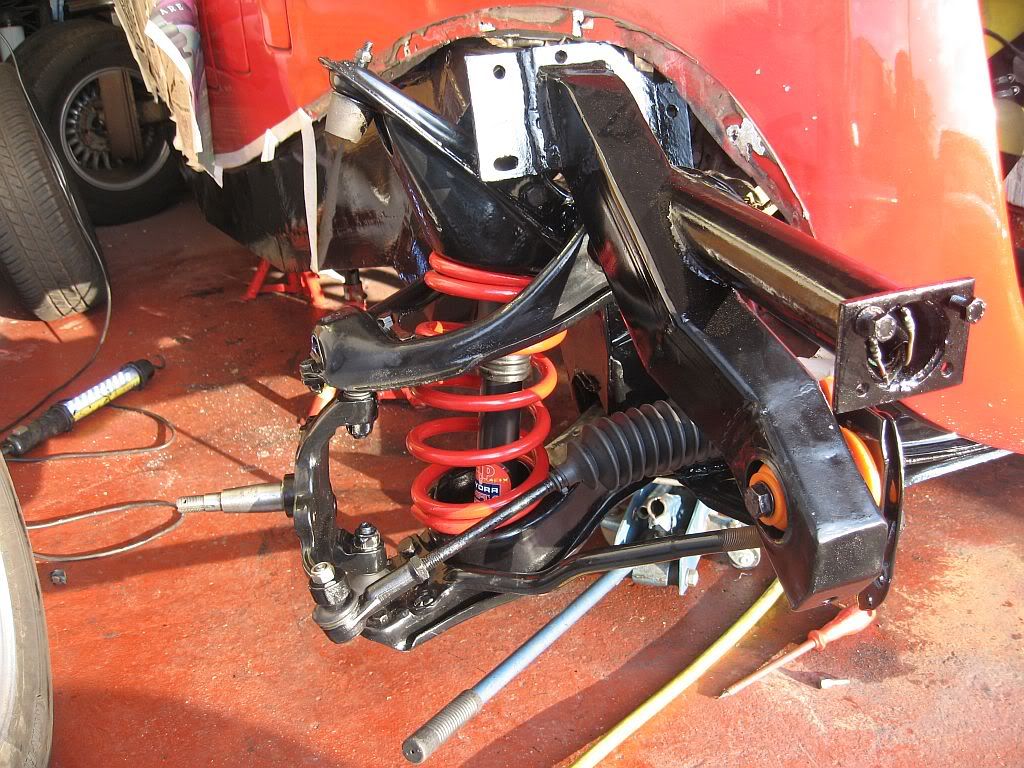 |
| After |
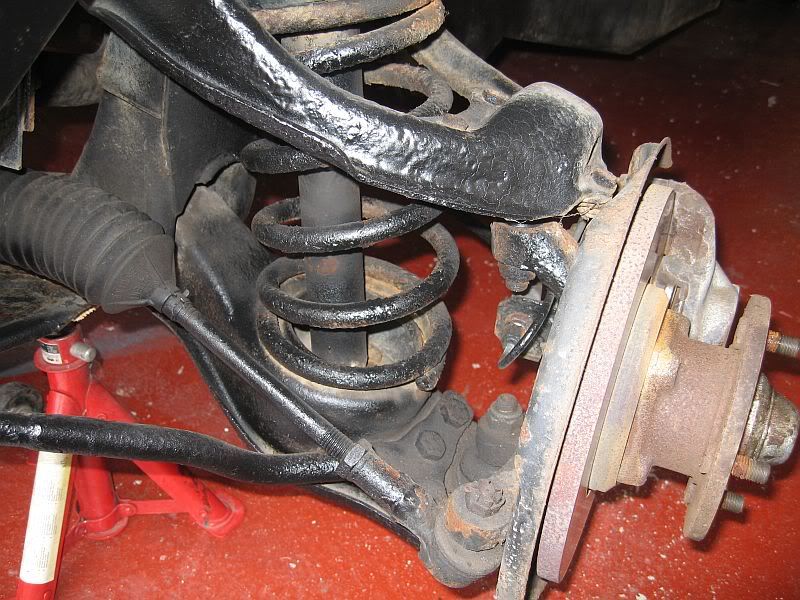 |
| Before |
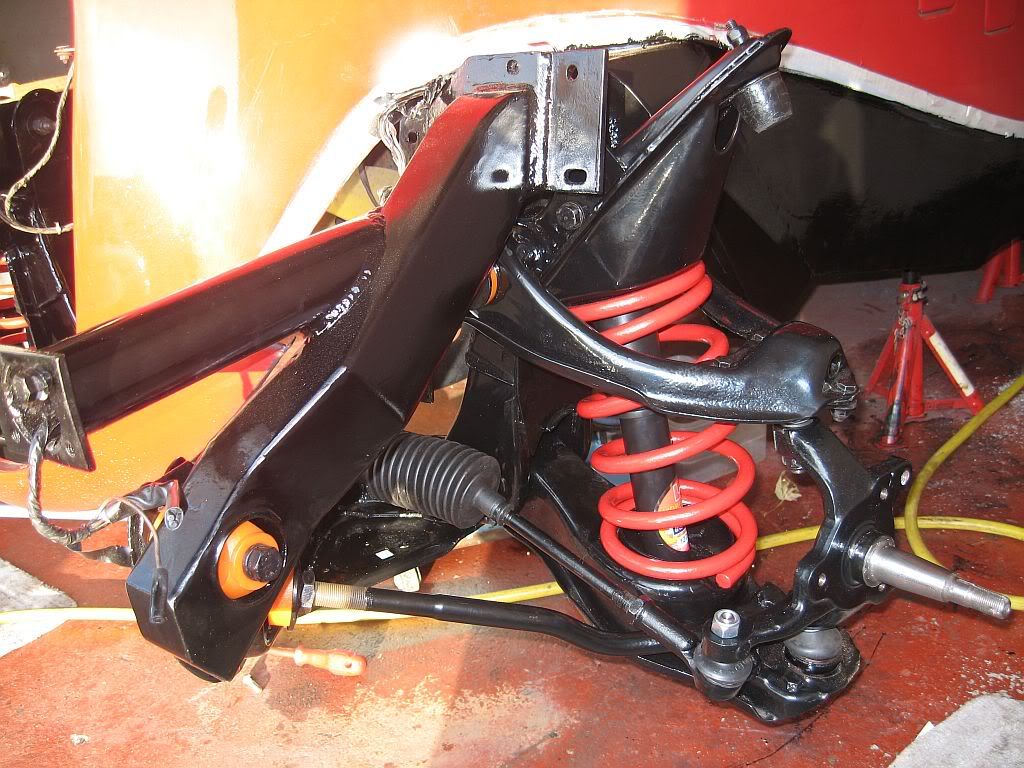 |
| After |
The next job is to fit the hubs and get the wheels on, hopefully tomorrow.
See ya Paul
No comments:
Post a Comment