
Back home again after a 3 week stint onboard my ship, 1 week of before I return so I need to cram in as much time on the car as my wife will allow.
I did not get as much done last time home as I would have liked but I did crack on, it was mostly underside work which I am finished with for the time being although no where near fully finished. Last time I managed to get some protection on the outer and importantly the inside of the framework. The sides and under were cleaned of all rust that I could access while on stands, the areas that I had difficulty getting at were given a rust cure treatment, then primed and 2 coats of chassis paint applied. Thankfully I could find no more signs of pitting or holes in the box sections, I then got out my Schultz gun. Now this is one messy job, first off I fitted the extension hose and got right inside all of the box as far as I could spray with Vactan rust cure. I used over 1 1/2 litres in the hope of hitting anything that was not previously treated. Then it was the turn of the wax oil, over 4 litres was sprayed inside the box section and around half a litre over the garage floor and me. I also looked at where water was ingressing through the fuel pipe drilling's as this was the cause of the underside rusting, I had a tube of flexible roofing sealant handy so I sealed everything I could find with this. Next was the gap where the body work ends and the chassis begins this had a nice big gap which you can't really see with the wings on, no more gap now. Once the engine, gearbox and exhaust are all of I shall be able to get further underneath and preserve everything before I spray with schulz or some other underseal.
Typically the day before I left my new poly bushes arrived, I know I went for the cheaper option with the Flo-flex as opposed to the Superflex but as I said before for only a couple of thousand miles a year around country roads do I really need track running gear. Anyway I did do a search on Flo-flex and was surprised at some of the good comments.
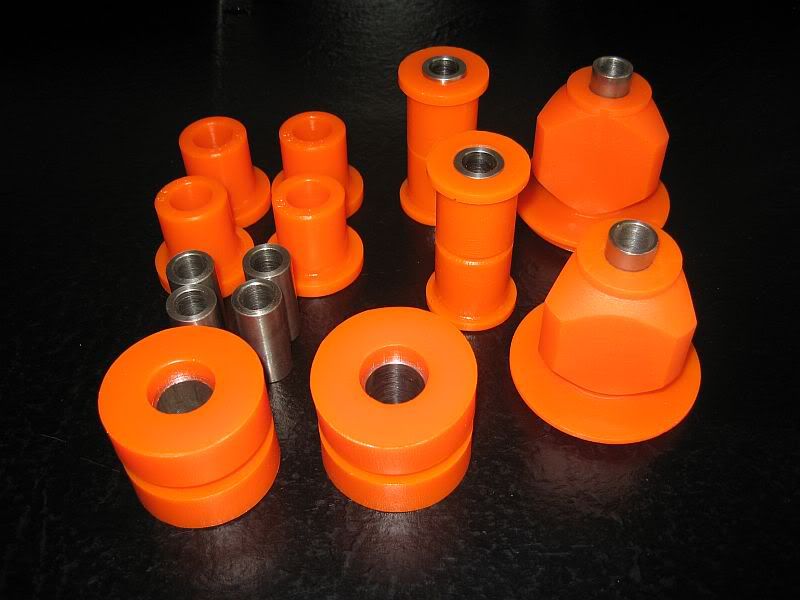 |
| Flo-flex poly bushes |
The Superflex and Powerflex have a different colour scheme, each of there colours denotes the hardness (shore rating) of the poly, so each different use ie. wishbones will be one colour / hardness while an ARB may well have a different colour / hardness. Flo-flex does it a bit differently in that they use just one hardness therefore keeping the price down, but as you can see there is no skimping on quality; I originally bought Powerflex which I had to return and comparing the 2 I can see no difference.
http://www.floflex.co.uk/index.php?cPath=23_40_44&osCsid=f4819c91798b26c3c59d41d08e58aadd
Cortina Mk 4/5 poly bushes used for the front suspension and steering.
- CRT45X Cross member mounting set £14.75p
- CRT45FRNTG Steering rack large £7.26
- CRT45FRNTF Steering rack small £6.05
- CRT45FRNTC Tie bar £12.10
- CRT45FRNTB Lower wishbone £14.52
- CRT45FRNTA Upper wishbone £14.52
http://www.superflex.co.uk/products.php?cat=148
The Superflex bushes do look the biz and if I never had next to every item on the car to replace I may well have went for them.
- SF148-1547KSS front subframe £52.75
- SF148-1187K Steering rack kit £18.75
- SF148-0046KSS Tie bar £25.75
- SF148-0262KSS Lower wishbone £30.75
- SF148--1401KSS Upper wishbone £110
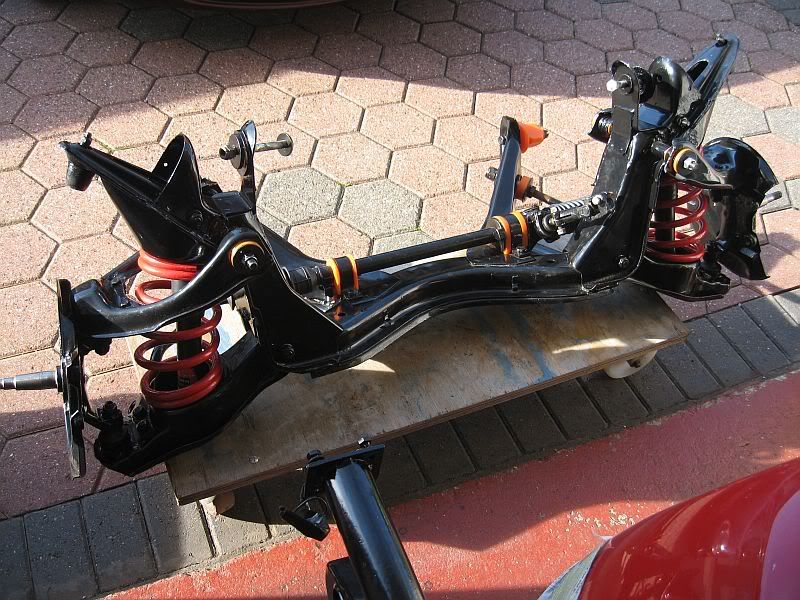
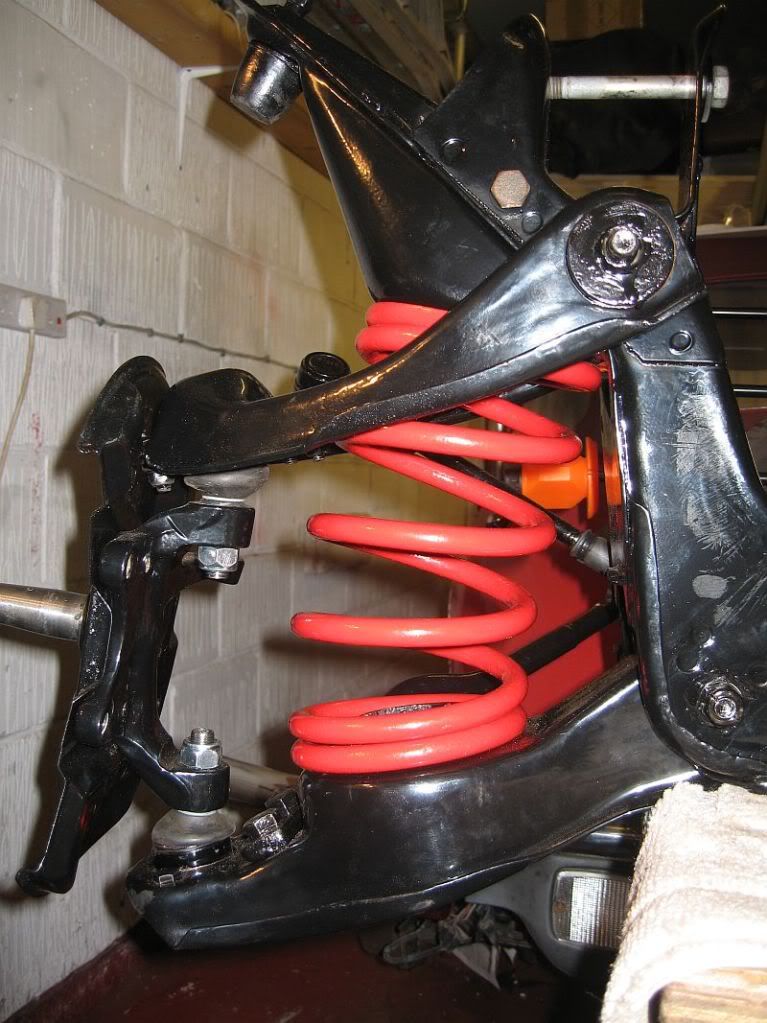
I have spent some of yesterday and most of today re-building the front subframe and boy what a difference from when I first took it out.
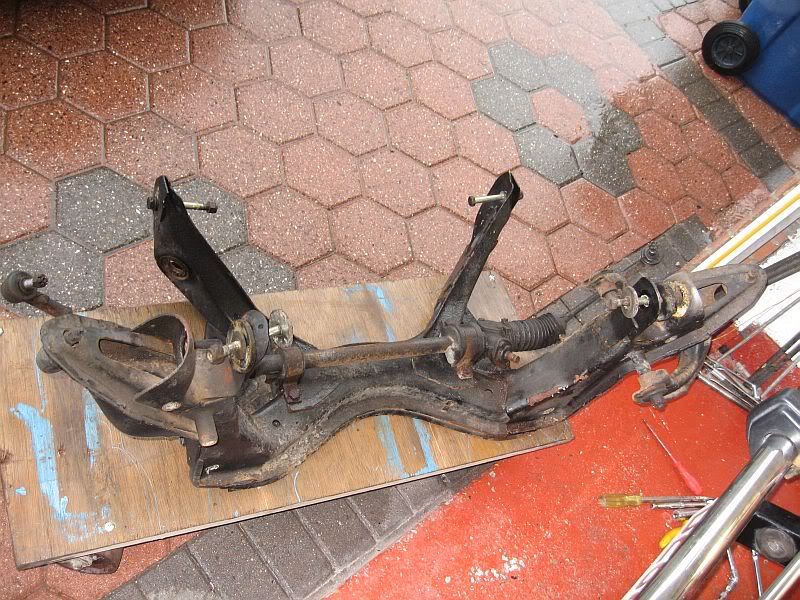
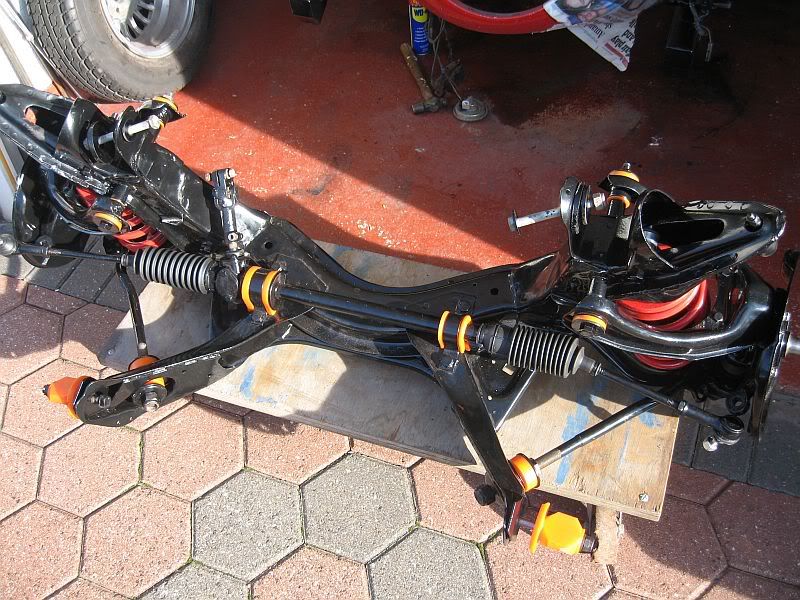
For any one wishing to do this here is a step guide.
First of is safety, these things can cause serious injury or kill if not handled correctly while under compression so beware.
I used a internal set of spring compressors, these are a slimmer set than the normal heavy duty ones as they have to fit through the small space where the gas damper fits, you can also use them for external compression.
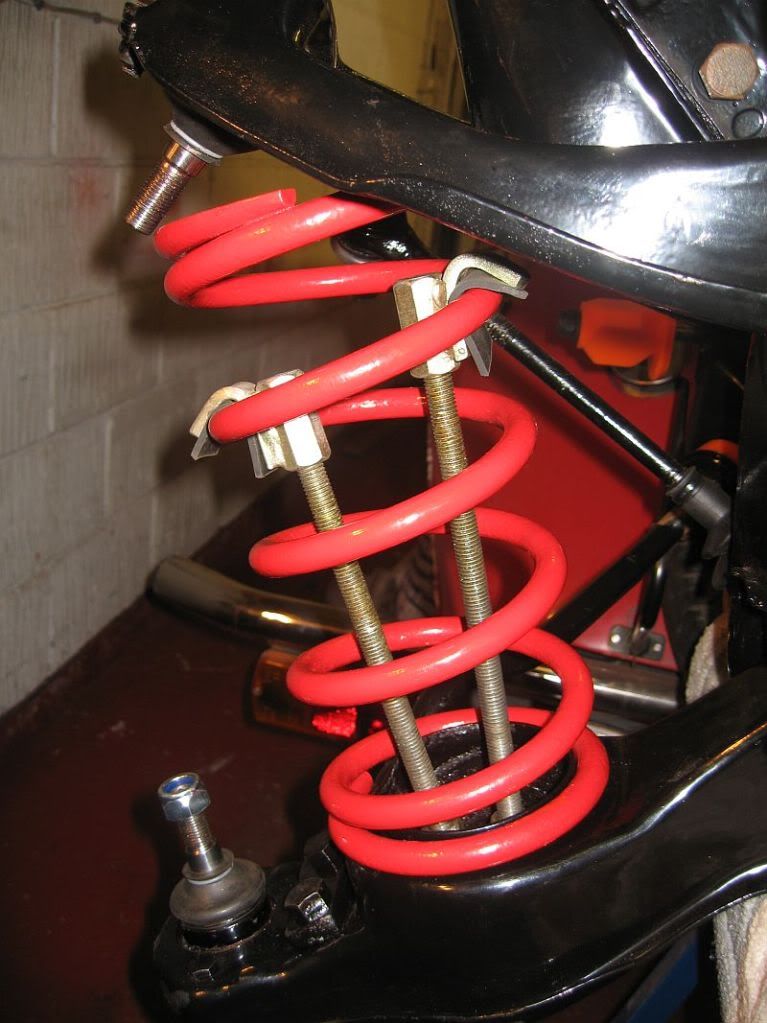 |
| 1st stage |
 |
| 2nd stage |
 |
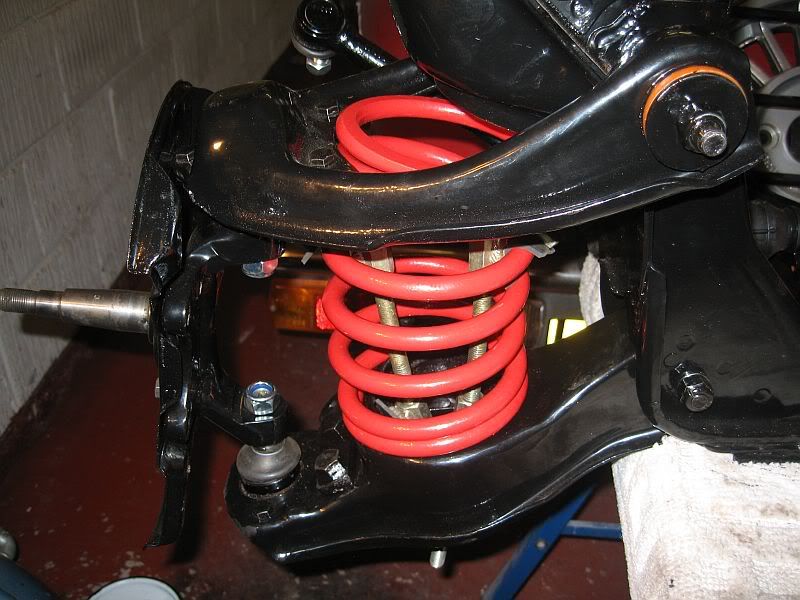
| 3rd stage |
 |
| 4th stage |
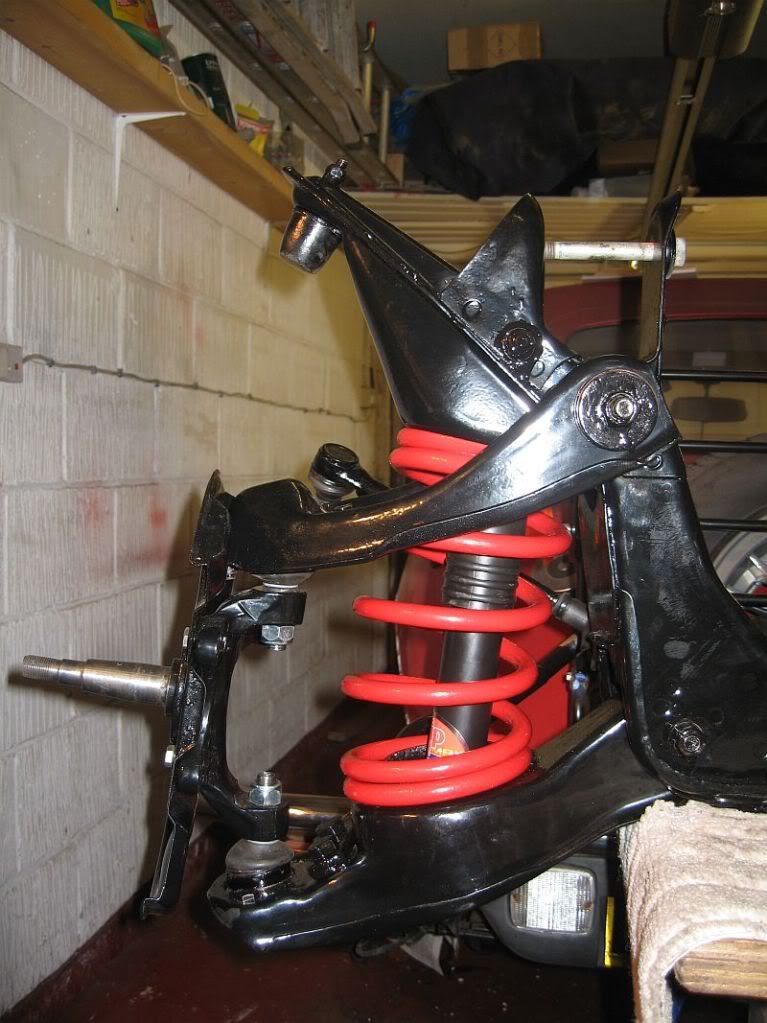 |
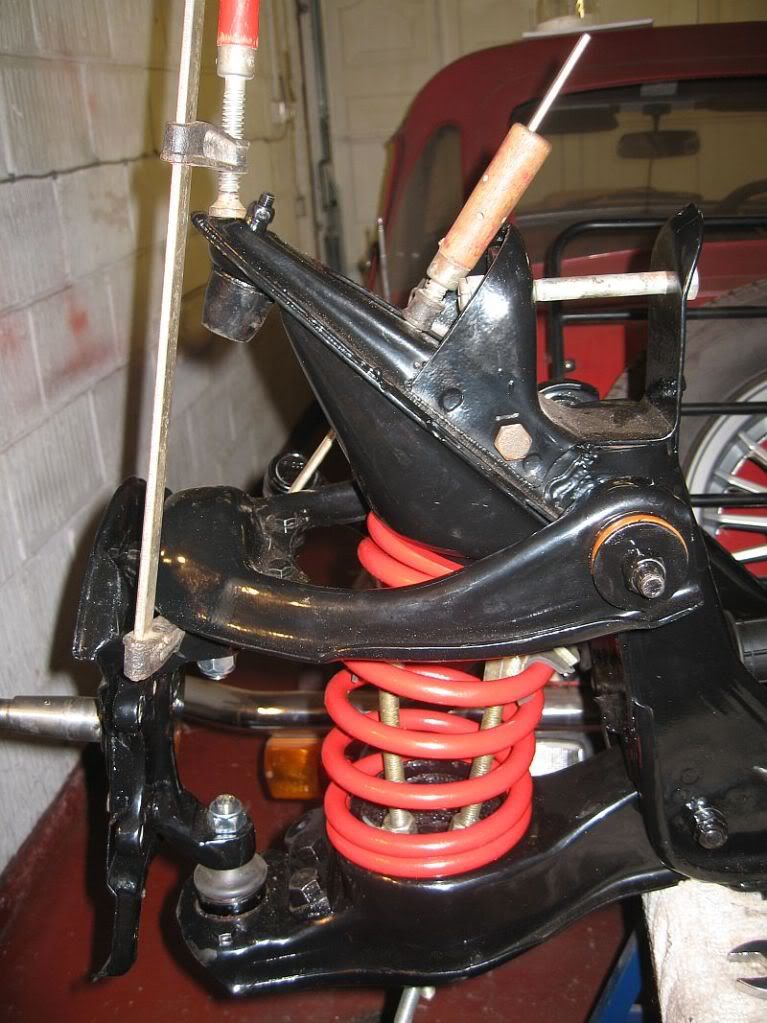
| 5th stage |
I have been getting into the habit of painting every nut & bolt as I tighten it, this ensures I don't miss torquing any up and prevents bits dropping of at 70mph, so any unpainted bolts will need checking at the end.
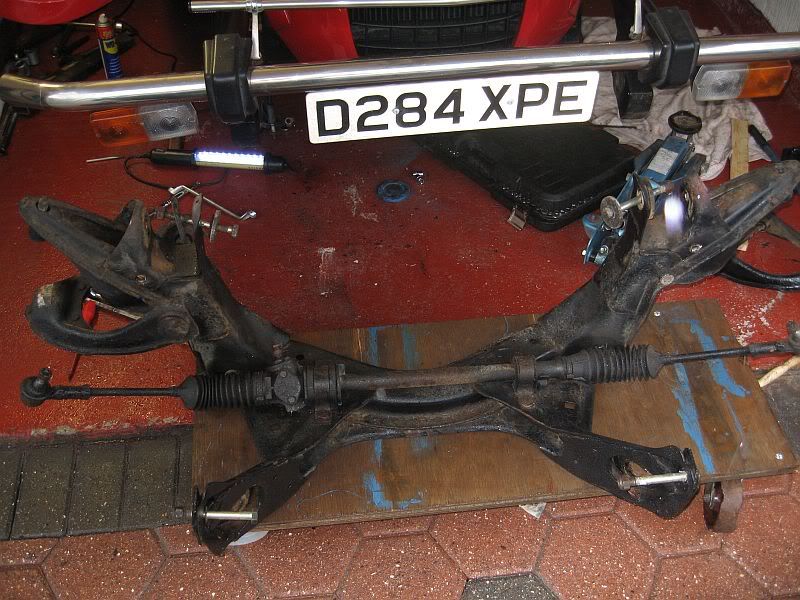
The last job of the day was the removal of the steering rod and knuckle joints, I had already removed the lower one that went onto the rack and this was really stiff, the one coming from nearest the steering wheel was lovely and free; so I guess the MOT failure I had on notchy steering was down to the lower knuckle. Its hardly surprising that this was to blame seeing as how there is zero protection from the weather. I have managed with a lot of WD40 and oil to get it moving freely and ready to fit, I have also bought a set of universal steering rack boots. I am going to slide these up the steering rod when I fit it, then fill the knuckles full of grease and slide the boots over them, a couple of tie wraps and this should prevent any future seizing. I have all the steering bits painted so hopefully tomorrow I should be in a position to fit the subframe as I need the car rolling to turn it and start on the rear suspension.
I have been debating since the purchase of this car as to the colour it will end up, I was always after a 2 tone finish but could not decide on red and cream / ivory or red and black. Well the decision was made for me.
http://www.ebay.co.uk/itm/200664549116?ssPageName=STRK:MEWNX:IT&_trksid=p3984.m1439.l2648
(Unfortunately I haven't figured out how to copy a photo from ebay)
But I am now the owner of this fantastic original Kallista steering wheel in maroon & cream leather a bit expensive at £108 and I must apologize to the other guy bidding but I was determend to get it and had a £350 max on it; stupid but hey!. So the colour coding of the car is sorted. 2 tone in Maroon candy with cream frost paint and hopefully a leather interior with the same colours, I also secured a pair of chrome over riders, just had to get rid of them plastic ones.
Well that's all for today
See ya Paul
No comments:
Post a Comment