
Hi
For some reason I thought that fitting the console would be a doddle, how wrong could I be, all day on that damn thing and have just finished.
It started nice and easy, I thought I'd fit the top brackets for the luggage rack and see what the new cover looks like.

I have not restored the rack yet and there are a few rust spots on it, I shall see about having it re-powder coated. Every thing fit nice and the wheel went on great.

I never realised just how much of the number plate and lights were obscured by the spare wheel I'm surprised the MOT lets it through.
The cover looks fantastic, black mohair with the Winged Panther embroidered in silver.

The console fit took a good 5 hours to get finished and a lot of the problems were of my own making and the others caused just by the very tightness and inaccessibility of the space.
I started by fitting the control wire back onto the vent opening on the fan, these are wires that slide inside an outer casing, one is connected to the control valve for the heater and the other to the vent, the opposite ends are connected to the sliding mech on the console.

They are kept on very tightly with special clips.
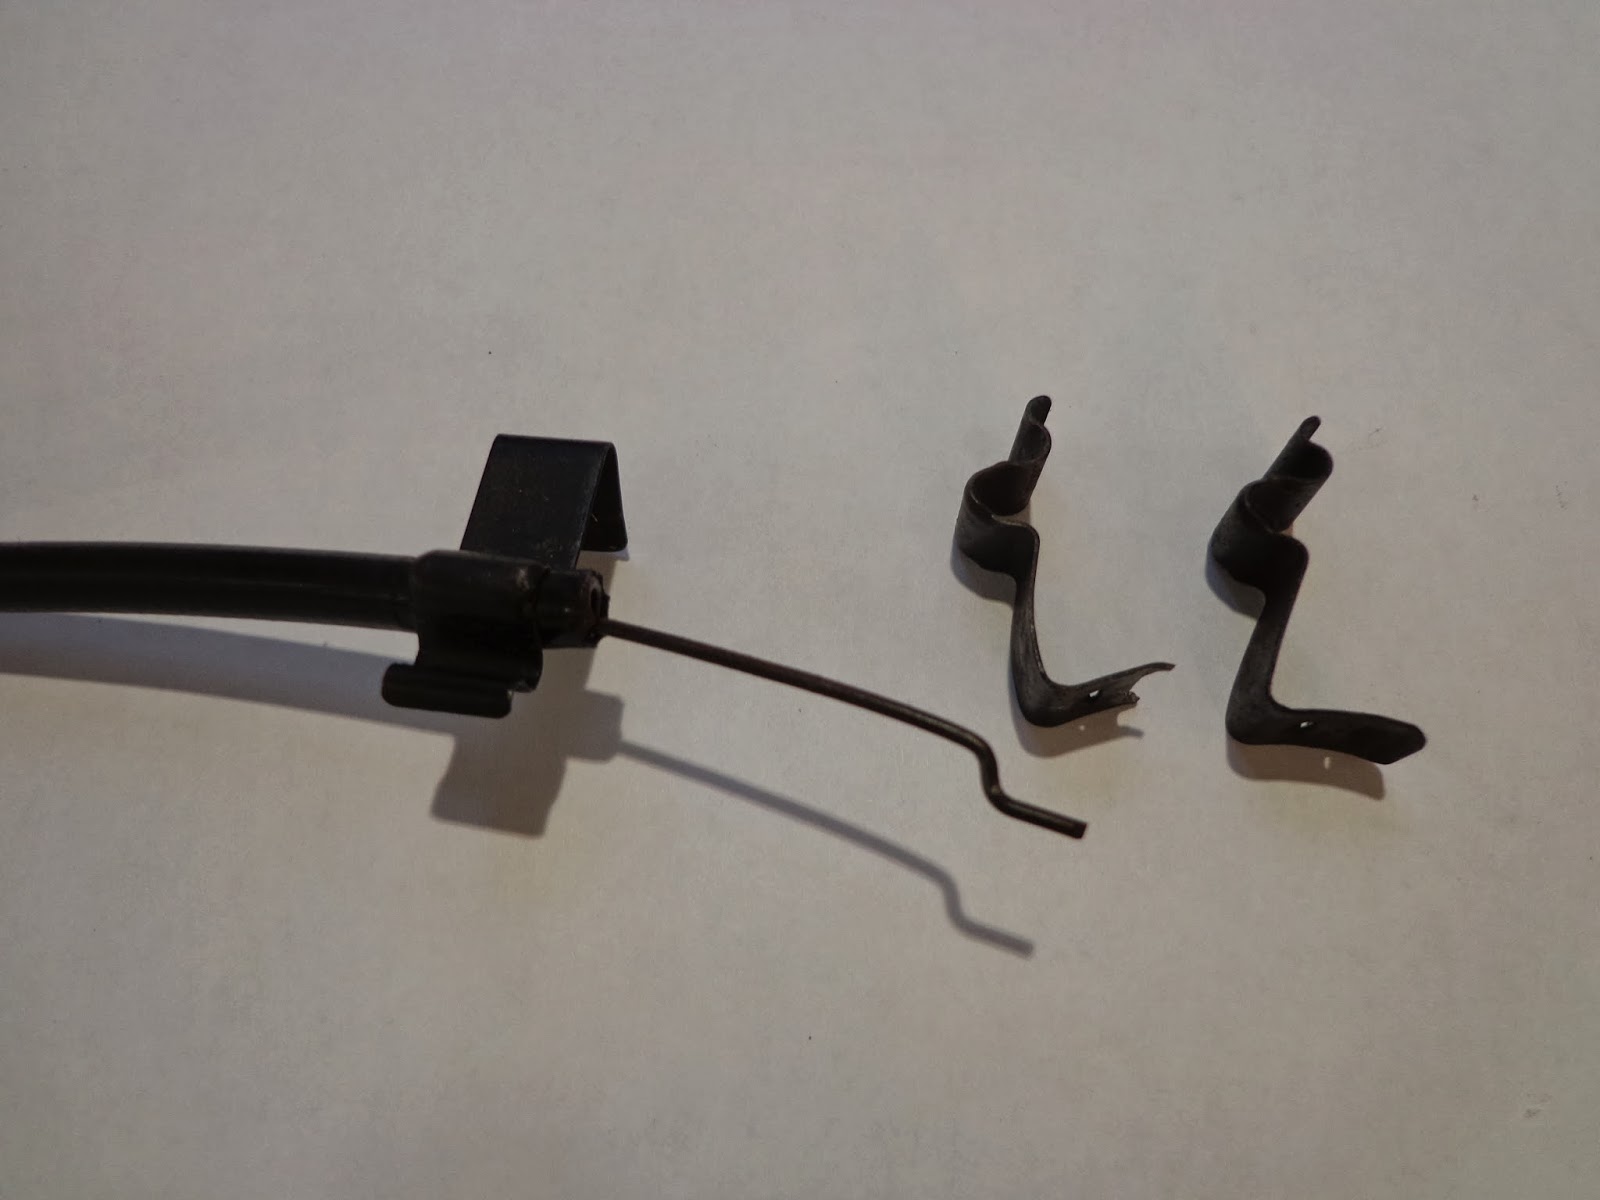
I had left the water valve wire in place and only had to fit the vent wire.

Once this was on I connected the air hoses to the vent under the dash, unfortunately I had fitted the bracket to secure the dash in such a way as I could not fit the hose, so it was under the dash to drill out the rivets then re-secure after the hose was in place.

The opposite hose was no problem to fit and went straight on.
Fitting the console proved a little more difficult as I had also fitted the other 2 dash securing brackets in the wrong place and had to drill these out which is where a good part of the day went.

The console went in relatively easy after that, unfortunately I realised that the carpet was around 10mm out of center and made the console look out of align due to the piping, so I had to unfasten the heater and move it side ways to expose the bottom bracket and cut a little out of the carpet and shunted the carpet along the few mil required. The heater had to be put back which was relatively straight forward.
Next was the new fixing holes, I had drilled new holes in the bottom of the console and marked these onto the carpet, I drilled and tapped these to 5mm and screwed the console down.
I had removed the sliding mech as it was impossible to fit the wires in position.

Having removed the slider made wiring up the console a whole lot easier as it was a little difficult to access, I bolted the start relay to one of the hold down bolts and connected the switch to the start button, the fan and fog light wiring was no problem and just plugged in.

I have tidied the wiring up a bit but it still looks a mess, I am no way nearly finished yet as the power supply to the multi adapter has to be fitted and the stereo wiring sorted, the dash brackets also need re-fitting plus 110 other jobs under the dash.

Christmas shopping tomorrow so not a lot will get done then.
see ya Paul
No comments:
Post a Comment