A quiet few days with not a lot done, mostly because I have been waiting for the wing piping to arrive and after calling them I found out the order had been put in the wrong pile so it wasn't processed, and the weather has been to wet and windy to get the car out of the garage. So not quite as much done as I was hoping but still a little progress.
First my apologies to the builder of my car, I said that the drivers side rear wing was badly fitted being a little shorter than the passenger side; well after going through the old paper work I found the receipt for a new rear wing.
Not only the wing but a rear bumper, tail pipe and silencer so it looks like back in 88 someone had a little ding, either rear ended or reversed into something. I must have read this when I first bought the car but completely forgot about it, So Mr Panther builder my humblest apologies.
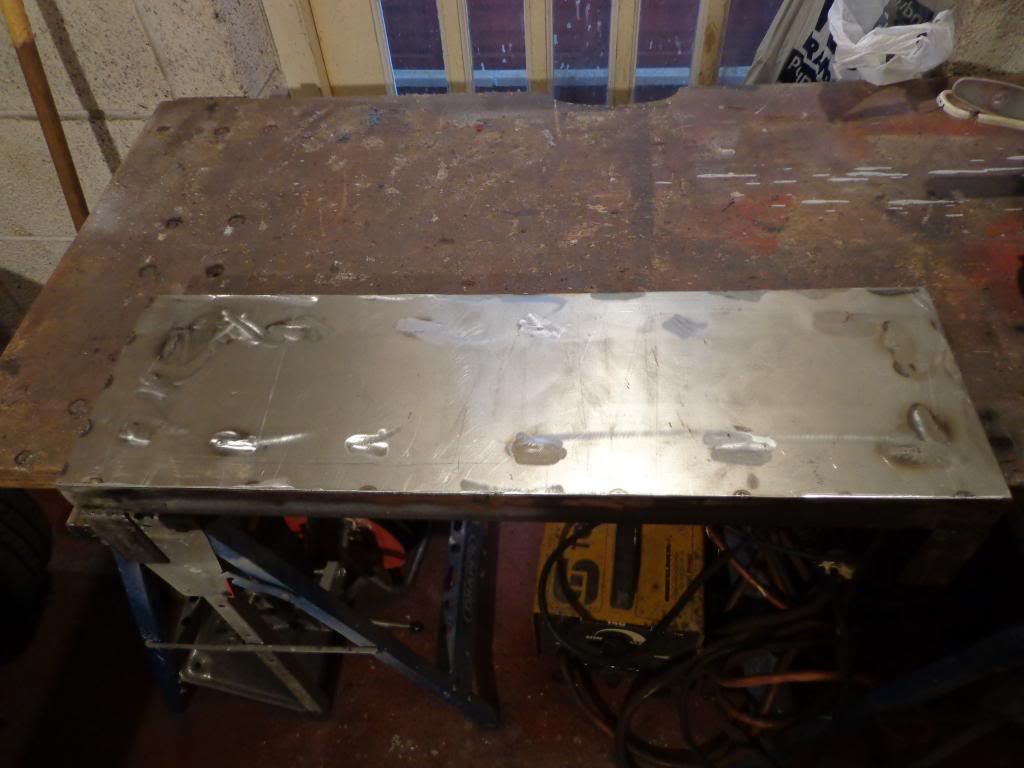
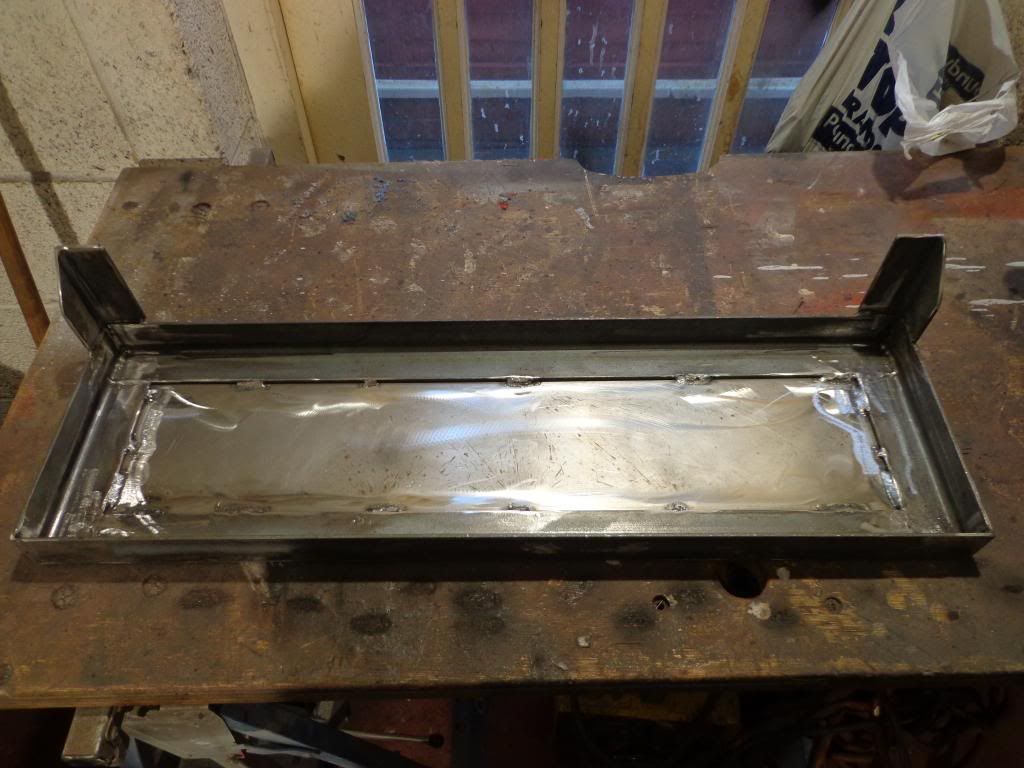
I carried on where I left off with the step and got the top welded on.
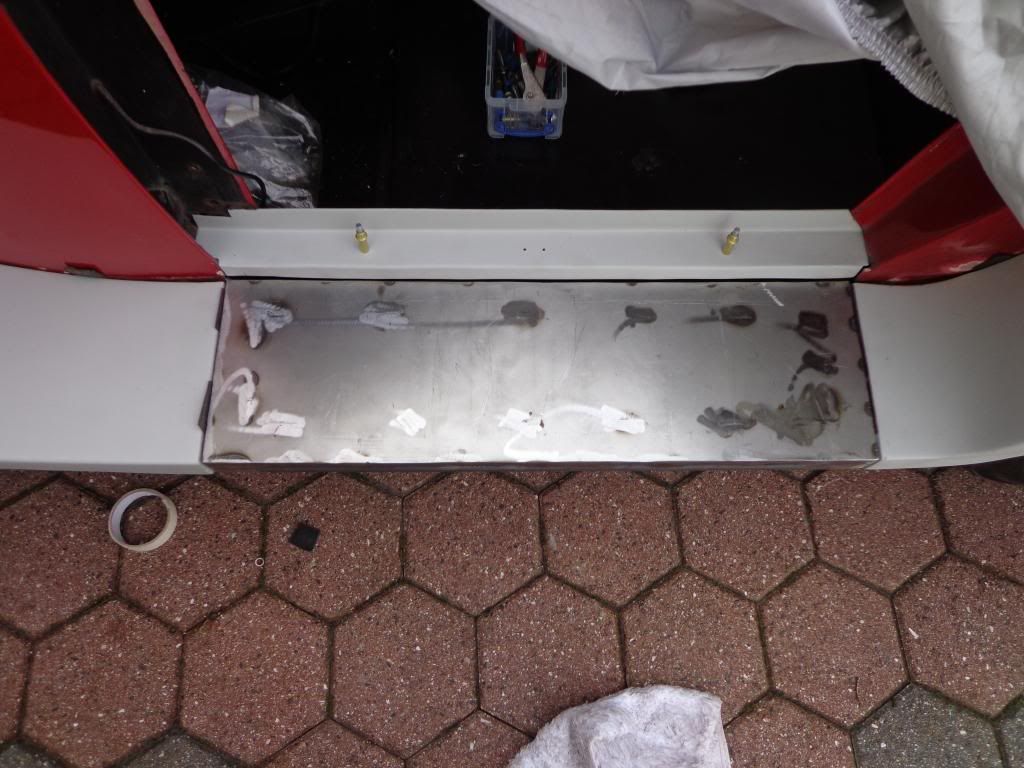
When the weather calmed down a little I managed to get outside to mark off the step and drill the holes.
Now that the steps are fitted I could get on with the stainless covers, I have been learning about the different types of finish you can get starting from de-scaled which is basically straight from the rollers to mirror polished at the very top end. I would have liked the mirror finish and hopefully that is what I will end up with but I intend to do the polishing myself.
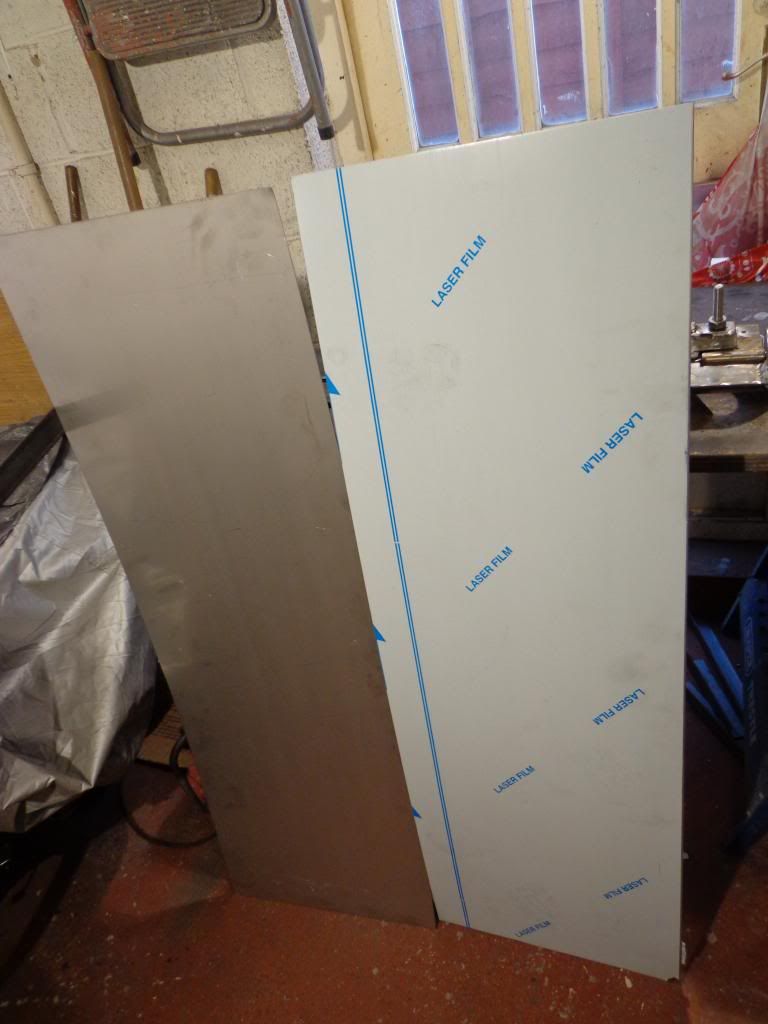
I bought 2 pieces 1225 x 400mm x 1.2mm offcuts from a company called Optima Stainless who sell there offcuts on eBay and were very helpful when I called them, each piece cost £10 plus £10 courier and they arrived the next day. I bought plain un-polished and the thicknesses they sell run from 0.9 to 3mm, I picked 1.2mm as I will have to hand roll it up the rear wing and having experience with stainless I know just how stiff it is to work.
I have been waiting for the wing piping to arrive before I marked and cut the stainless but with its none arrival I have just cracked on and hope that my guesstimate is good.
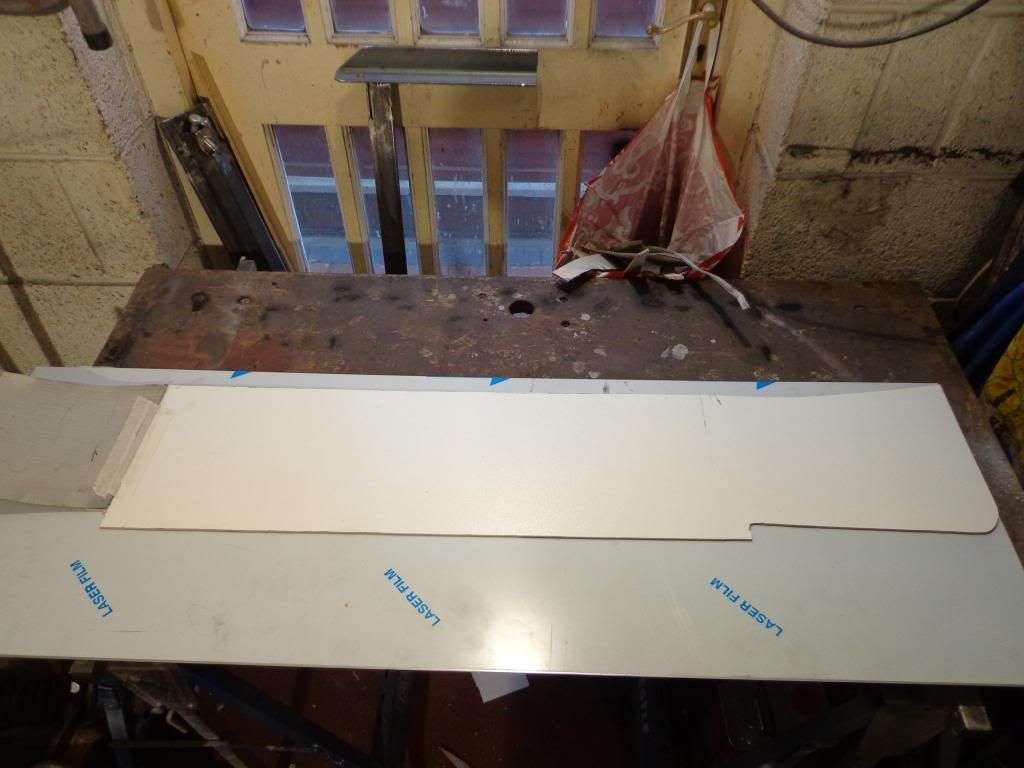
I started with a piece of hardboard to draw the template, the rear wing curve had to be done separately with a piece of cardboard and taped it onto the template.
I like the idea of the stainless running up the wing and rolled up the rear then folded under the step, a little bit more difficult but hopefully the end result will be worth it.
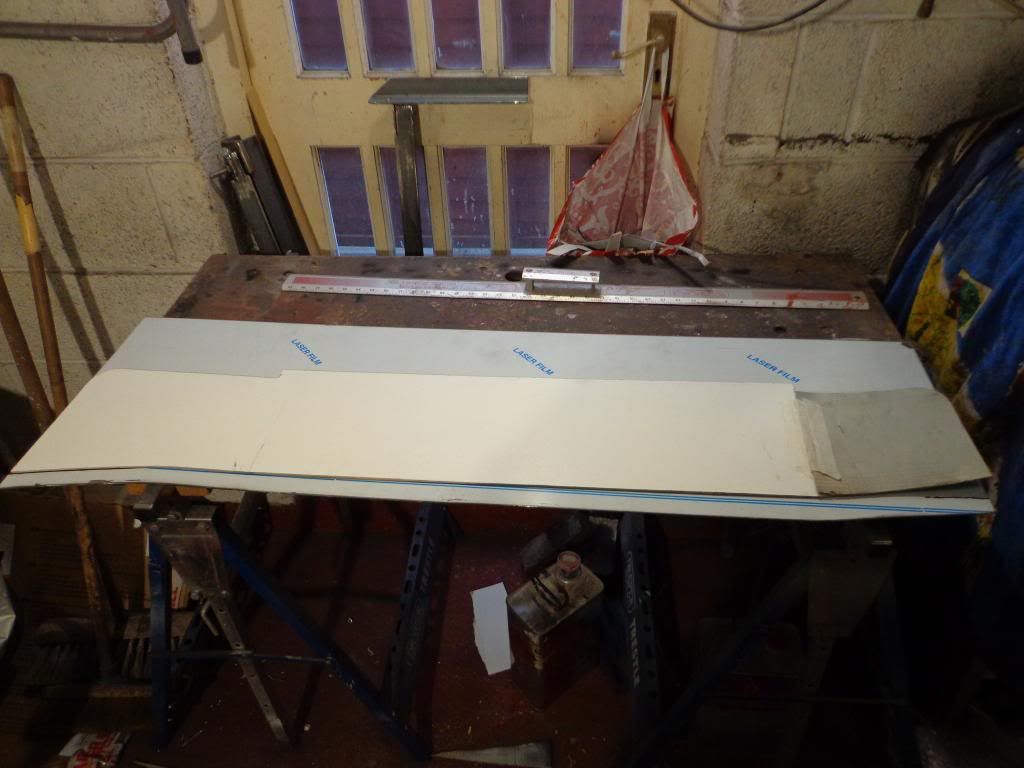
I placed the template on the protected side and drew around it.
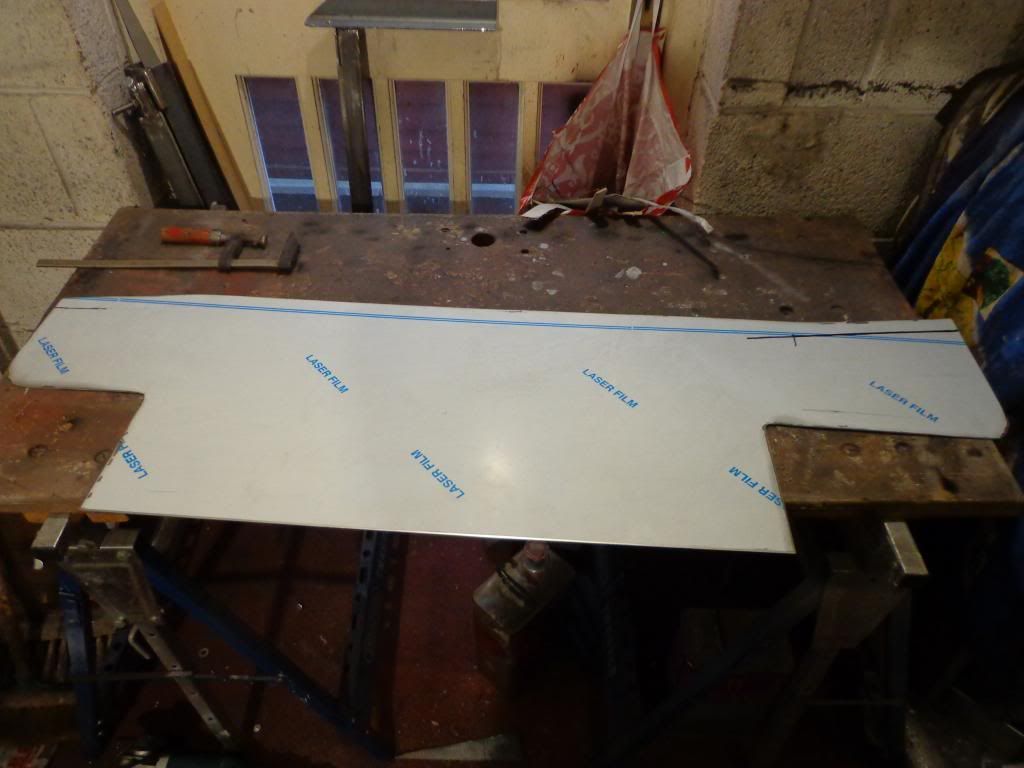
I had bought a pack of 4 1/2" 1mm stainless cutting discs in preparation and they cut through easily.The offcut is a little wider than what I need but bought it wider just in case I made a mess of the first cut.
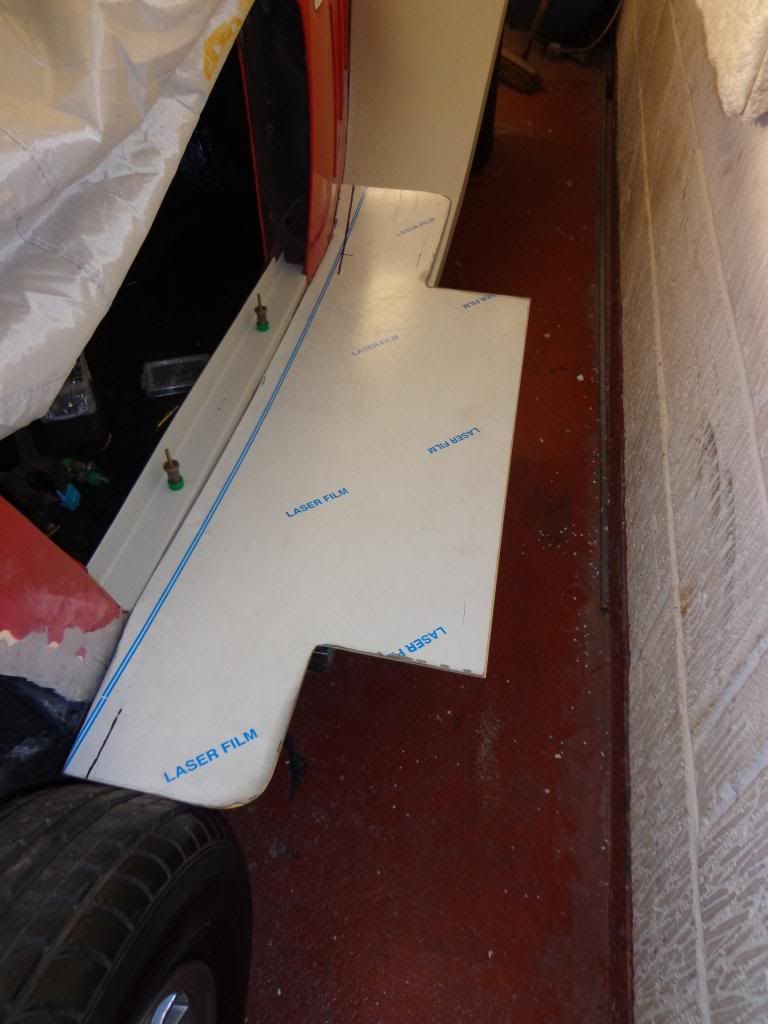
The tab section will be cut to size when folded over the step.
The rear wing had to be removed to check for fit as I won't be able to roll it until the folds are made, these will have to be done at a sheet metal shop as I don't have a folder large enough to bend 1.2mm of this width. So next time home I shall cut the other side and have them bent to fit.
I have sourced treads to fit on the stainless and shall have 3 on each side with black rubber inserts.
Well, I managed to get the steps made this time home which was the main job so hopefully the stainless will be complete next time then its a lot of rubbing down and priming ready for the paint shop in the spring.
see ya in 2 weeks Paul



No comments:
Post a Comment