Saturday 27 October 2012

Body Work: Step

Hi
Not much done yesterday, Lynne surprised me with a flexi day off so we went to see the new James Bond movie Skyfall and very good it was to.

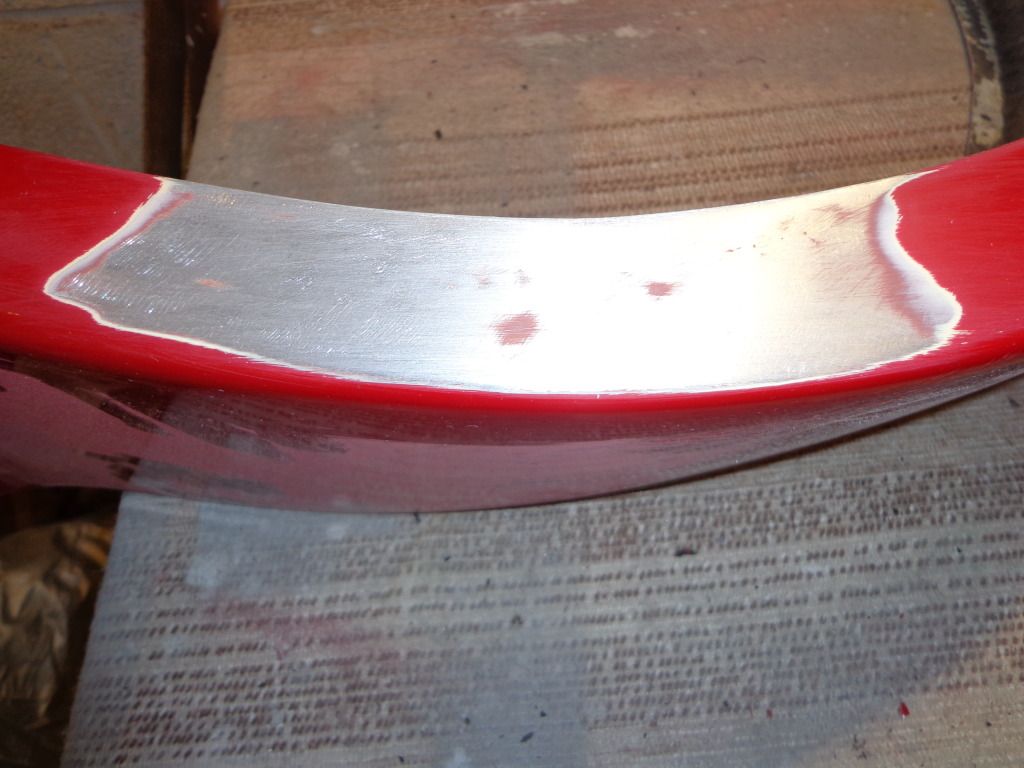
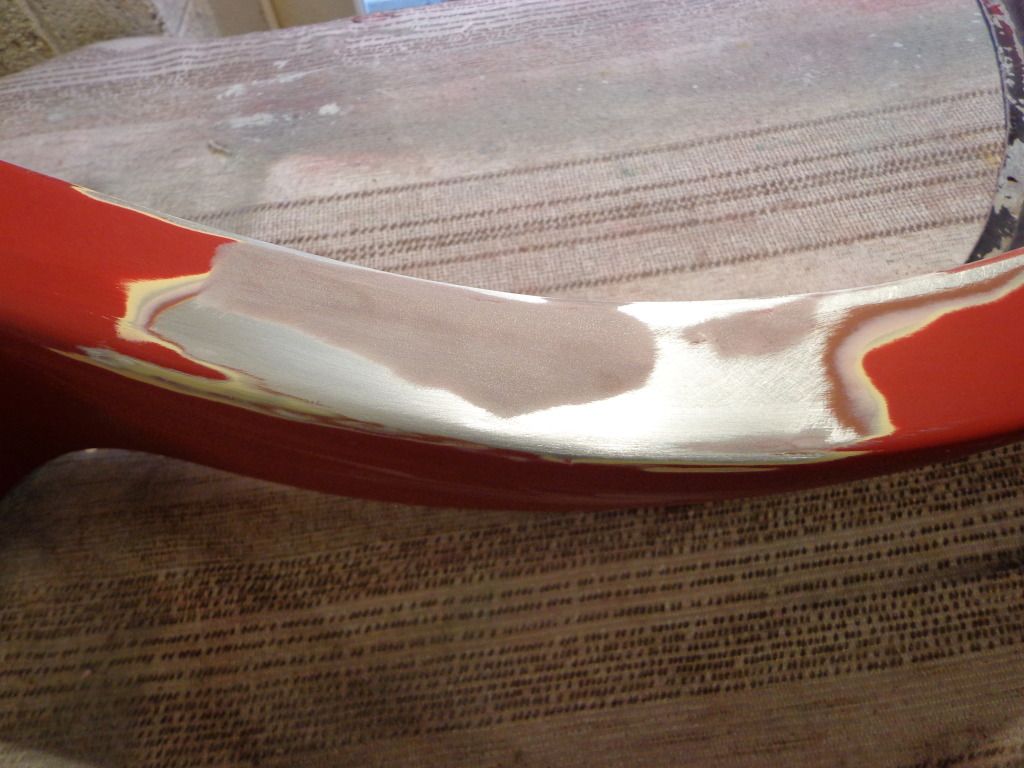
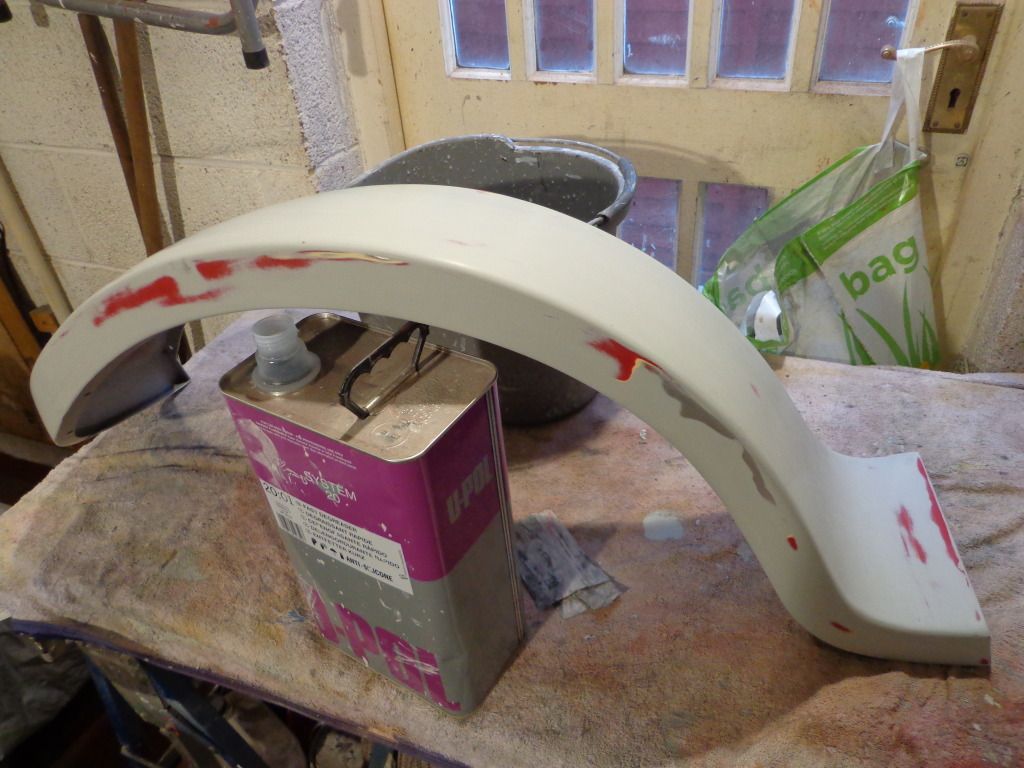
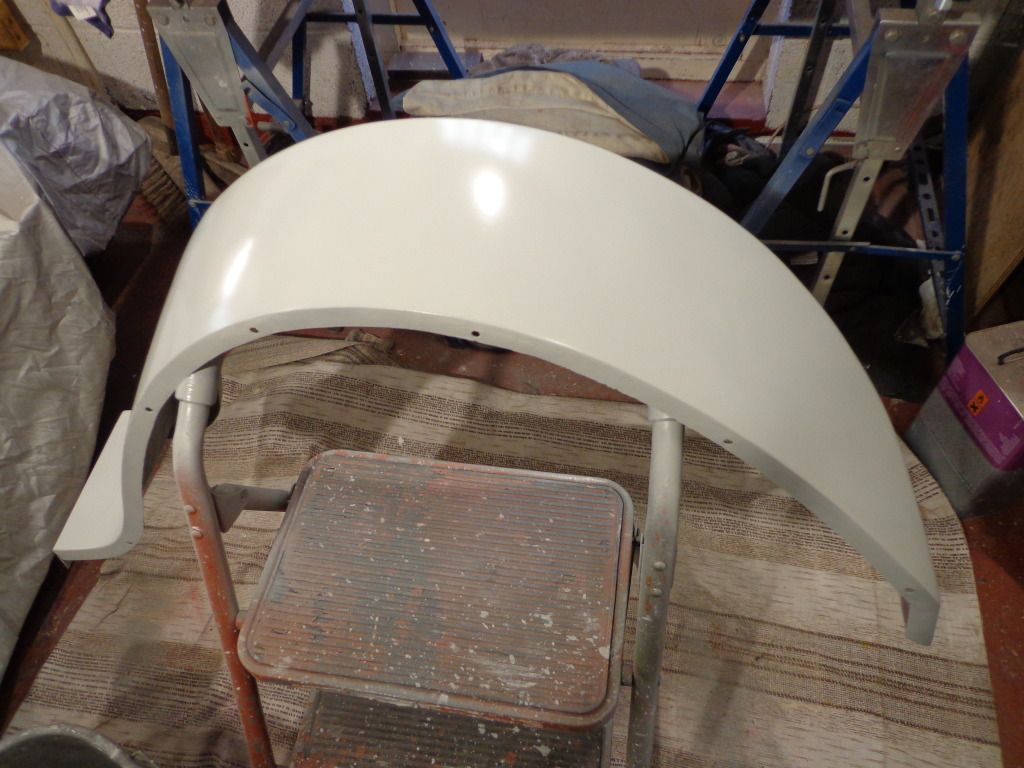
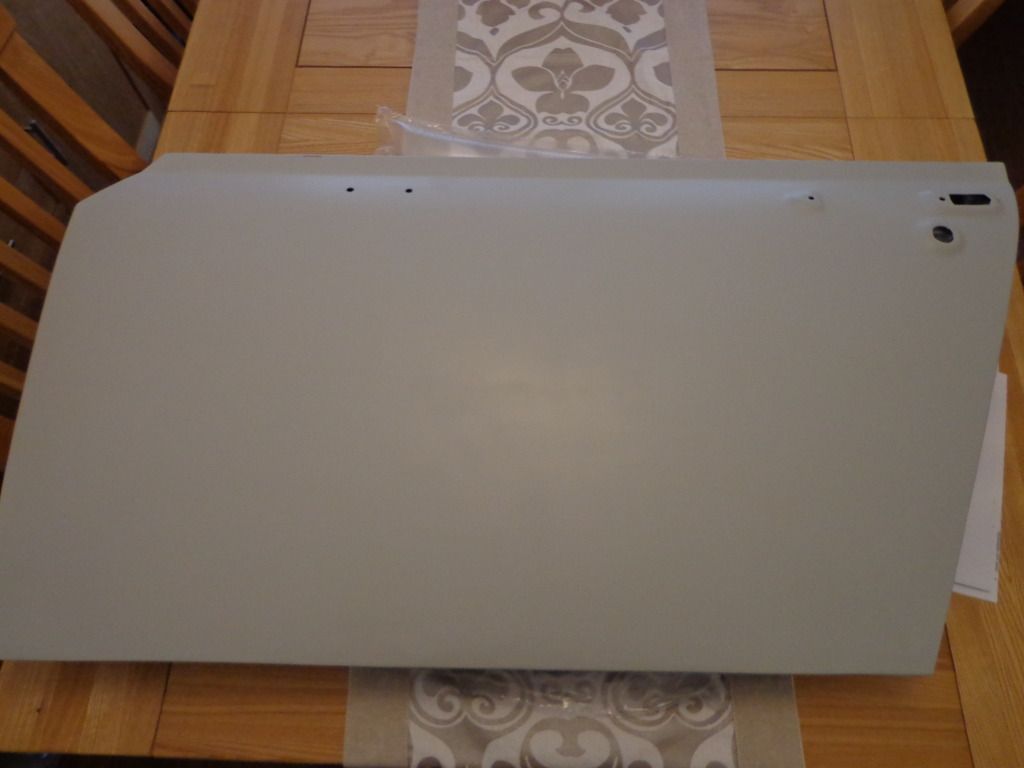
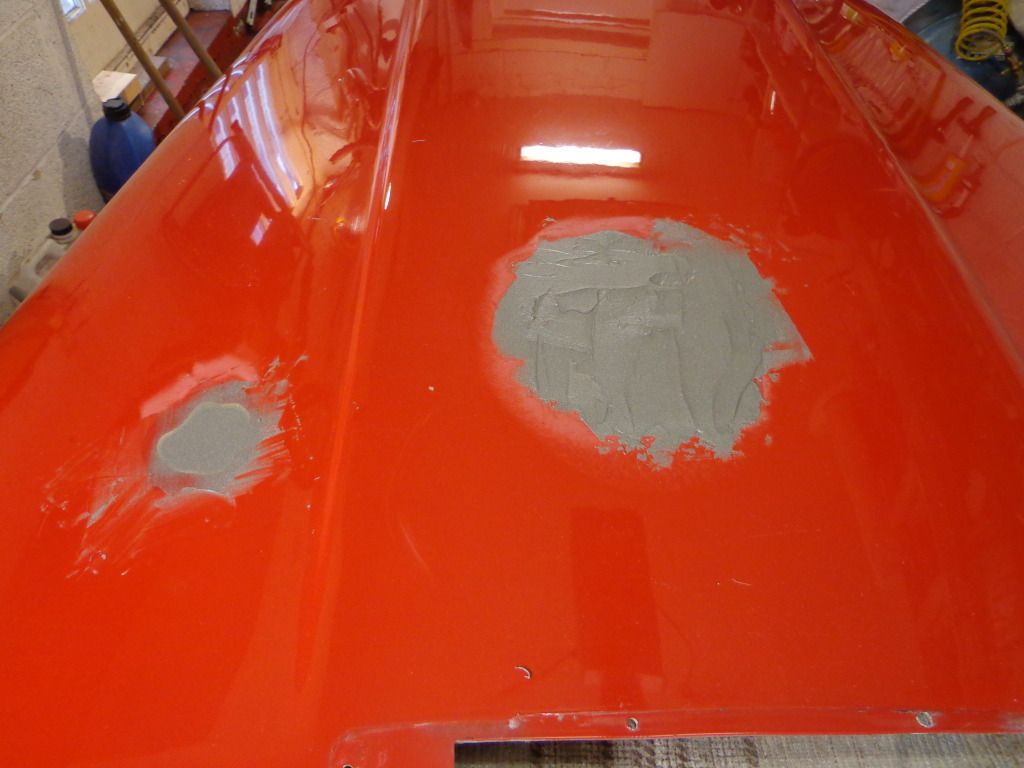
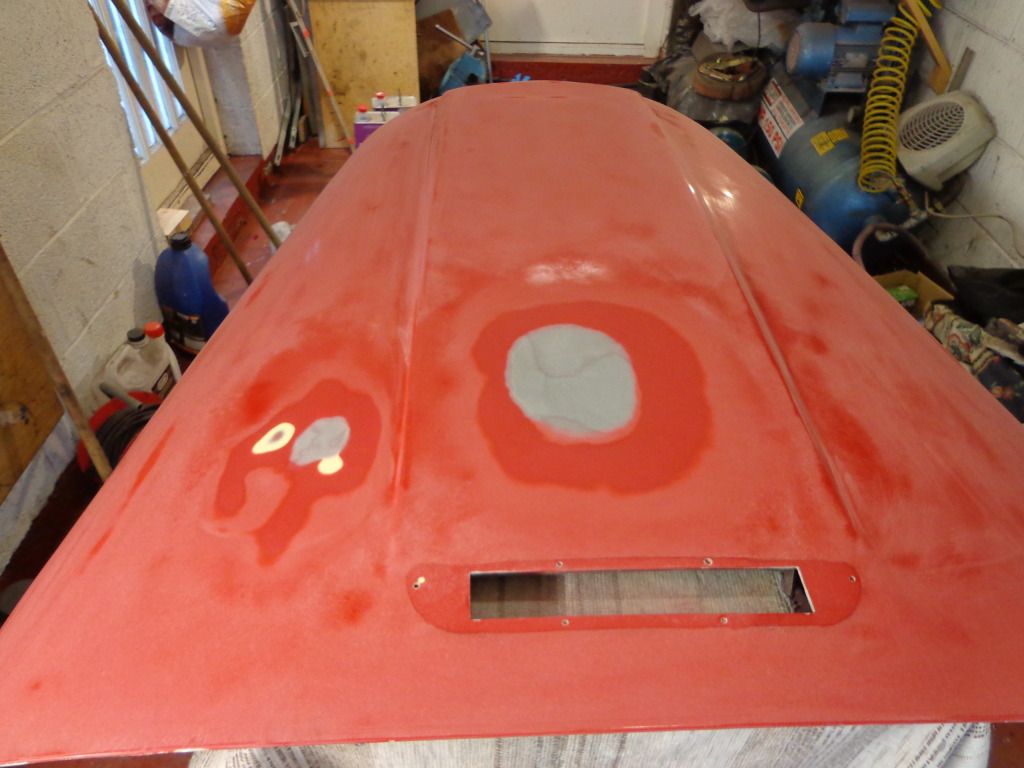
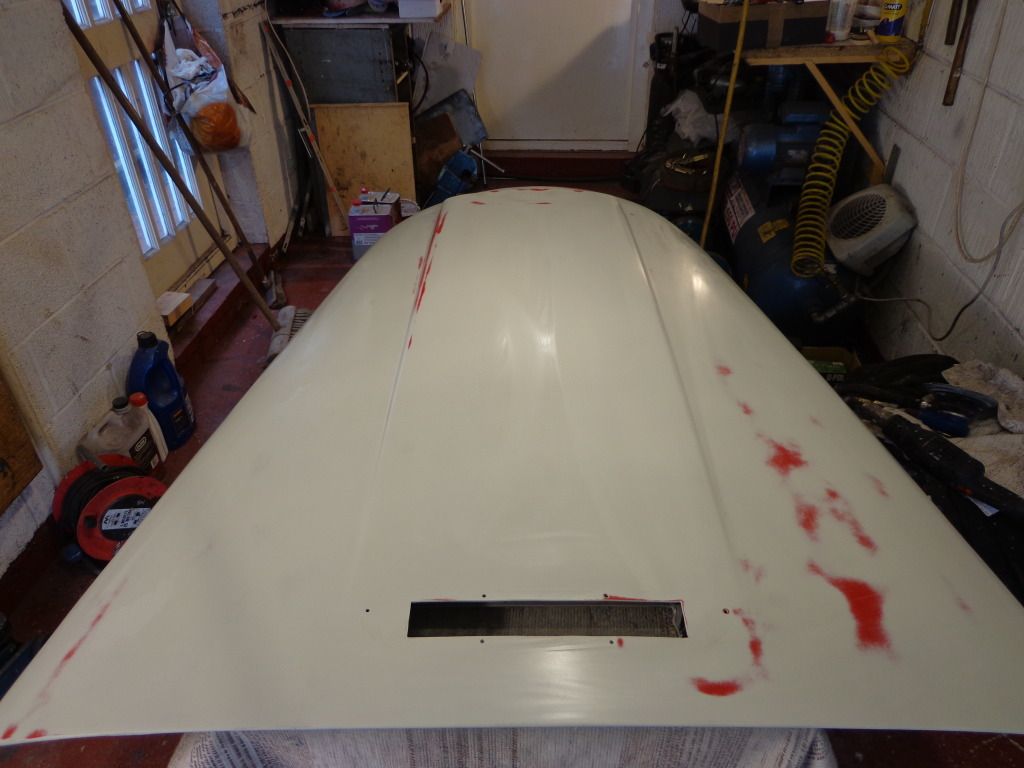
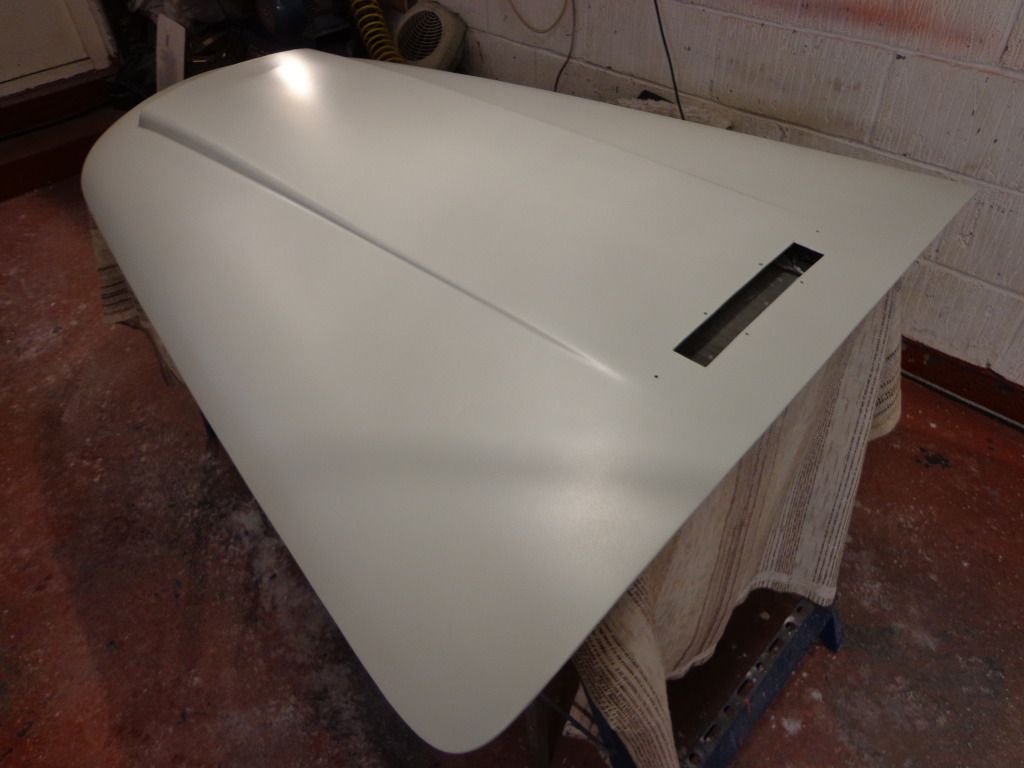
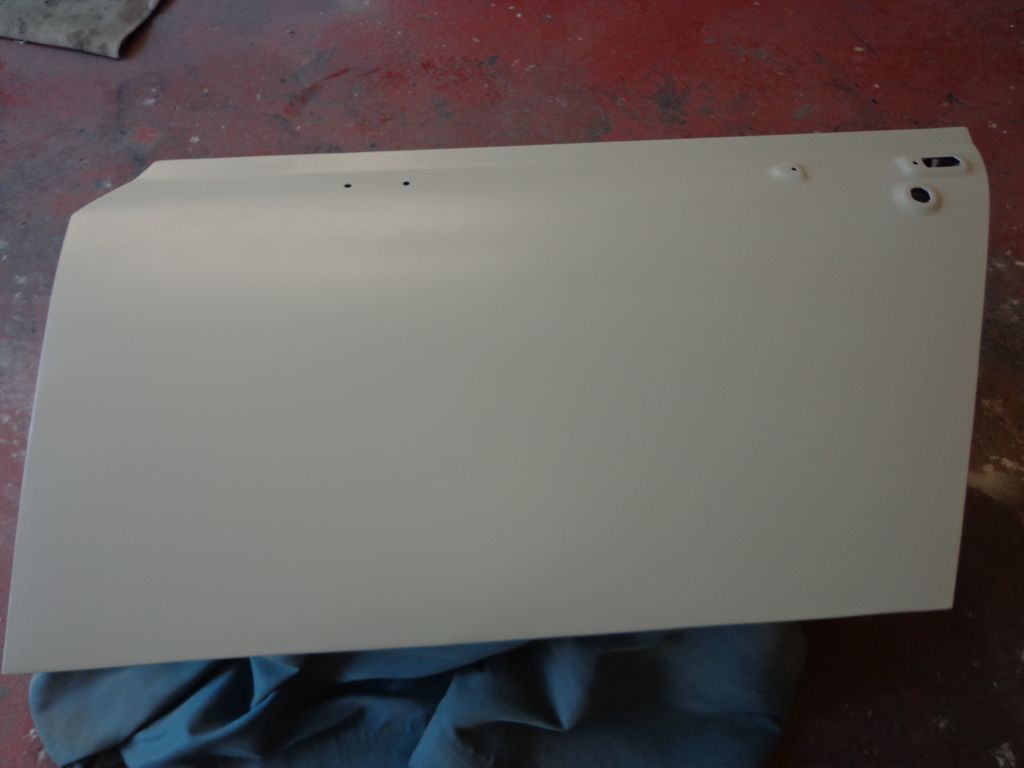
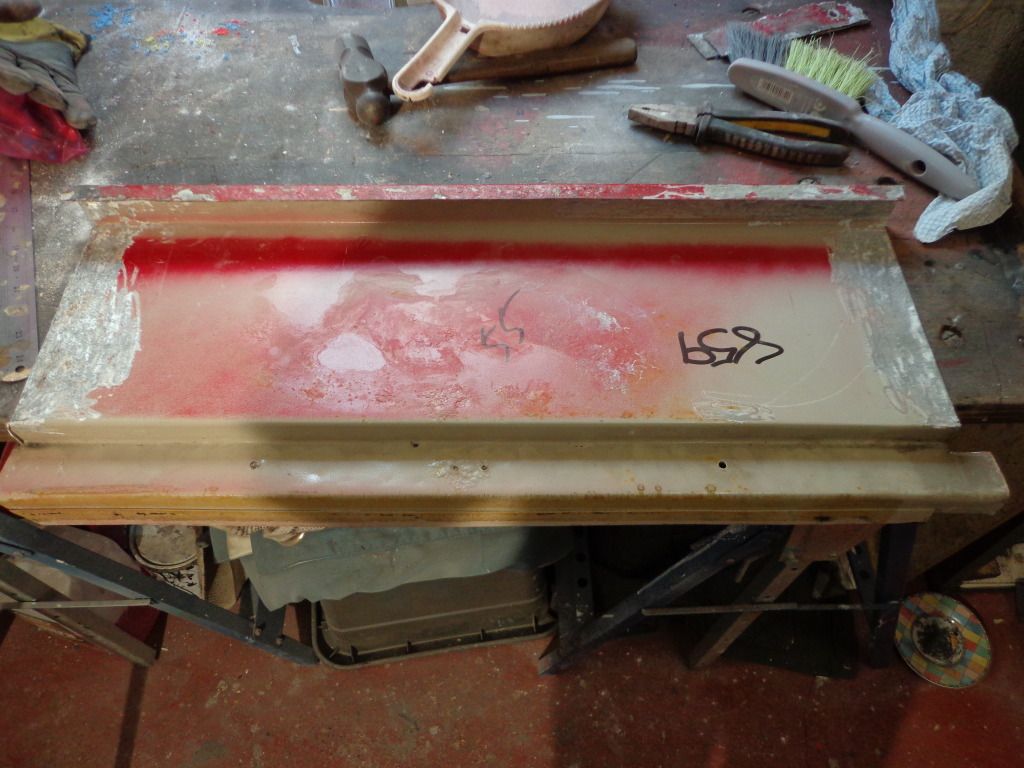
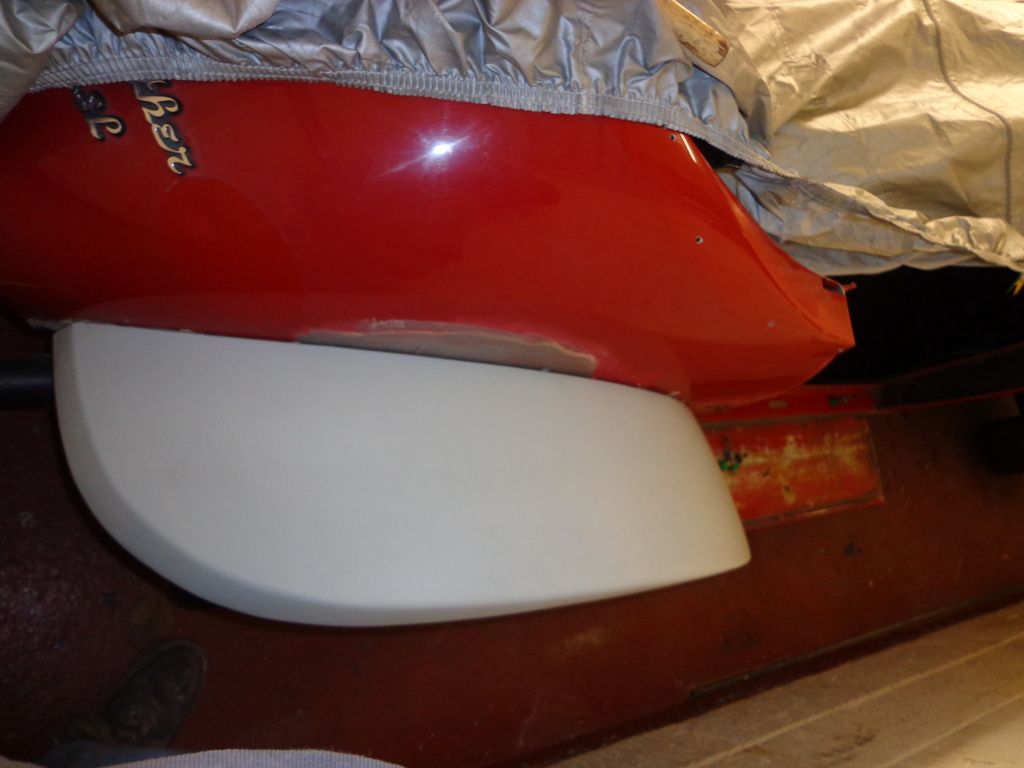
When I got home I did a bit more work finishing off the rear wing 
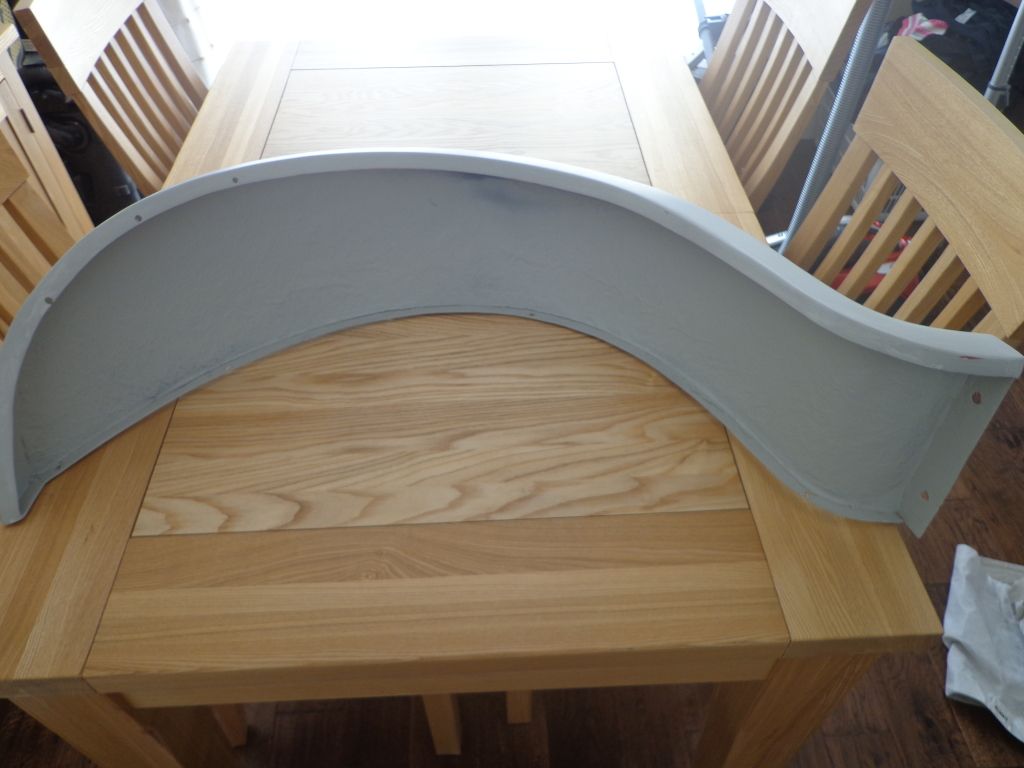
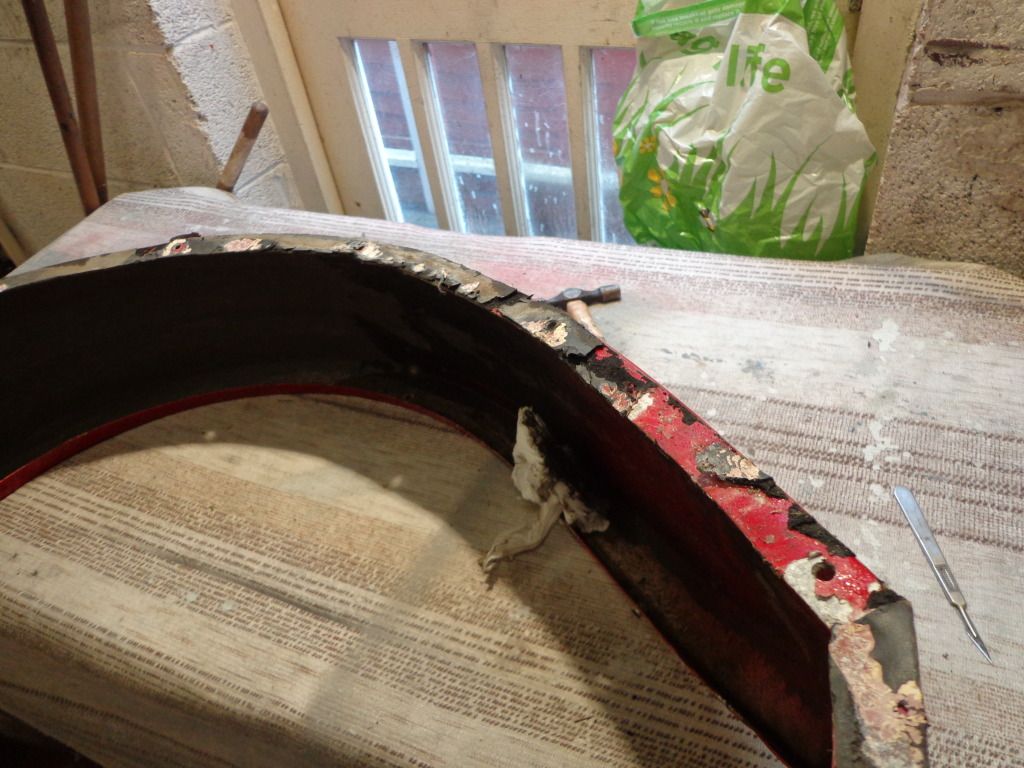
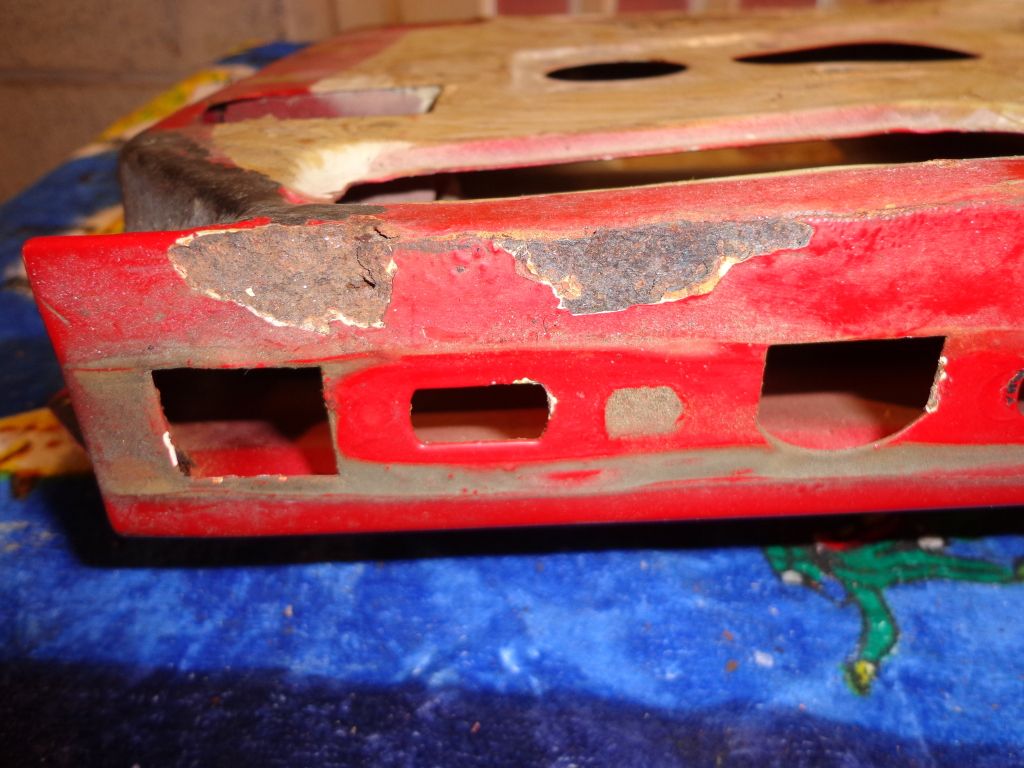
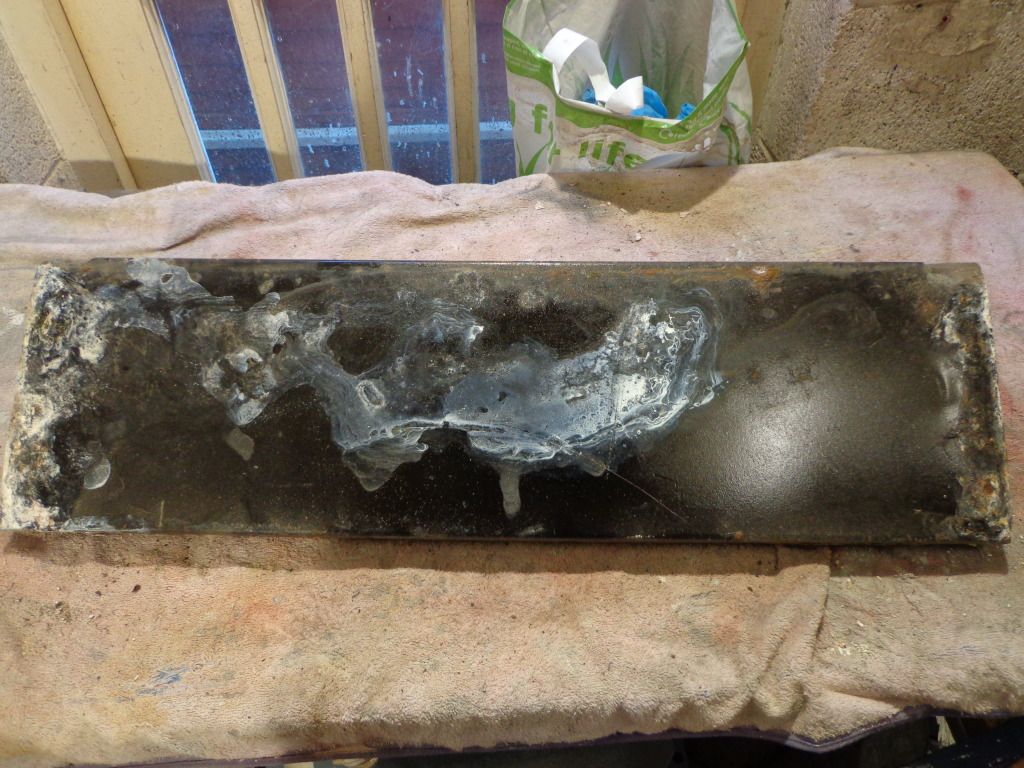
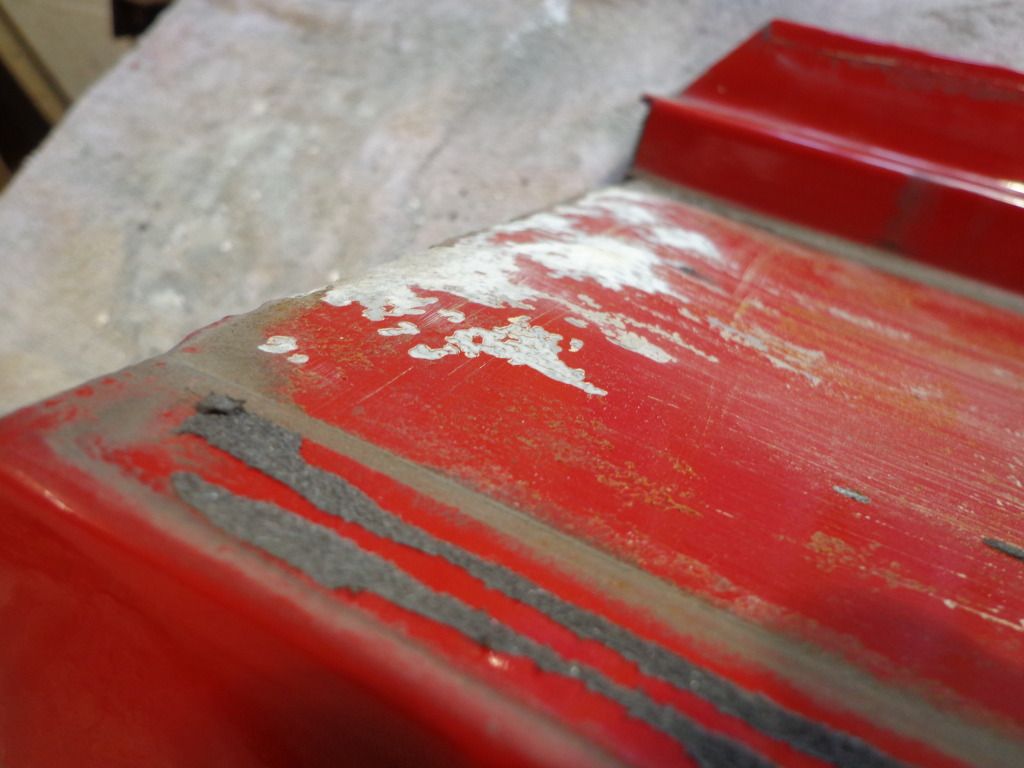
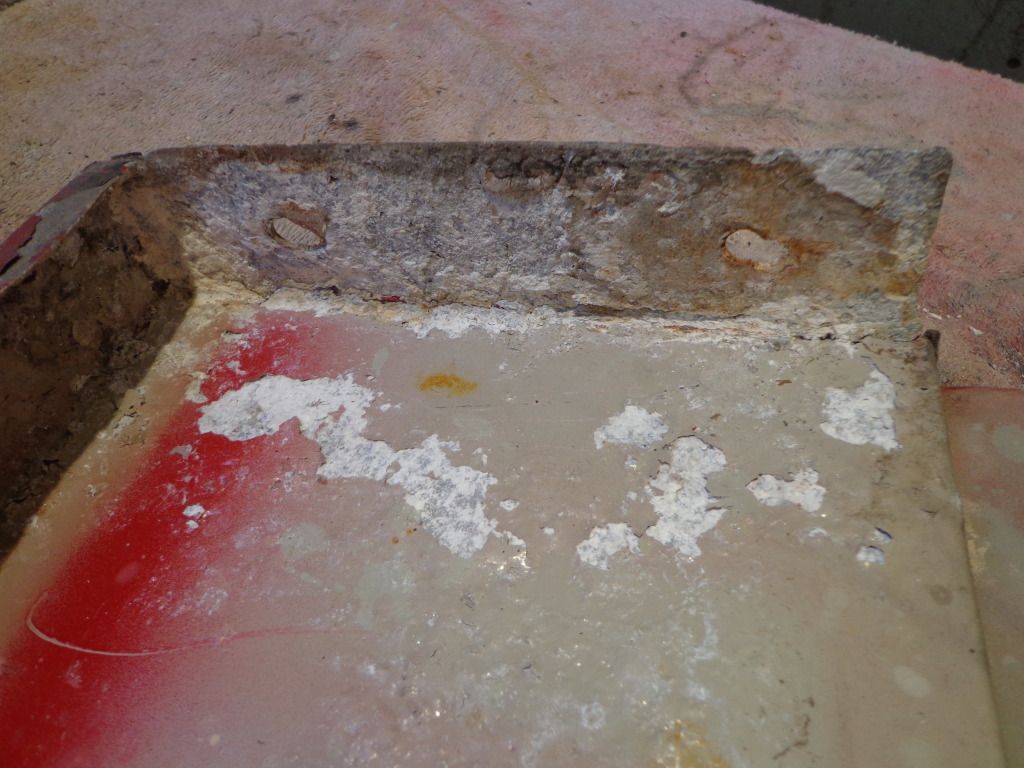
which I have realised was a bit of a waste of time as when I got the step out to start preparing for primer I found that it is in such a bad condition that it will have some serious work and a fair bit of modification done to it.
 I knew the frame work would have to be re-made and have already bought the 40x3mm angle iron for this.
It may not look to bad from this photo but water has got under the top plate and rust has swelled it out of shape.
Unfortunately the same trapped water that swelled the steel also deformed the ally and rotted out the step flanges.
It looks ok in this shot but when the rubber is removed you can see the swelling.
Not to mention the corrosion
Both side are the same.
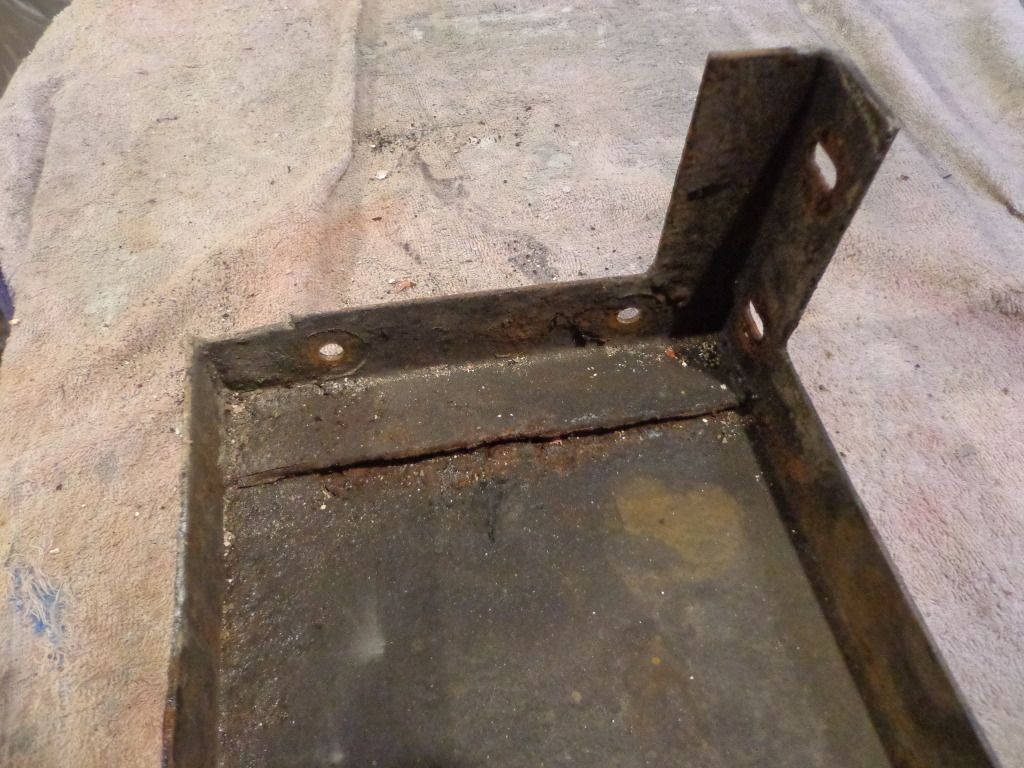
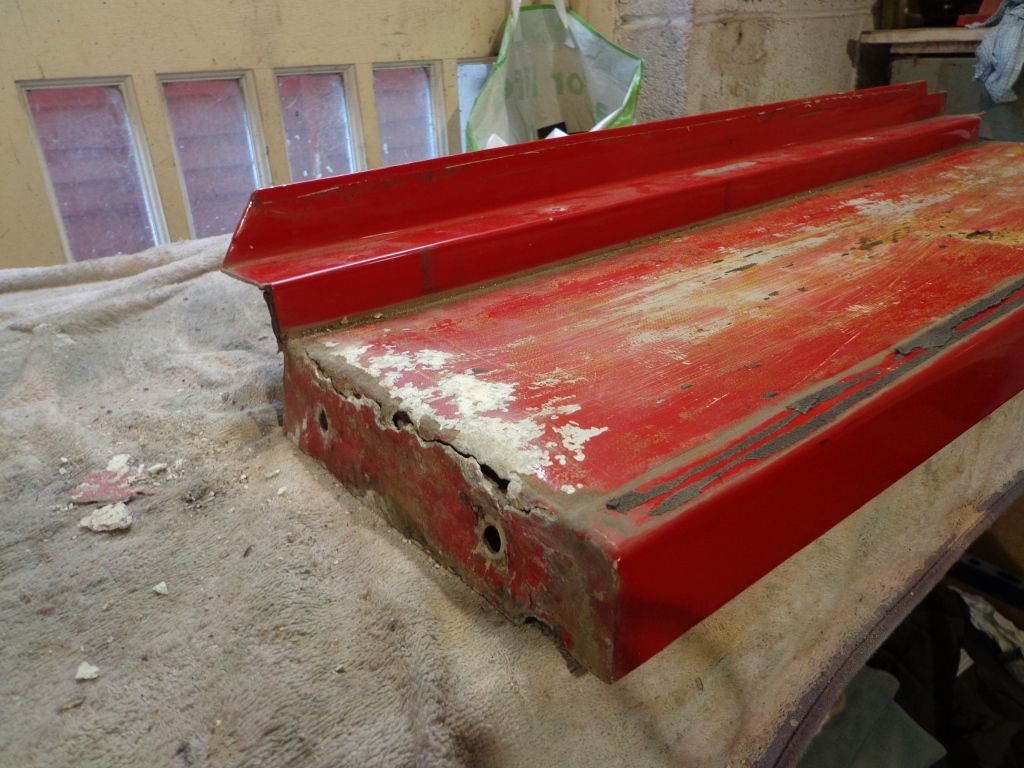
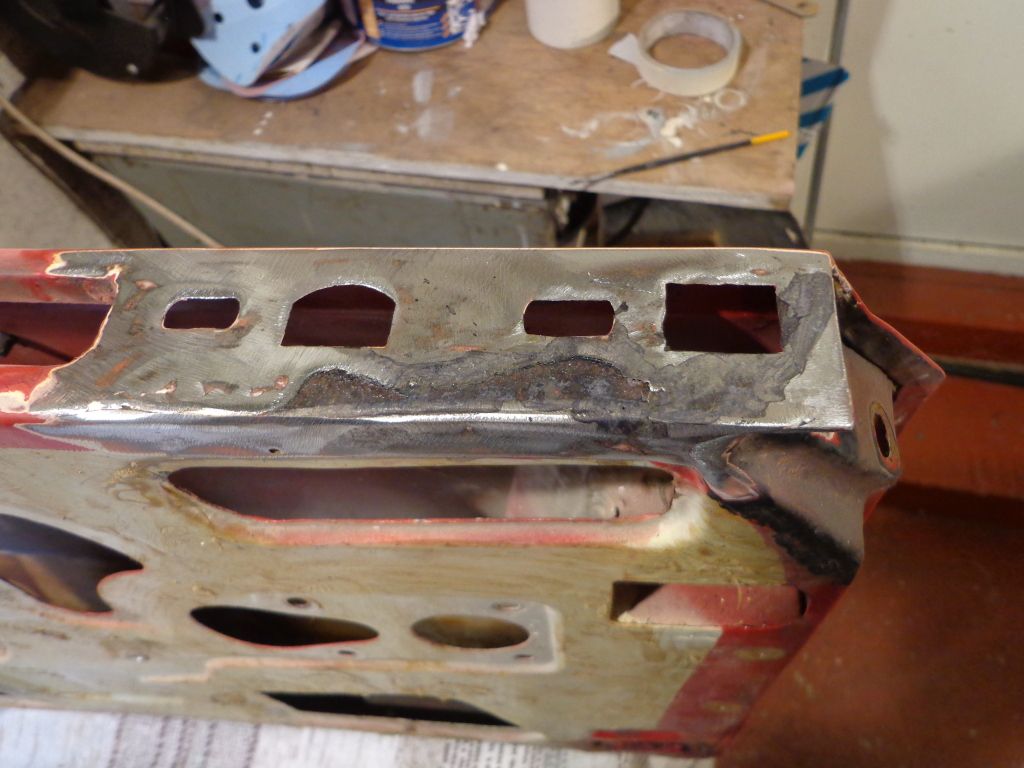
I started out by cutting out the rotten section and was going to make the new frame to suit but just a little wider to take up the difference of the cut out pieces
I have fitted the rear wing in position and used Clico fasteners I bought of ebay quite a while ago as I new I would need them for the fitting of the wings.
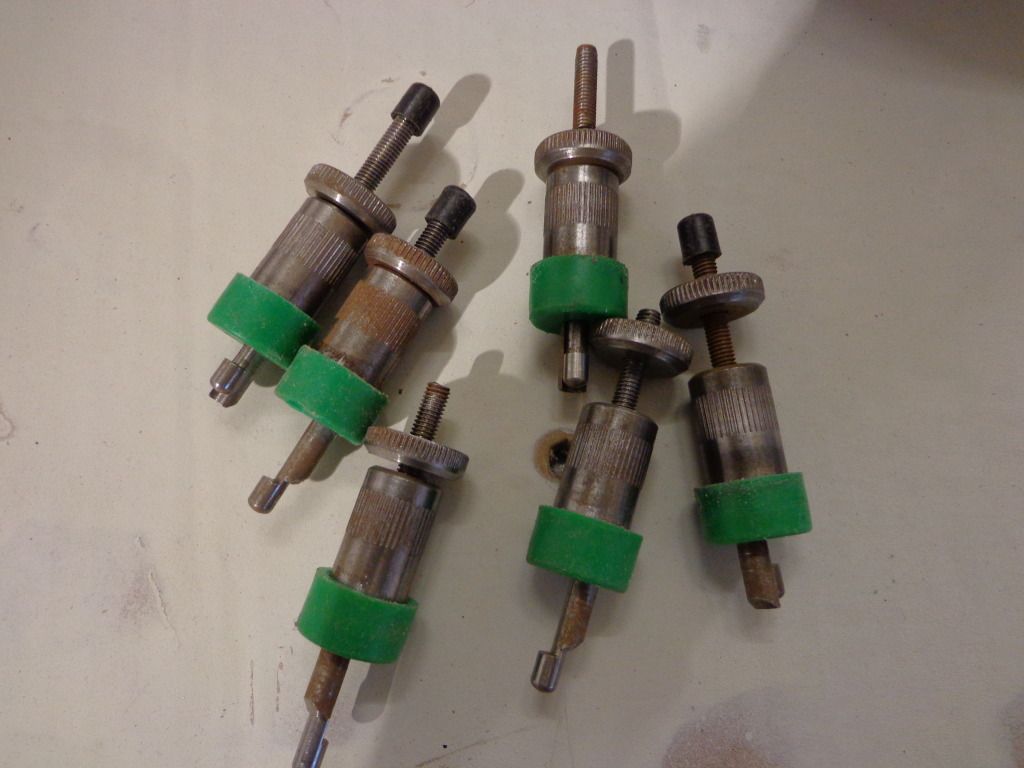
These are used in the aircraft industry for holding sections before riveting, you put your 2 sections together then push the Cleco end through the hole and turn the knurled nut. This brings the sliding section up and it tightens on a tapper action locking the panels together, you then just undo and remove when riveting.
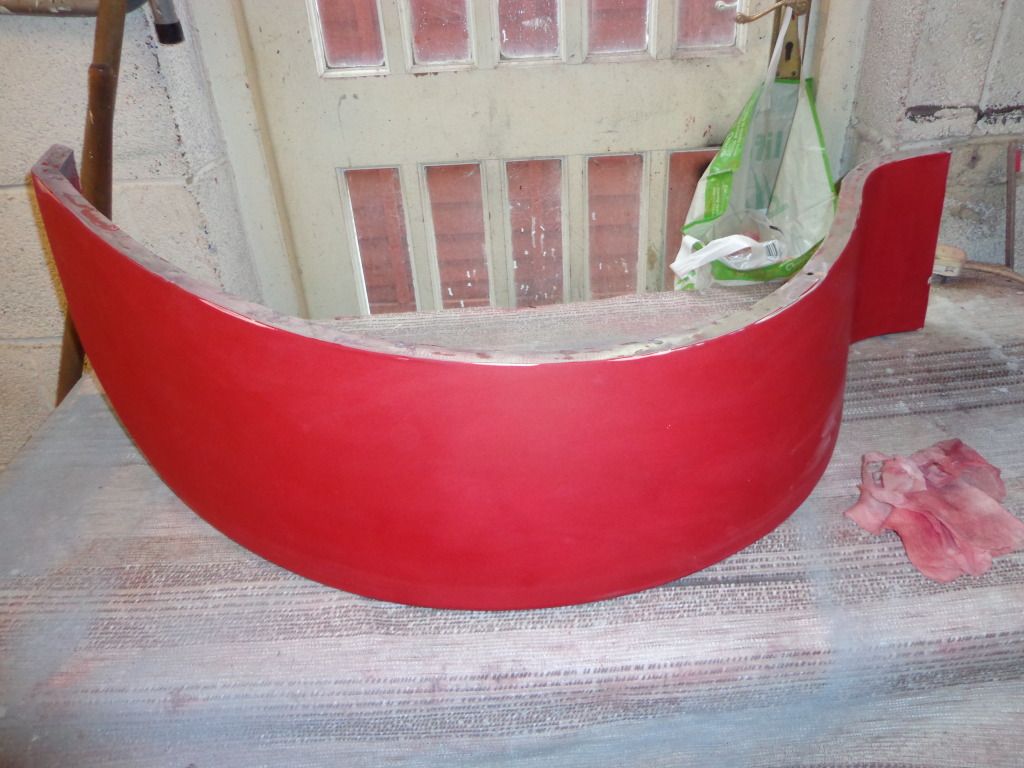
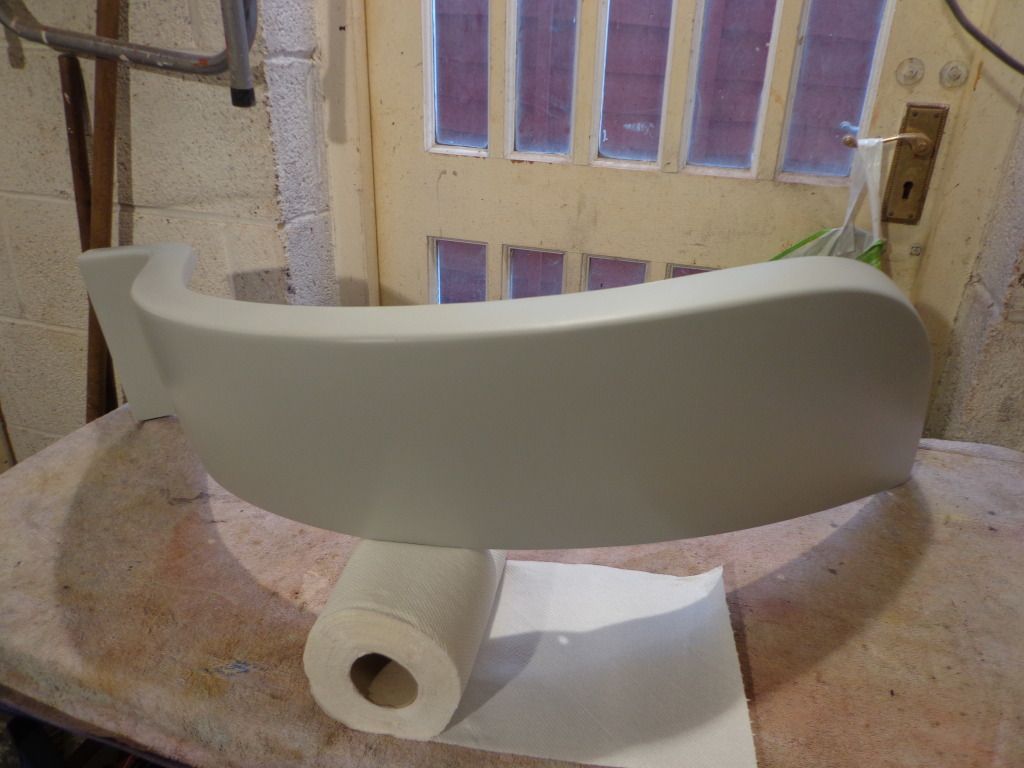
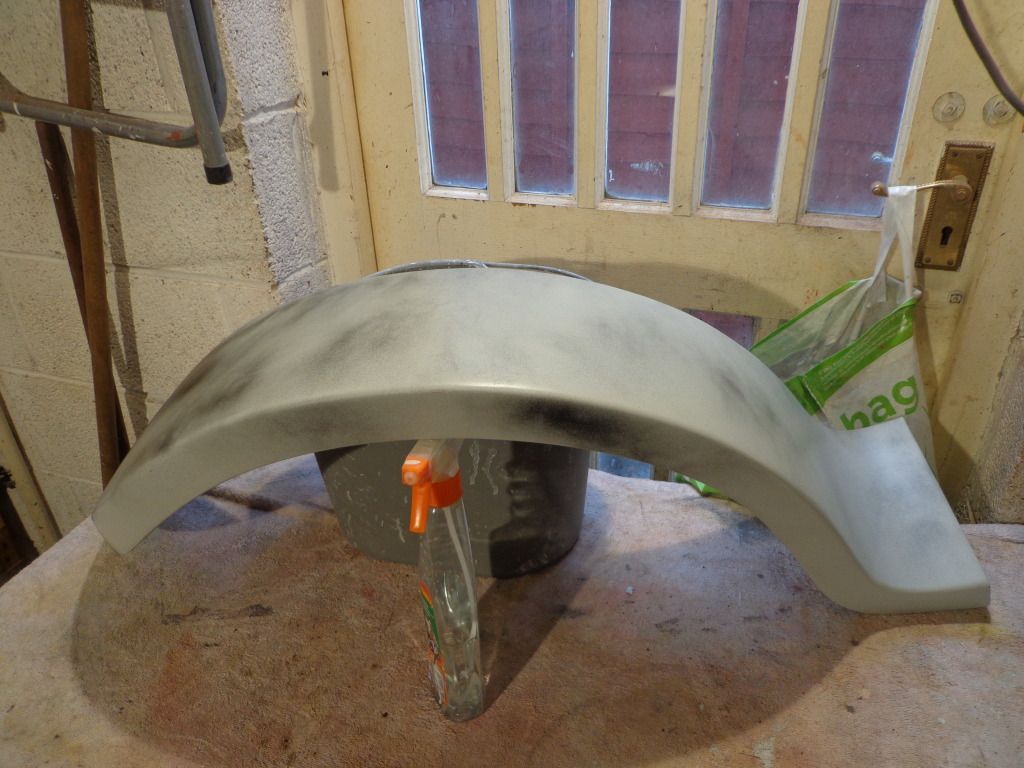
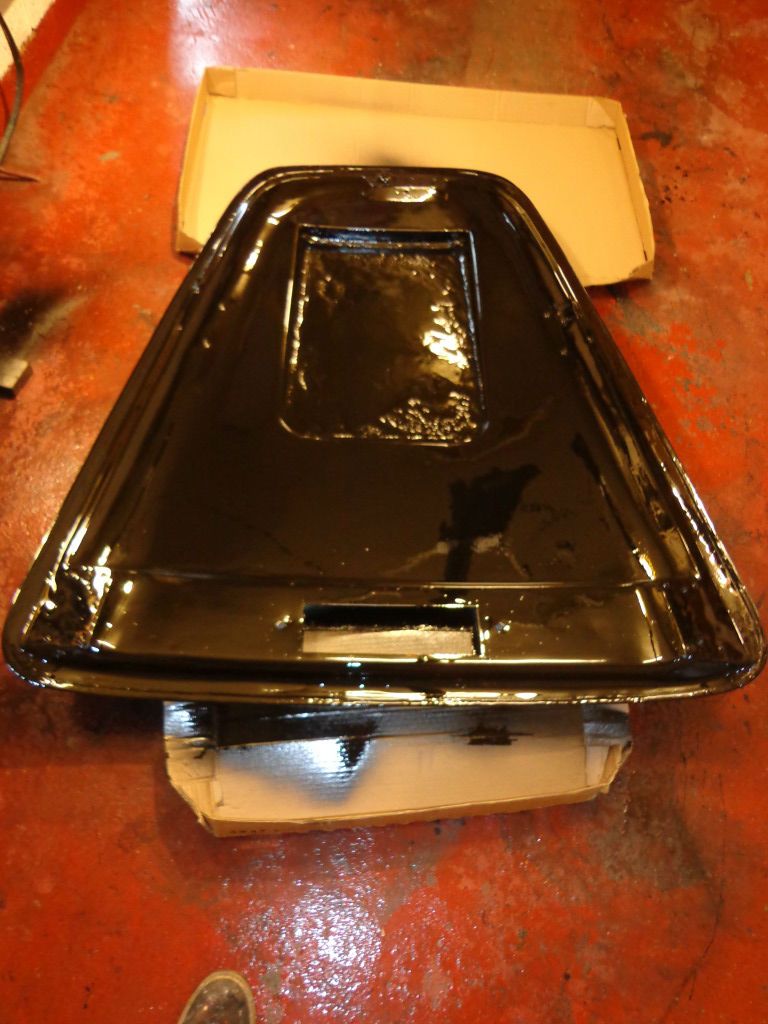
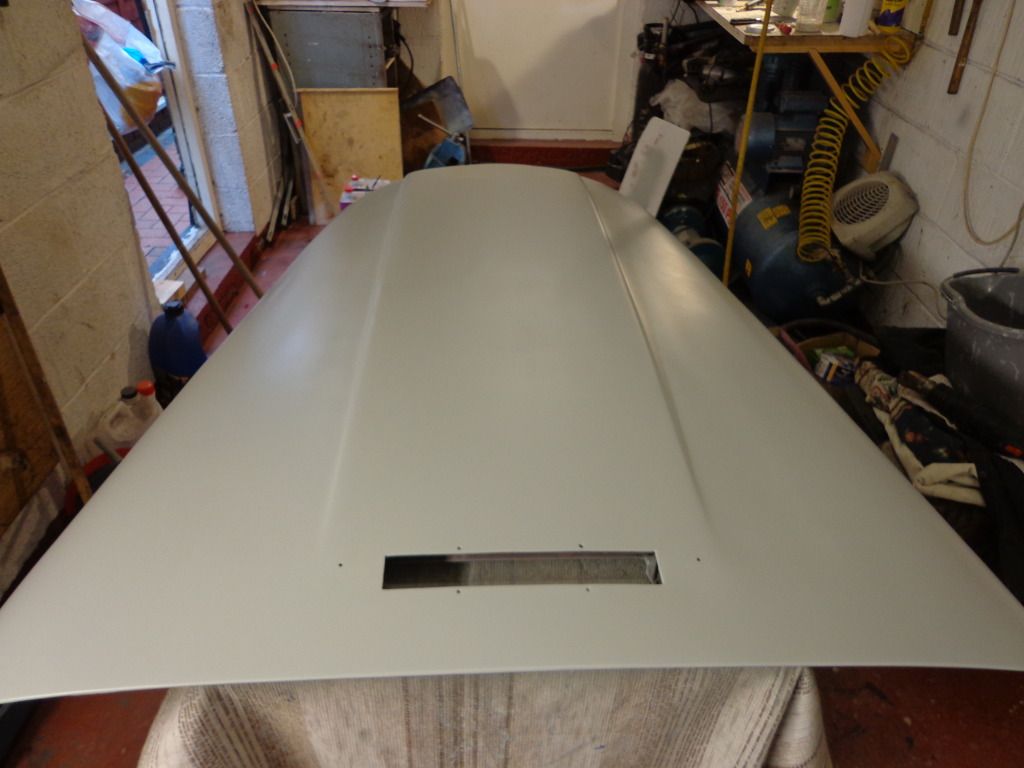
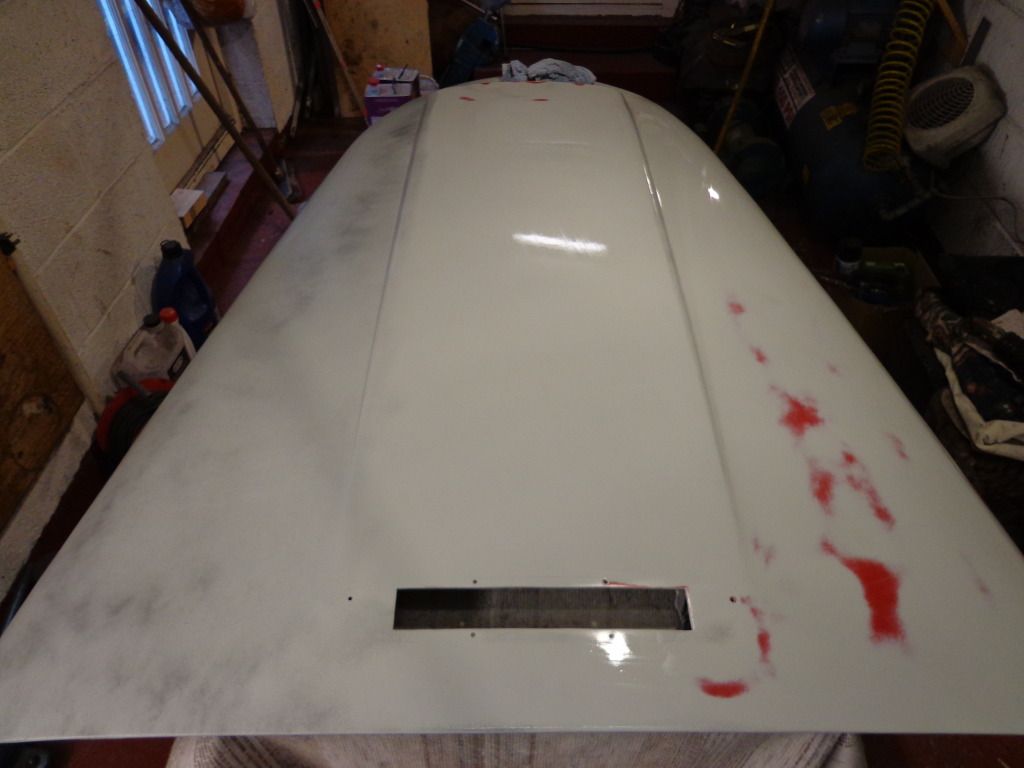
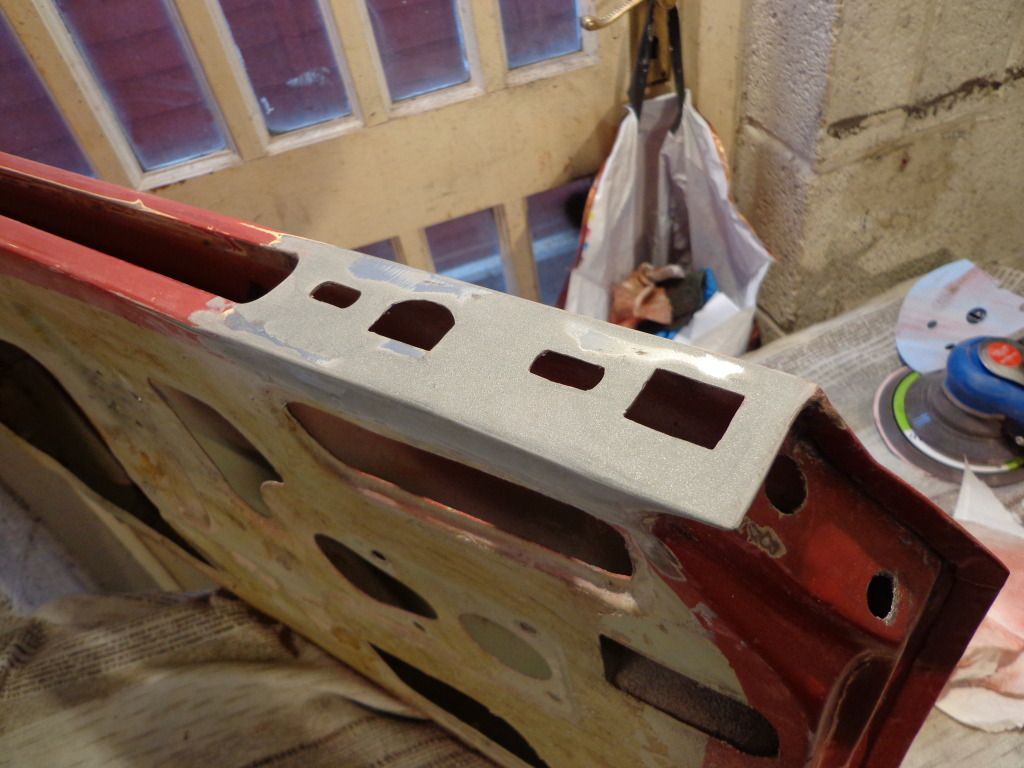
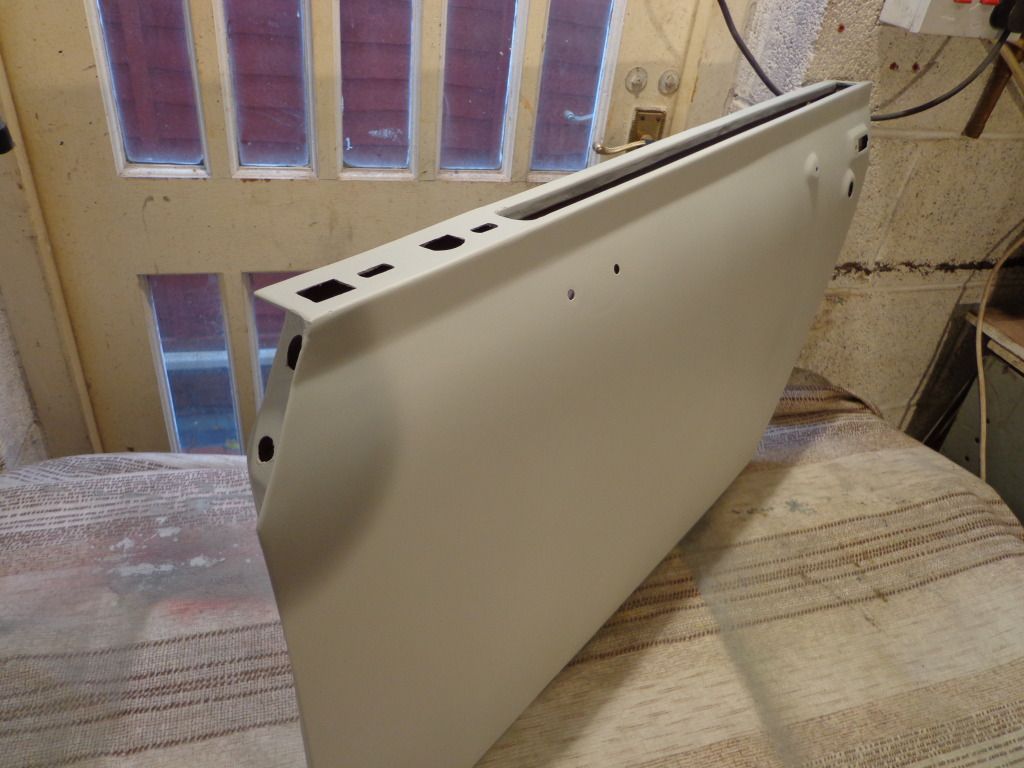
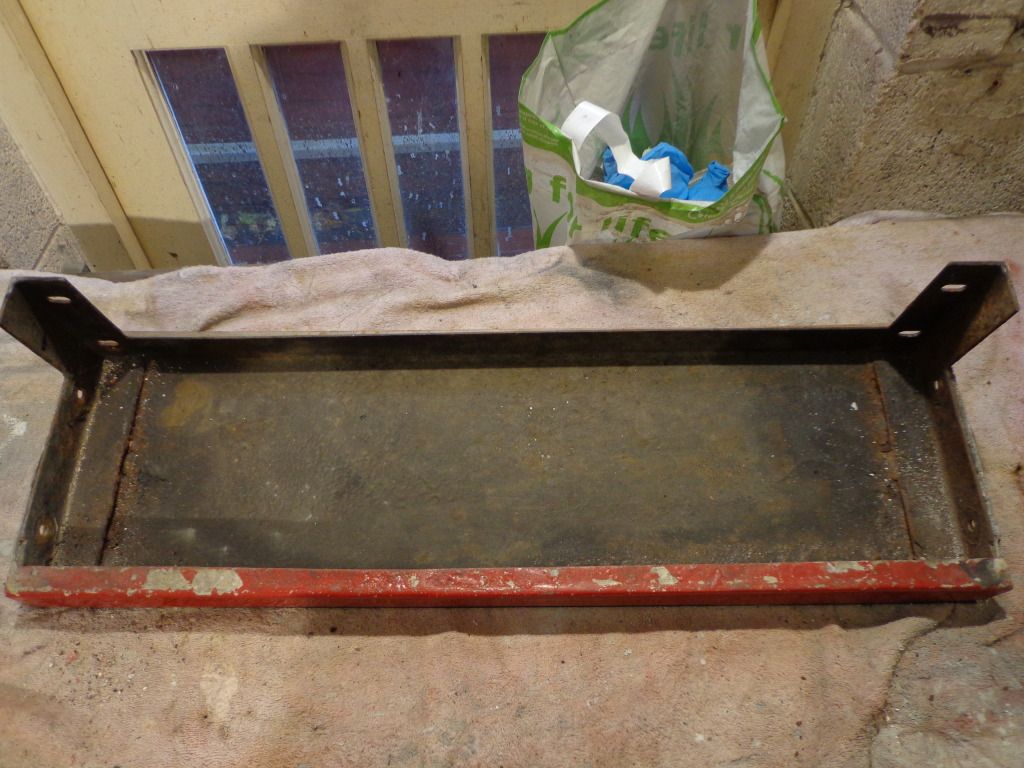
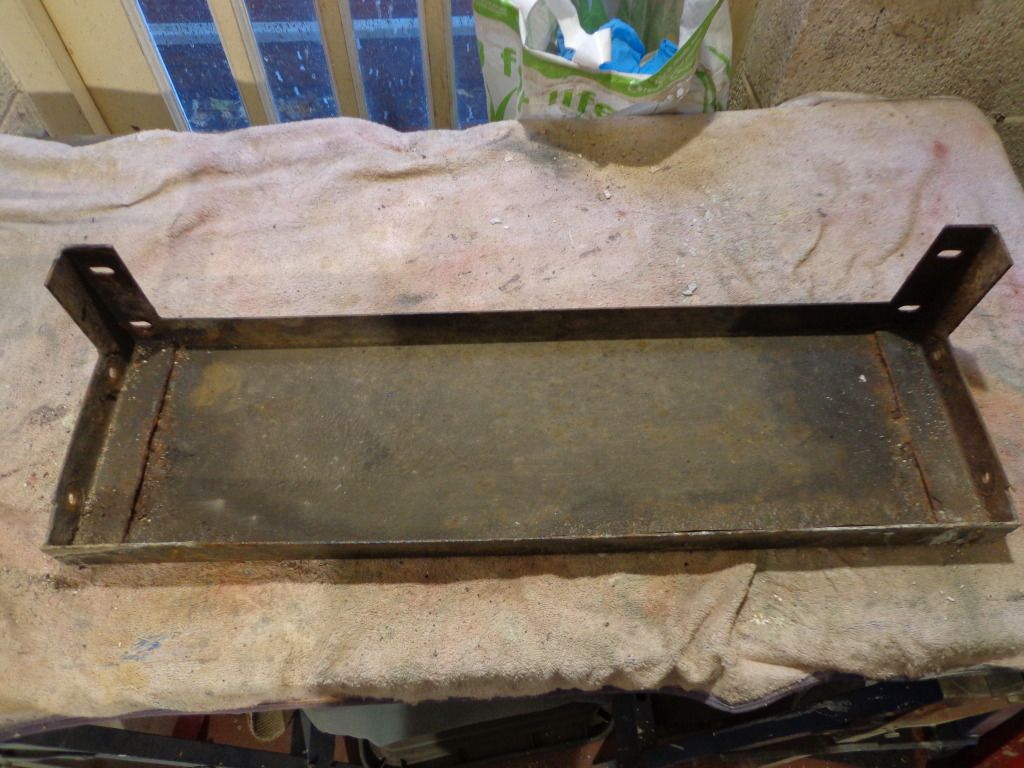
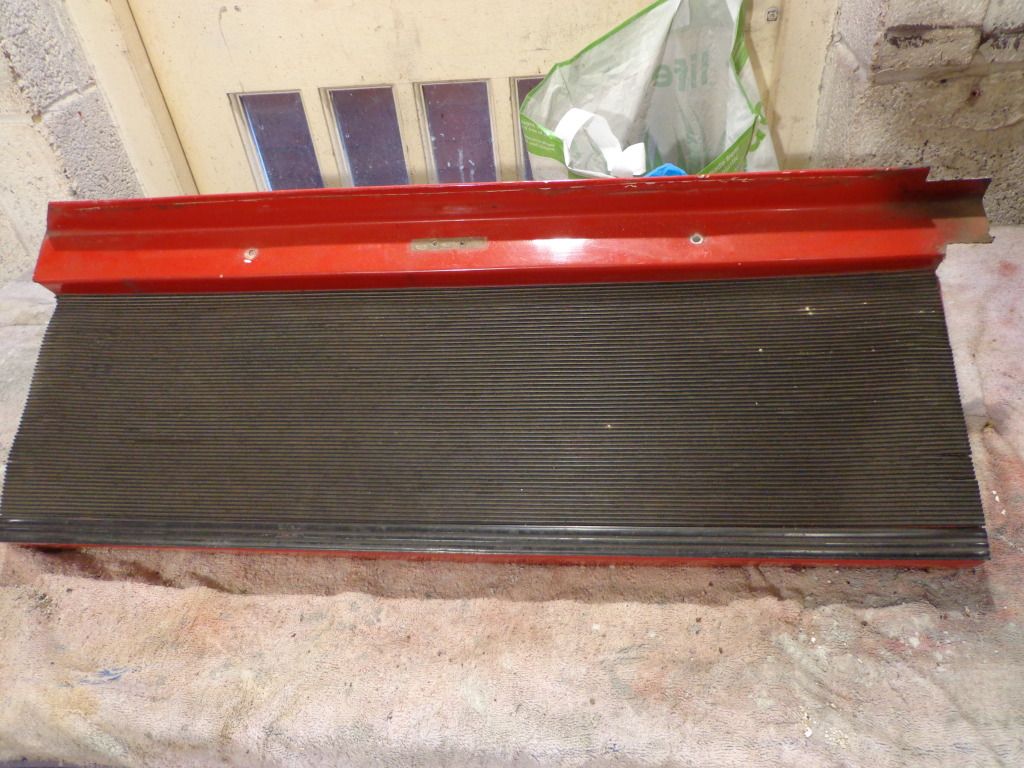
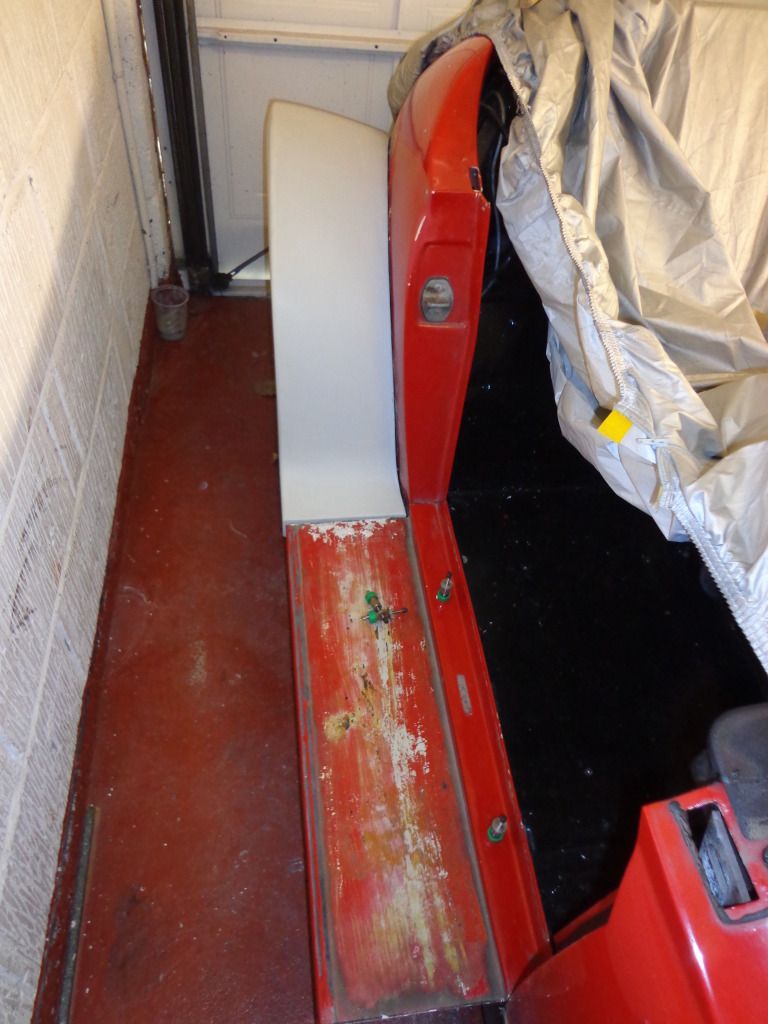
I then fitted the step.
This is where it was a waste of time finishing the wing to 800 grit as it will no doubt get plenty of scratches before I'm finished.
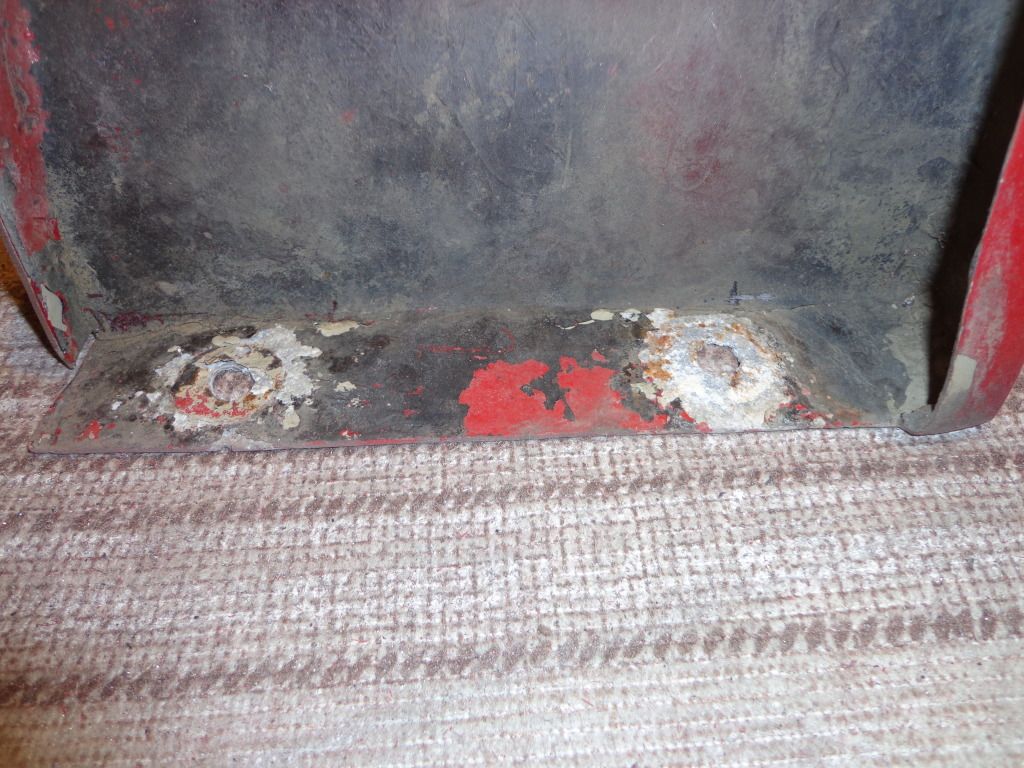
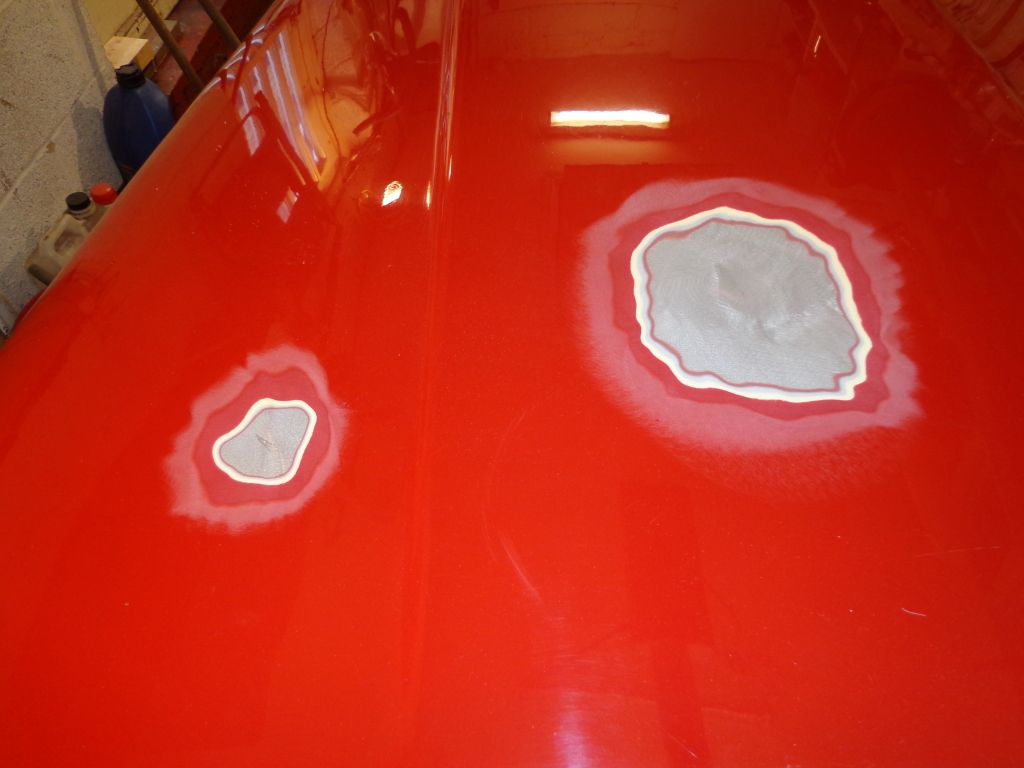
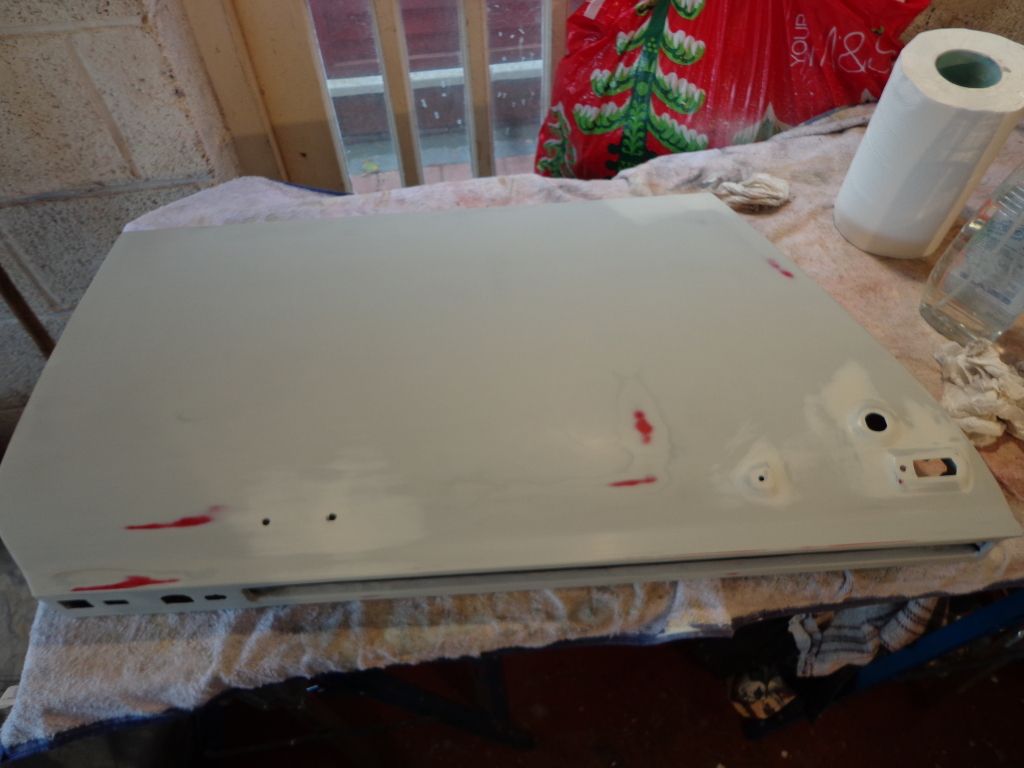
I found on fitting that there are a couple of rather large gaps that will need some work, this is maybe where the water got through originally.
You can make it out between the edge of the wing and the body, it is around a 6mm gap which I shall fill.
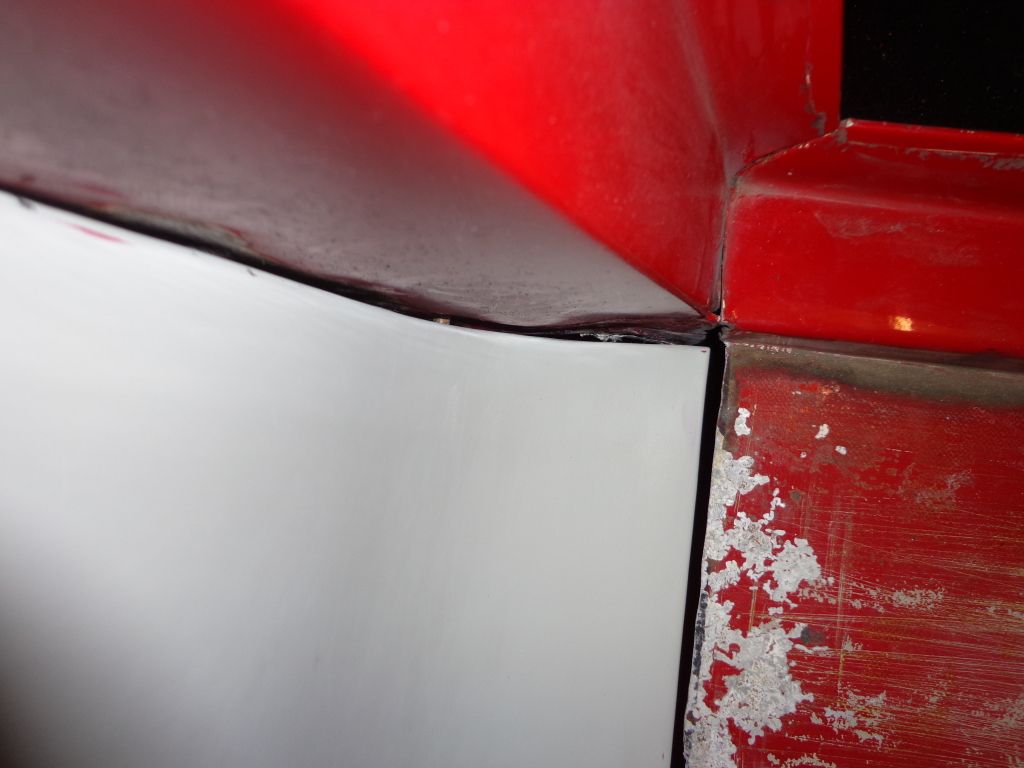
The other is in the cut out, if I push it to touch then it is out of line at the front so the gap will have to be at the back, a few taps with the hammer will sort this, also the front of the step does not match up with the wing.

So what to do;
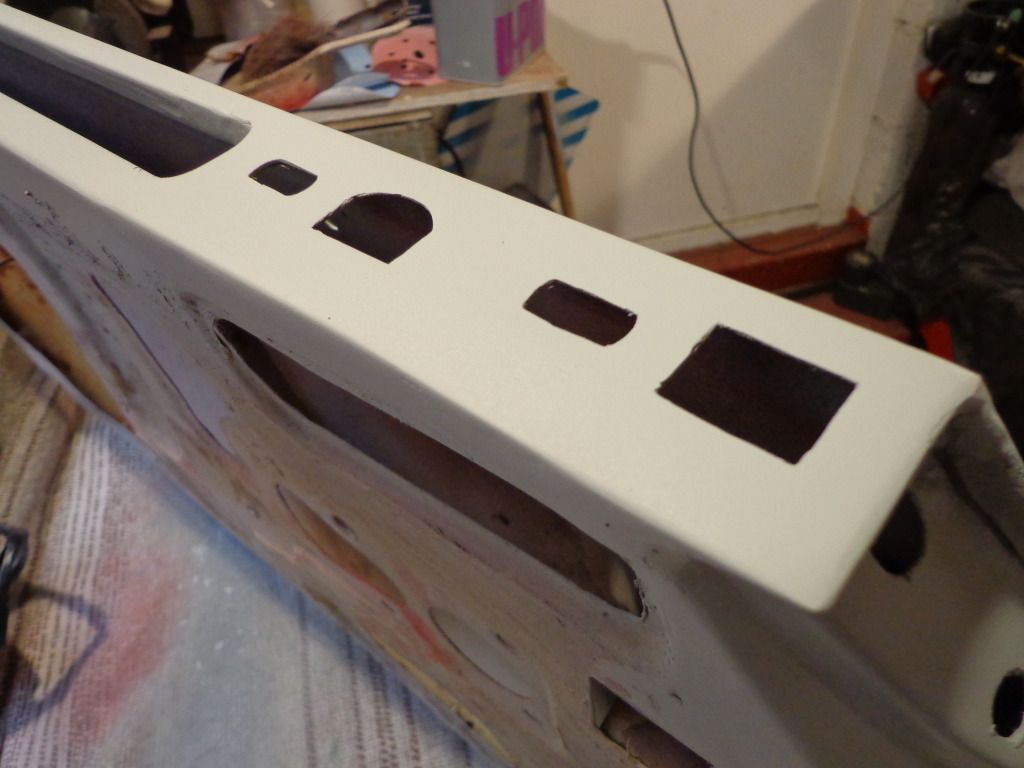
Well my idea from the beginning has been when re-fitting the wings to use a rubber or leather wing piping between the bodywork and the wings, both for the look of it and the sealing properties. But I had a problem of where the step comes out from the body, this would mean that I would have to cut the piping and start again after the step, breaking the black line that would run all of the way. So my plan is to cut out the existing aluminium step and have a polished stainless steel cover in it place, running over the new step and bent up both wings, a bit difficult to explain but the idea is to fold the stainless to slide over the frame and cover the step then to cut the outside fold before and after the step section and shape to run up the front and rear wing. This will allow the piping to run all the way along the wing, fitted behind the step and up the other wing in one continuous run.
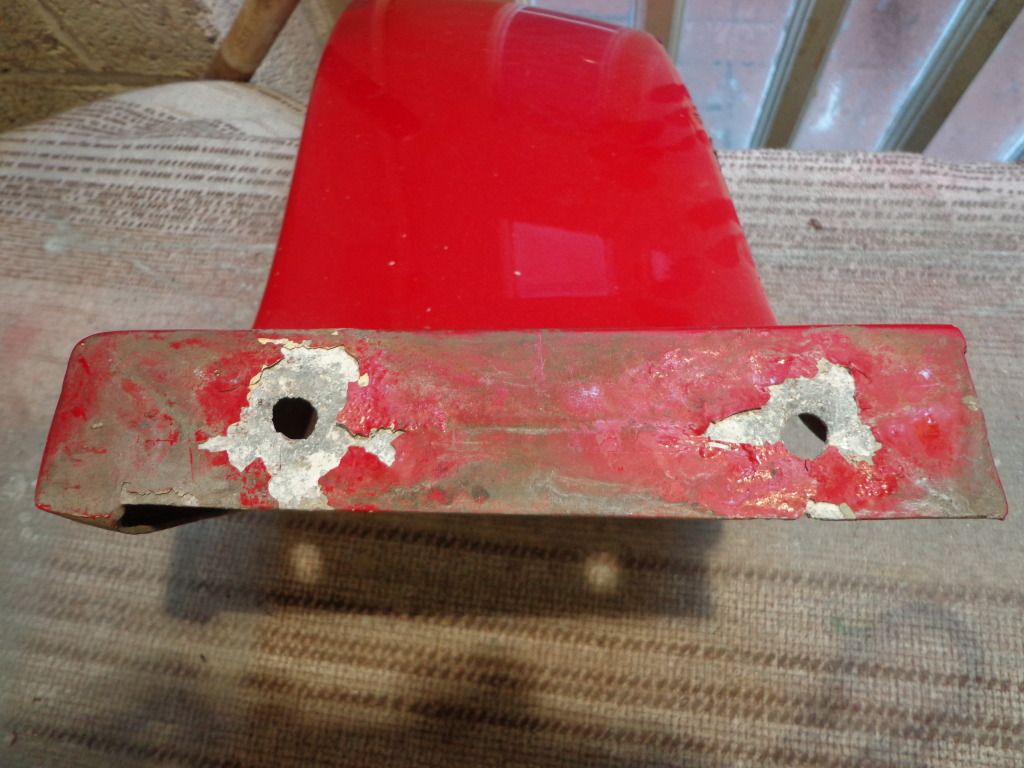
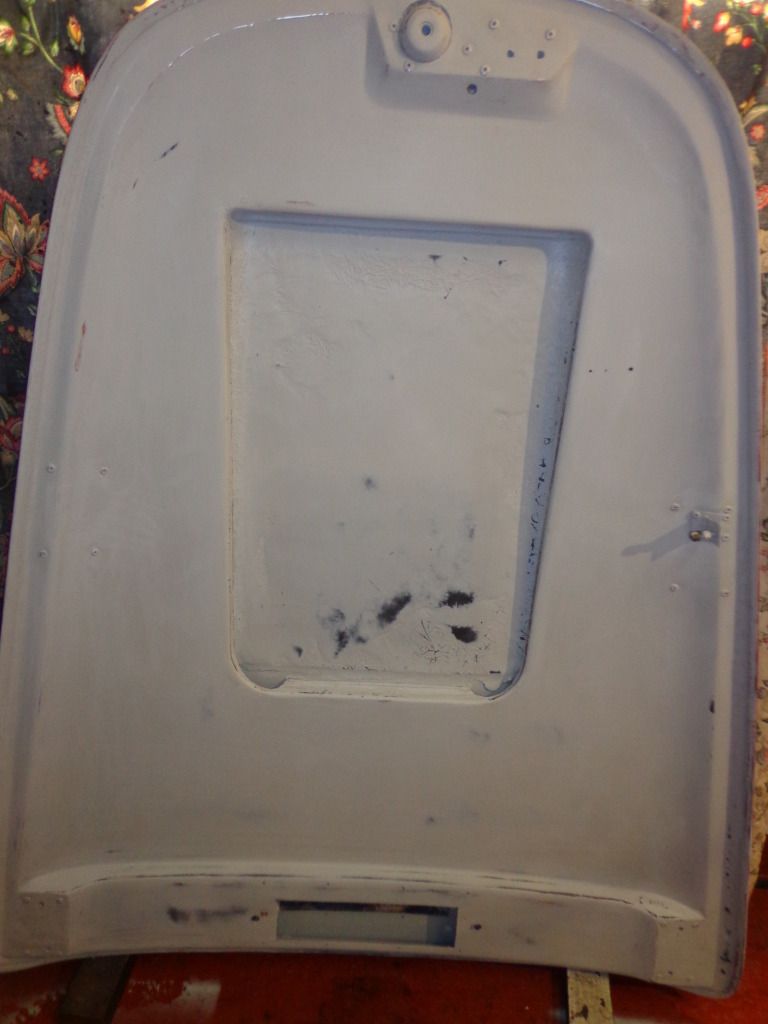
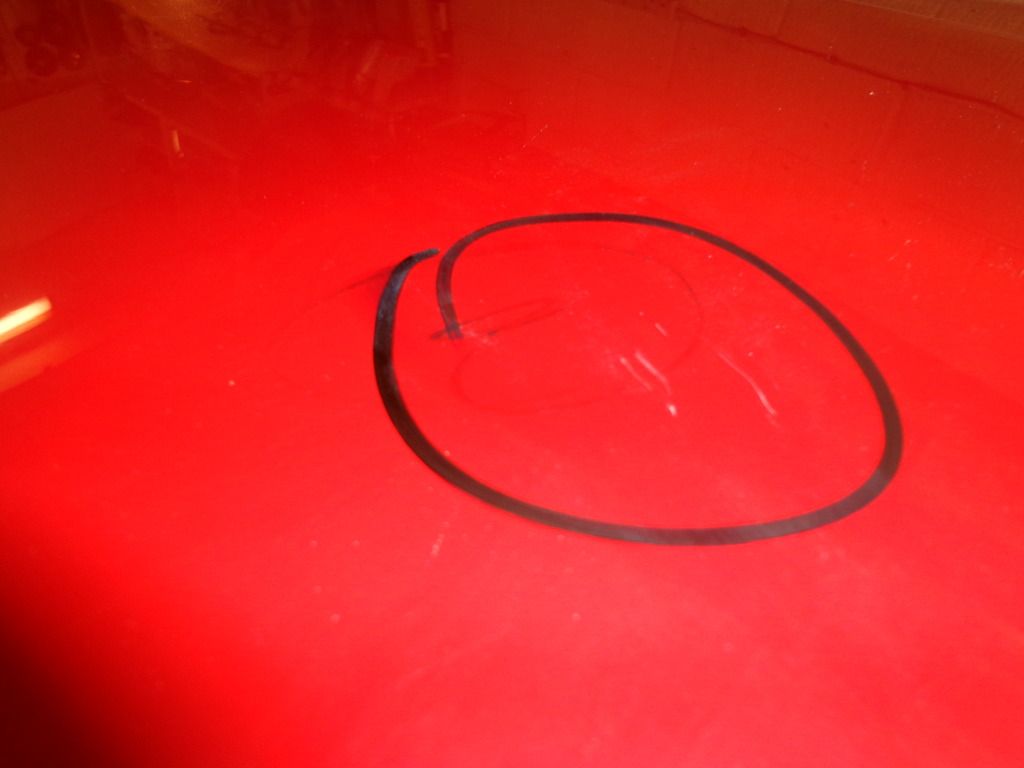
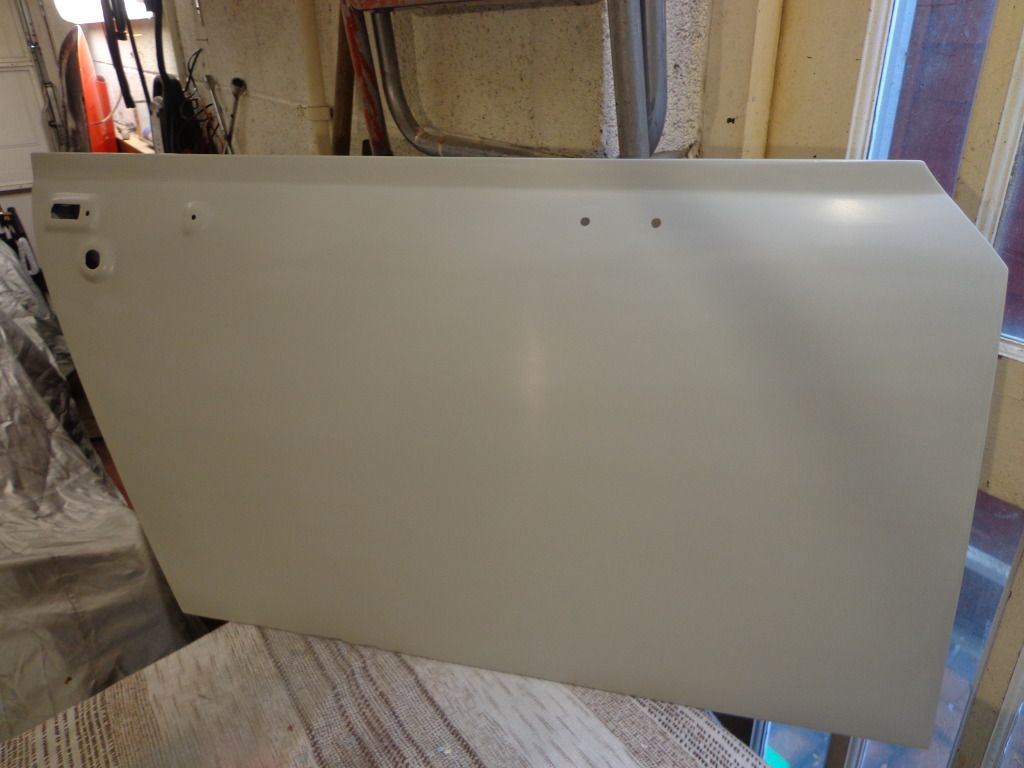
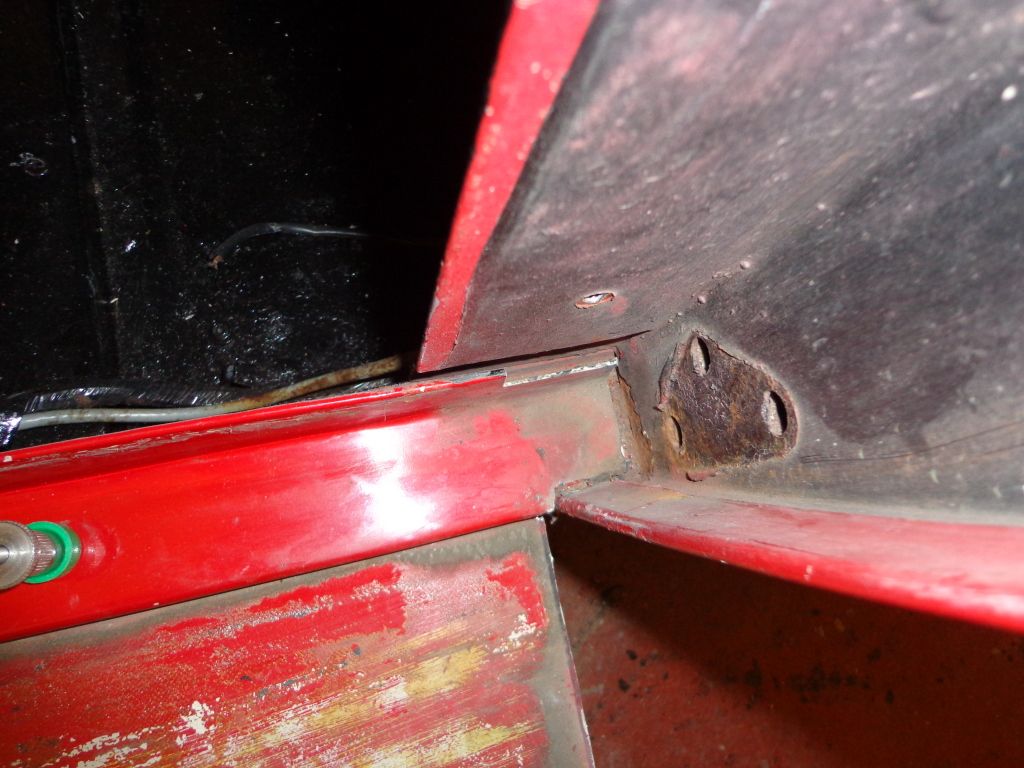
To this end I am going to cut off the existing aluminium step only leaving the inner door fold.
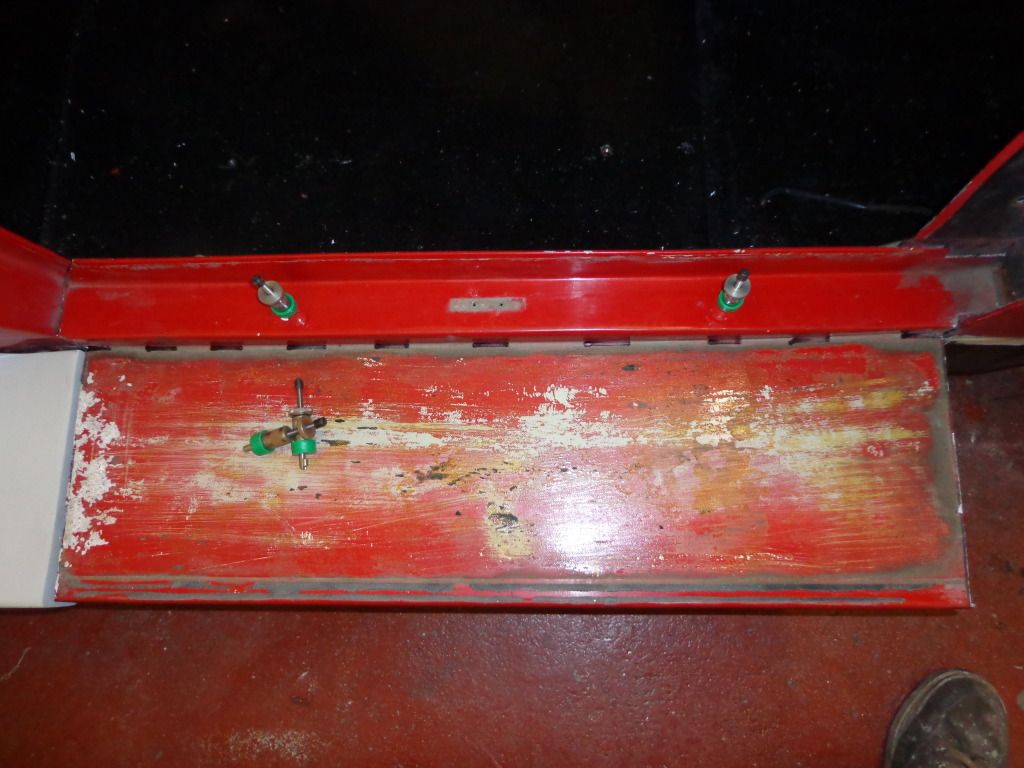
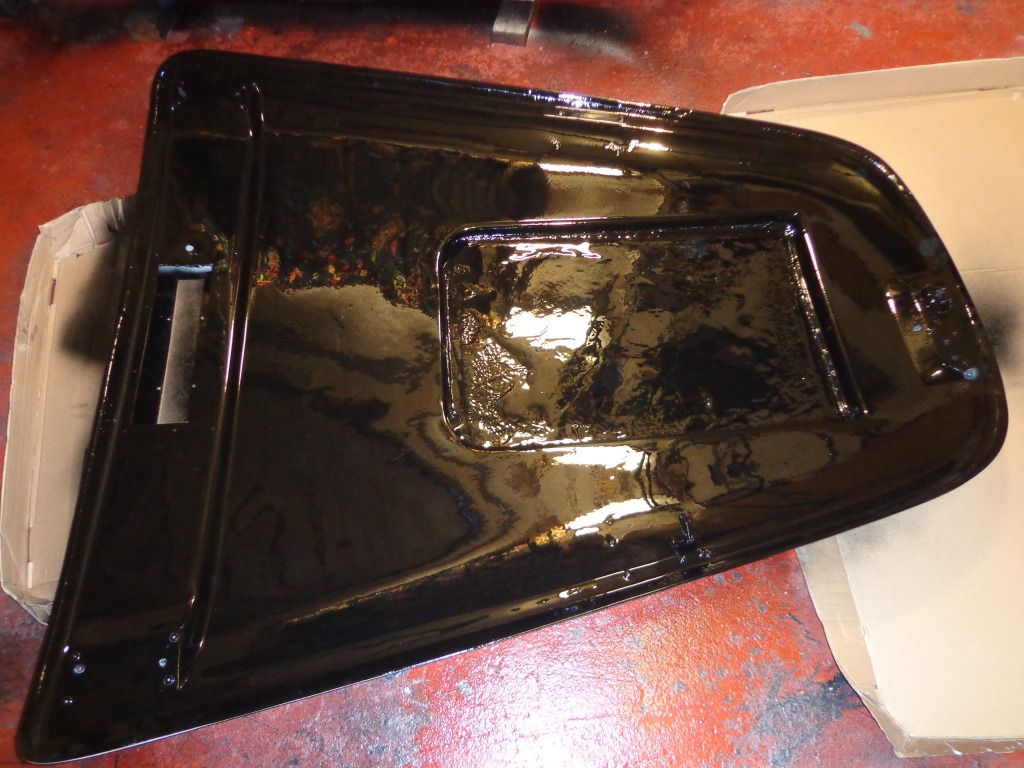
You can see the dotted line where the cut will be, the door fold will be prepped and primed then riveted and sealed in place to become a fixed part of the body. I shall then clean and fit the front wing leaving a gap where the step will go, I can then make the angle iron frame to the exact measurements and cap flush with a piece of 1.5mm steel plate. Once made I shall have it powder coated to hopefully give it another 26 years.
Everything will become clear, honest.
So I have left it there for the time being and shall carry on in 2 weeks as I am off to work on Monday  with a very early flight to Schipol.

see ya then Paul


Thursday 25 October 2012

Body Work Wings

Hi
Checked over the paint work on the bonnet this morning and I'm quite pleased the way it turned out, I shall fit a section of sound proofing over the center section where the fibre glass looks rough and it will look great.
I started on the wings today, the driver's rear wing was nearest to hand so that got the first shot.
It's amazing that after 26 years they are in such good condition, a few dings and a lot of pitting around where the bolts and rivets where but nothing a bit of filler couldn't sort.
The wing was stuck on with double sided rubberized tape and when I removed them I needed a knife to slide between the wing and the body to seperate, bit of a job.
Once scrapped off you could see all of the pitting on both sides, I used a sanding pad on my grinder to remove all of the oxide.
The step flanges received the same treatment
 
Before I ground out the oxides I had to straighten the flange areas especially where the rivets and bolts had been, these areas had been pulled out of shape by the rivet and bolt tightness pulling the metal into the rubber, so out with my tapping hammer and the anvil section on my vise. When straightened I checked the alignment to the car body as the flange is bent to the curve of the body and not at 90 degs.
There was only one ding and that was on the outside edge and was a straight line knock which deformed the shape a little.
You can see it where it has pushed the side in a little, again out with the tapping hammer and anvil and I got it as back into shape as possible before sanding and feathering the paint off ready for the filler.
I had to apply two coats of filler between sands to get it pretty good.
The inside had a lot of years of road dirt hiding away so it was out with the scrubbing brush and I gave it a good clean, I shall use stone chip on the insides of all of the wings.
Once everything was filled and sanded I mixed up the primer and gave it its first coat.
I went back to the small spray gun for this wing and it came out nice and even, I gave it a shadow coat of matt black when dry and got to work with the sand paper.
I have learnt my lesson about starting with the finer grits and got started with the 220. This quickly removes the primer and takes down the high spots before I smoothed down with the finer grits.
Lots of high spots to take down but when I had everything rubbed down I cleaned with paint prep then tack ragged and got another coat on.
I shall leave it to dry overnight before giving it another blocking, only 3 wings to go.

see ya Paul


Wednesday 24 October 2012

Body Work bonnet 2

Hi
Mostly have the bonnet finished, although it has taken a lot of elbow grease to get it nice and smooth.

I started with 600 wet & dry on the large block and after around an hour of rubbing I still wasn't happy with the finish as I had areas of orange peel, I guess this is because of using the larger spray gun laying down more paint. I never had this problem with the smaller gun but no problem just a change of tactics required.
I kept to the finer grade of 500 but used the DA sander with plenty of water which worked great on the paint but myself, the garage floor and the walls got covers in a wet spray of powdered paint, out with the pressure washer again.
The gloss finish is from the water used to wash off all of the residue and the reflection shows the smoothness of the primer. Even after using the DA sander I had minimal rub through, you can just see a little on the front and the air scoop edges are a little rubbed through, but that's the top finished.

The inside of the bonnet needed finishing and it was something that I could do myself instead of the paint shop, I must admit if I had not been going for a special candy finish I would have got more practice in and attempted to spray the car myself. No doubt I would have made a compete mess so best to lay out the money and have a pro do it.
The inside of the bonnet was rubbed down yesterday and all that was needed was a clean with the paint prep and tack ragged ready for the finish.
I was going to use VHT paint, not so much because of any high temps involved but to copy the original matt finish, on checking the tin I realised that I had no where near eneogh to spray the whole bonnet. The only other paint with any temp resistance was the tin of engine enamel I had bought for the cylinder heads unfortunatly this was a gloss finish but what the hell it may look even better.
I set everything up, mixed the paint with thinners and started spraying, I had never sprayed thinned gloss before and soon realised that I was starting to get runs, I should of lain the bonnet down and sprayed flat and very quickly that is what I did.
I raised the wide edge of the bonnet up on blocks of wood to allow the runs to fall back and carried on spraying; guess I still have a lot to learn. Slowly the runs receded and it looks pretty good if a little bright.
I have it stood up now and gave it a good look at and apart from a few small runs it looks pretty good, I guess the glossiness will lose a bit of its shine once it dries properly.

The bubble wrap I ordered has arrived so all of my hard work will get wrapped and protected and put away somewhere safe.

see ya Paul


Tuesday 23 October 2012

Day 3 Body Work Bonnet

Hi
Things went as planned today, the primer on the passenger door was hard so I blocked it down with 800 wet & dry then with the scuffing compound until it was nice and smooth and only managed one small rub through. 
The garden boxes arrived that I had planned to stow my parts in to tidy up the house a little but have now decided against this idea after getting an informative email from Terry B concerning the moisture absorbency of the primer. So, I shall bubble wrap each part and make room in the loft, Lynne has the house so hot in the winter that the loft should be an ideal place to keep them dry. The boxes will now stow all of my paints and oils and make room in the shed for the bonnet.

I got started on the bonnet this morning and it is now drying nicely in the garage and is looking pretty good.
There where only 2 dints in the bonnet that I could see, unfortunately one of these was caused by me, I had knocked it a few months back but other than that it is in pretty good condition. There is a deformation at the front of the bonnet where the air scoop inner bulkhead touches the bonnet skin, over the years it has made some kind of impression but nothing that I can do about.
I was thinking of cutting a section of the double skin underneath to access the dint and try knocking it out then riveting a patch on the skin but have been talked out of this idea by the guys from the paint shop and Joe who has been giving me tuition. So, it is back to the filler.
It is not to easy to see in this shot but it is a mil or so deep and a few inches around.
I ground of the paint and feathered in all around the dint with 120 grit on the DA sander until I had a good area of ally showing.
Once I had this area cleaned with thinners I mixed the filler and spread it on.
As it was drying I used the DA with 120 grit and rubbed down the rest of the bonnet then took the filler down until smooth. It took 3 mixes of filler to get it as good as I could get, I used a straight edge to skim across the filler and this managed to get it pretty good before the sanding.
I gave it a good wash down to remove all of the paint and filler dust then used a heat gun to dry it before paint prep and tack ragging.
Because it is such a large area I decided to have a go at getting my large spray gun to work, I had removed the 1.4 needle and fitted it with a 2mm for primer and it was this that was leaking so I replaced it with the 1.4 and perfect, it worked first time.
I started of by spraying the edges and the worked on areas to give them a slightly thicker coat then carried on with the whole bonnet.
I was right about being able to use a small spray gun in that using a large one would be easier and it was, as its all down to getting the 50% overlap correct which is difficult on the small one but much easier on a large spray pattern gun.
I let this dry then gave it a shadow coat with the matt black then using 120 grit on the DA sander I started rubbing it down, I put plenty of water on the bonnet even though the discs are not wet & dry. This gave a nice smooth finish and the added bonus of keeping the dust down.
You can see in this shot one half sanded and the shadow coat on the other, I was very pleased that the repaired area came out perfectly flat with no black showing in any low spot. The rubbed through areas in red show where the original paint work was slightly higher than the rest.
I finished the whole bonnet in 120 and hand rubbed the edges and the sides of the air scoop, there are a number of low spots with the black in them and on the next coat I gave them a spray first to build them up before going over the rest of the bonnet.
The second coat went on very nice as I am getting the hang of the spray gun and getting the overlap nice and even.
I have left this to dry hard overnight and got on with the cleaning of the garage with a pressure washer, its amazing how much dust accumulates. 
I shall rub it down tomorrow and get started on the next part.

see ya Paul


Monday 22 October 2012

Day 2 Body work Doors

Hi
More progress on whats going to be a bit of a long slog but am learning how to prep for paint, mostly about how to rub down and fill and the most important part is how to use a spray gun correctly, not as easy as you may think. 
I bought 2 guns, a large one and a small one for smart repairs, unfortunately I can't get the larger one to seal properly and the paint runs straight out of the needle. No doubt its a simple problem but I just put it to one side and carried on with the small gun and if I can learn to spray large areas with a small gun then it should be a doddle with the large gun.

I was not happy with the finish I had on the drivers door as I had a lot of rub through around the handle area and the edges.
 I was told that this is not a problem and is actually a normal part of the prep but being as how it is my first attempt I had to try to get it the best I could. So, after the normal Sunday visits I got stuck in and gave it another coat of primer and let it dry overnight. I had flatted down the earlier coats with 600 grit wet & dry after putting on the shadow coat and it came out pretty good apart from the rub through so I decided to use a different finishing method this time. Block down the first or if necessary the second coat with the 600 grit then use 800 grit and scuffing paste for the final finish.

I first gently blocked the paint with the 800 grit to remove high spots then fitted the scourer to the block and worked away with the scuffing paste, very pleased with the results. No rub through and a lovely smooth finish.
If the paint shop wants to do any more rubbing then ok but I shall try to make each panel as good as this one.
I think I have solved the problem I have with all of the pieces of car lying around the garage, utility room, bedroom, dinning room, loft, and shed; and now I shall have lots of primed bits that can easily get scratched, so I have bought a 100mt roll of bubble wrap and 2 large plastic garden boxes which I hope will arrive soon so all of the hard work will not be in vain.

Today I have carried on with the passenger door, this had a worse rust problem than the drivers and required grinding out.
Once the bad areas were cleaned of rust I painted all of the areas that I was unable to get at with Vactan rust converter and have let them dry since Saturday.
You can see the darker areas which are where the vactan has done its job.
This area was filled with the Alusoft, you can see the difference with this filler than normal as it has a very high percentage of Aluminium in the mix.
I applied 2 coats of filler, allowing the first to dry then rubbed it flat and filled any low spots with another coat and rubbed this with a block.
I have also cleaned the inside of the door, removing all of the old waxoil and dirt accumulated over 26 years.
The paintwork has been rubbed down with the sander and all of the chipped edges rubbed down. The first coat went on well and I let it dry with a little help from my heat gun.
I shadowed this and blocked it down ready for the second coat.
The repair to the top of the door came out quite well.
I have put on the second coat and shall leave this to dry overnight and shall do the same to this as with the drivers door with the 800 grit wet & dry and the flatting paste to get a good finish.

I also carried on with the inside of the bonnet while waiting for the door to dry, I had already sanded it down and all it need was a good clean with paint prep and then a couple of coats of primer. 
The darker patch in the center panel is where I ran out of paint and shall finish when I mix another batch, I have a tin of VHT black paint and shall finish it with that.
The bonnet top is the next to complete so I can get it stored away safely as the next project is to temporally re-fit the wings so as I can build the new steps. I have already bought the steel angle iron and am looking forward to getting the welder out again and getting them made.

see ya Paul